4
Extender Kit Installation
Notes:
1. Test to make sure the entire installation works properly before pulling cables
through ceilings/walls.
2. To achieve maximum distance and performance, 24 AWG solid wire Cat5e/6
cable must be used. The use of stranded wire Cat5e/6 cable or cable with a
gauge size higher than 24 AWG will result in shorter extension distance. All
Tripp Lite N202-Series Cat6 cables are made with 24 AWG solid wire cabling.
3. Make sure the power to all devices you are connecting is turned off prior to
installation.
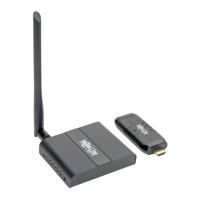
1. Connect the built-in HDMI cable of the transmitter unit to the HDMI
source.
2. Optional: Connect an HDMI monitor to the LOCAL port on the
B126-1A1-U transmitter using a Tripp Lite P568-Series HDMI Cable.
3. Connect the included USB Micro-B Cable between the transmitter
unit and a USB port on the source or a USB wall outlet.
4. Connect the RJ45 port on the transmitter to the RJ45 port on the
receiver using Cat5e/6 cable.
Note: See the installation diagrams for maximum extension distance and video
resolutions.
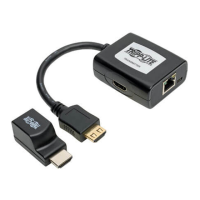
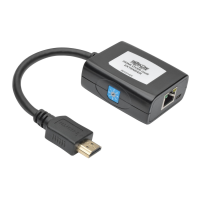
5. Connect the built-in HDMI cable of the receiver unit to an HDMI
monitor input port.
6. Connect the included USB Micro-B cable between the receiver unit
and a USB port on the display or a USB wall outlet.
16-12-182-9334F6.indb 4 1/4/2017 4:40:05 PM
 Loading...