7
7. Equipment Installation
(
continued
)
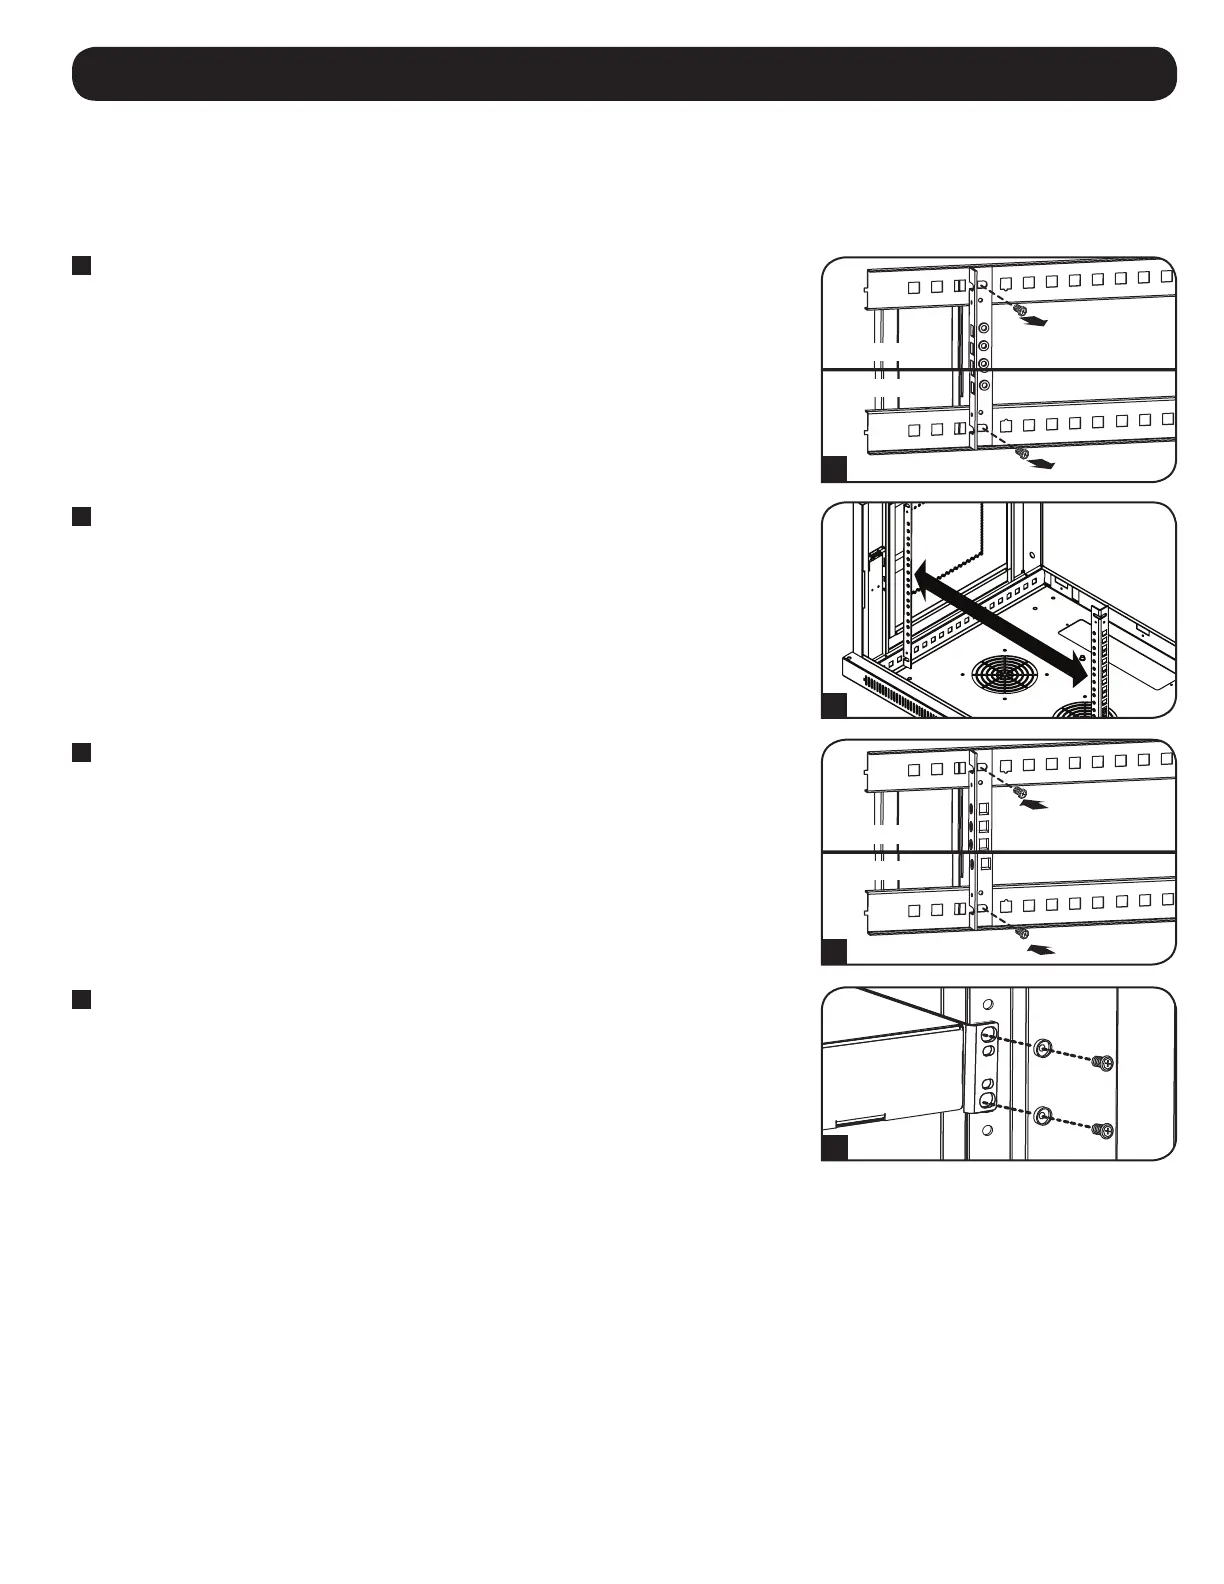
7.2 Alternate Mounting: Tapped Hole Mounting Rail
WARNING: Do not attempt to adjust rails while equipment is installed in the enclosure. Do not attempt to use rails without screws
installed. (2 per rail.)
The 2 mounting rails are pre-installed for securing equipment using the square hole side of the mounting rail. To switch to the tapped hole side of the
mounting rail, follow the steps below:
1
Each rail is connected to the enclosure with 2 screws: 1 in the upper corner and another in the
lower corner. Using a Phillips-head screwdriver, remove the screws that fasten the rails to the
enclosure.
2
Switch the rail locations. Ensure the tapped hole side of each rail is facing the front door.
3
Reattach the mounting rails.
4
Use the included silver mounting screws to secure your equipment to the rack rail. Place the
cup washers between the screws and the equipment mounting brackets.
Note: Your equipment may also include mounting hardware. Read the mounting instructions that came
with your equipment before installing your equipment.
1
3
Upper Rail
Upper Rail
Lower Rail
Lower Rail
2
4
 Loading...