FRAME
UNIT
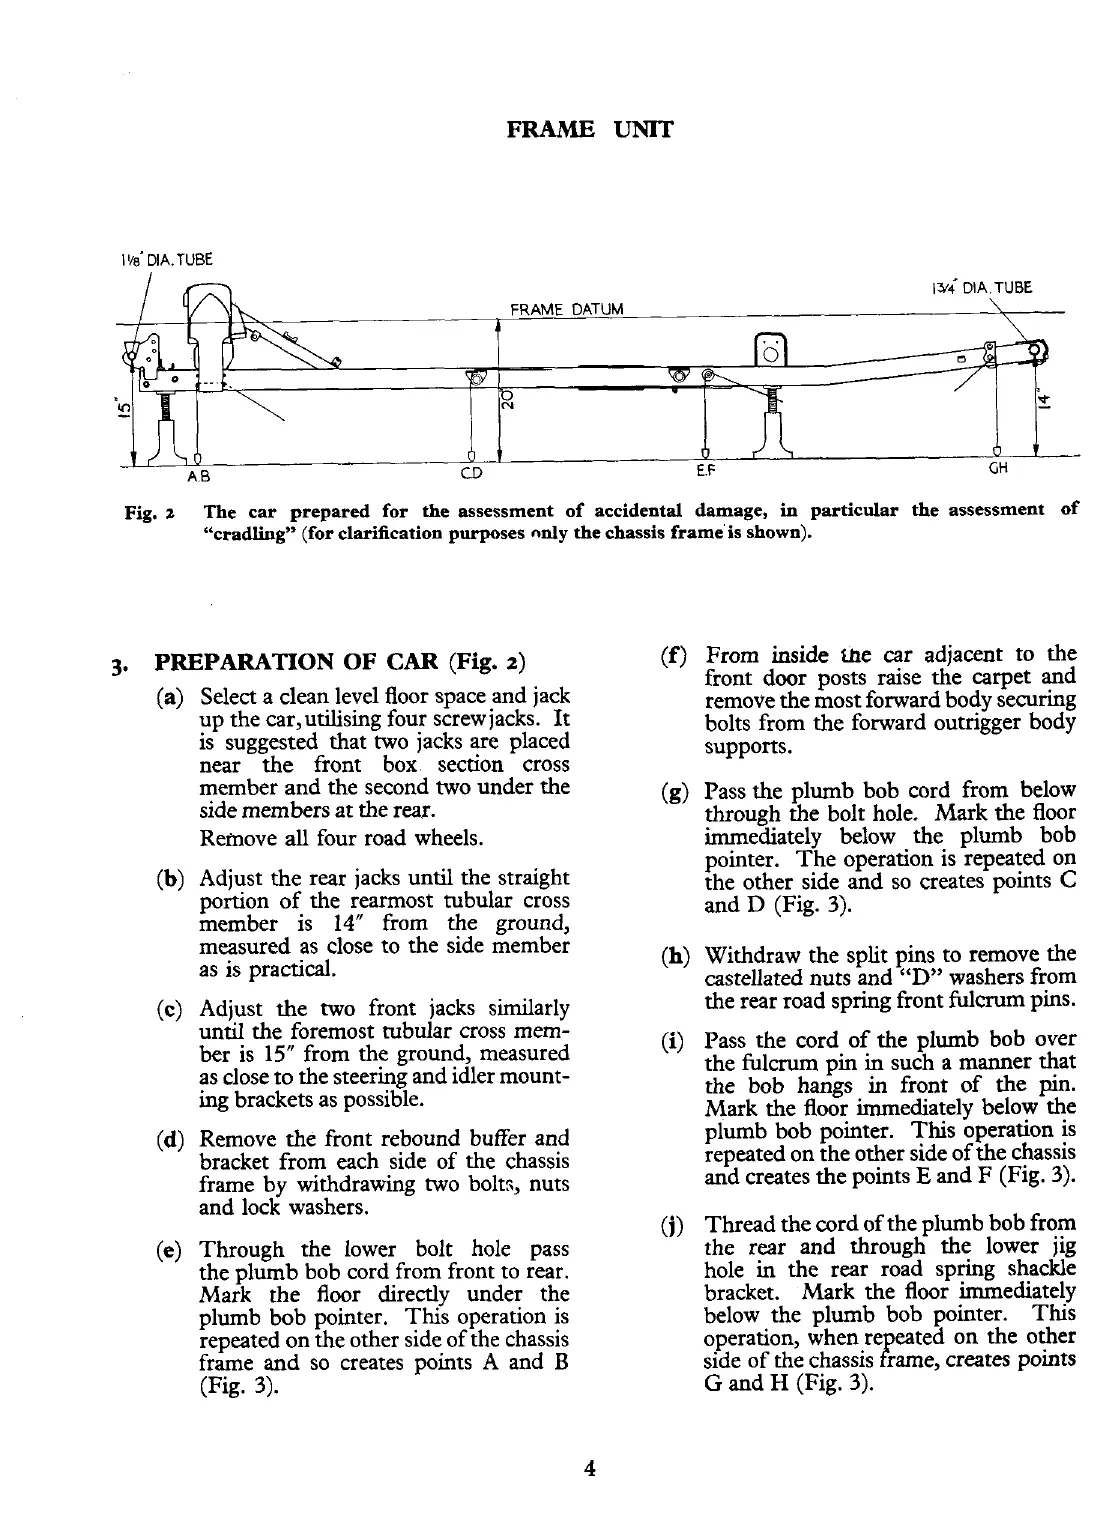
Fig.
z
The car prepared for the assessment of accidental damage,
in
particular the assessment of
"cradling" (for clarification purposes
nnly
the chassis frame'is shown).
3.
PREPARATION OF
CAR
(Fig.
2)
(a)
Select a clean level floor space and jack
up the car,utilising four screw jacks. It
is suggested that two jacks are placed
near the front box section cross
member and the second two under the
side members at the rear.
Reinove all four road wheels.
(b)
Adjust the rear jacks until the straight
portion of the rearmost tubular cross
member is 14" from the ground,
measured as close to the side member
as is practical.
(c)
Adjust the two front jacks similarly
until the foremost tubular cross mem-
ber is
15"
from the ground, measured
as close to the steering and idler mount-
ing brackets as possible.
(d)
Remove the front rebound buffer and
bracket from each side of the chassis
frame by withdrawing two bolts, nuts
and lock washers.
(e)
Through the lower bolt hole pass
the plumb bob cord from front to rear.
Mark the floor directly under the
plumb bob pointer. This operation is
repeated on the other side of the chassis
frame and so creates points A and
B
(Fig.
3).
(f)
From inside ule car adjacent to the
front door posts raise the carpet and
remove the most forward body securing
bolts from the forward outrigger body
supports.
(g)
Pass the plumb bob cord from below
through the bolt hole. Mark the floor
immediately below the plumb bob
pointer. The operation is repeated on
the other side and so creates points
C
and
D
(Fig.
3).
(h)
Withdraw the split pins to remove the
castellated nuts and
"D"
washers from
the rear road spring front fulcrum pins.
(i)
Pass the cord of the plumb bob over
the fulcrum pin in such a manner that
the bob hangs in front of the
pin.
Mark the floor immediately below the
plumb bob pointer. This operation is
repeated on the other side of the chassis
and creates the points
E
and
F
(Fig.
3).
(j)
Thread the cord of the plumb bob from
the rear and through the lower jig
hole in the rear road spring shackle
bracket. Mark the floor immediately
below the plumb bob pointer. This
operation, when re eated on the other
G
and
H
(Fig.
3).
P
side of the chassis rame, creates points