TRONIC TUL 4.1 A1
English - 11
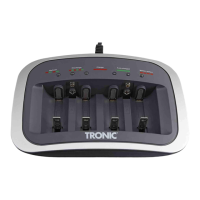
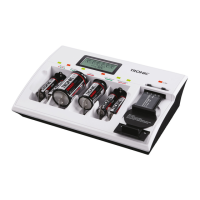
Align the charging contacts for Li-Ion batteries [17] to the position of the
positive (+) and negative (-) battery poles by adjusting the charging contacts
for Li-Ion batteries [17]. The polarity and voltage of Li-Ion batteries are
detected automatically.
Make sure that the charging contacts for Li-Ion batteries [17]
match the position of the positive (+) and negative (-) battery
poles. If the charging contacts for Li-Ion batteries [17] do not
match the correct position, the Li-Ion battery could get
damaged!
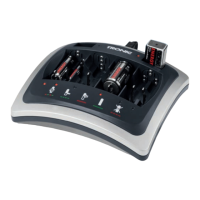
Insert the Li-Ion battery into the Li-Ion battery compartment [18] with the
charging contacts facing the charging contacts for Li-Ion batteries [17].
Next, slide the fixing rail for Li-Ion batteries [11] onto the Li-Ion battery by
pressing the fixing rail unlock for Li-Ion batteries [12] on both sides.
If the Li-Ion is detected properly, the LED for Li-Ion batteries [4] goes blue. If
the charging LED for Li-Ion batteries [4] does not go blue, double-check the
position of the charging contacts for Li-Ion batteries [17].
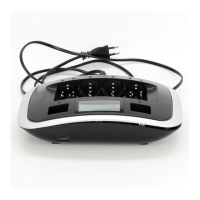
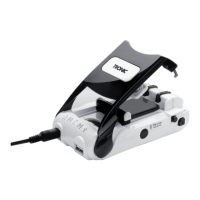
Close the battery holder [9] until it clicks into place.
When using the car adapter, make sure that your vehicle has
a 12 V battery. Never connect the car adapter to a 24 V
battery.
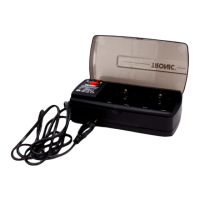
Insert the small connector from the wall plug power adapter or the car
adapter into the socket [10].
Next, plug the wall plug power adapter into an easily accessible mains
outlet or connect the car adapter to a suitable car power outlet. The Power
LED [3] now goes green. While charging, the Charging LED for Li-Ion
batteries [6] goes red.
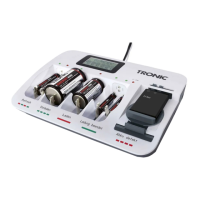
Charging complete when the Li-Ion charge LED [6] goes green. Then, unplug
the wall plug power adapter from the mains outlet or the car adapter from
the power outlet.
Open the battery holder [9] by pressing the battery holder unlock [15] on
both sides.
 Loading...