Do you have a question about the Truma Trumatic C 4002 and is the answer not in the manual?
Observe operating instructions, open deck cowl before operation, and close it when not in use.
Accessories designed for Trumatic heaters in boats; adhere to regulations and standards.
Choose an accessible location, preferably in living areas, above bilge water level.
Install a condensation water separator for Trumatic E 4000 with deck cowl.
Handle sharp exhaust duct ends with gloves and follow installation instructions.
Route exhaust gas double duct as an ascending curve and ensure proper cowl assembly.
Assemble deck cowl on flat surface, drill 80mm opening, and connect ducts using seals.
Connect gas supply line with 8mm fitting, do not shorten or bend.
Verify negative connection to ground before electrical connection.
Use copper pipe or stainless steel, connect with soldering or screw fittings.
| Brand | Truma |
|---|---|
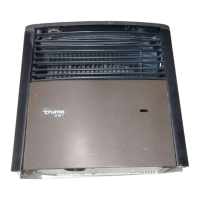
| Model | Trumatic C 4002 |
| Category | Gas Heater |
| Language | English |