Troubleshooting
Maintenance and Spares
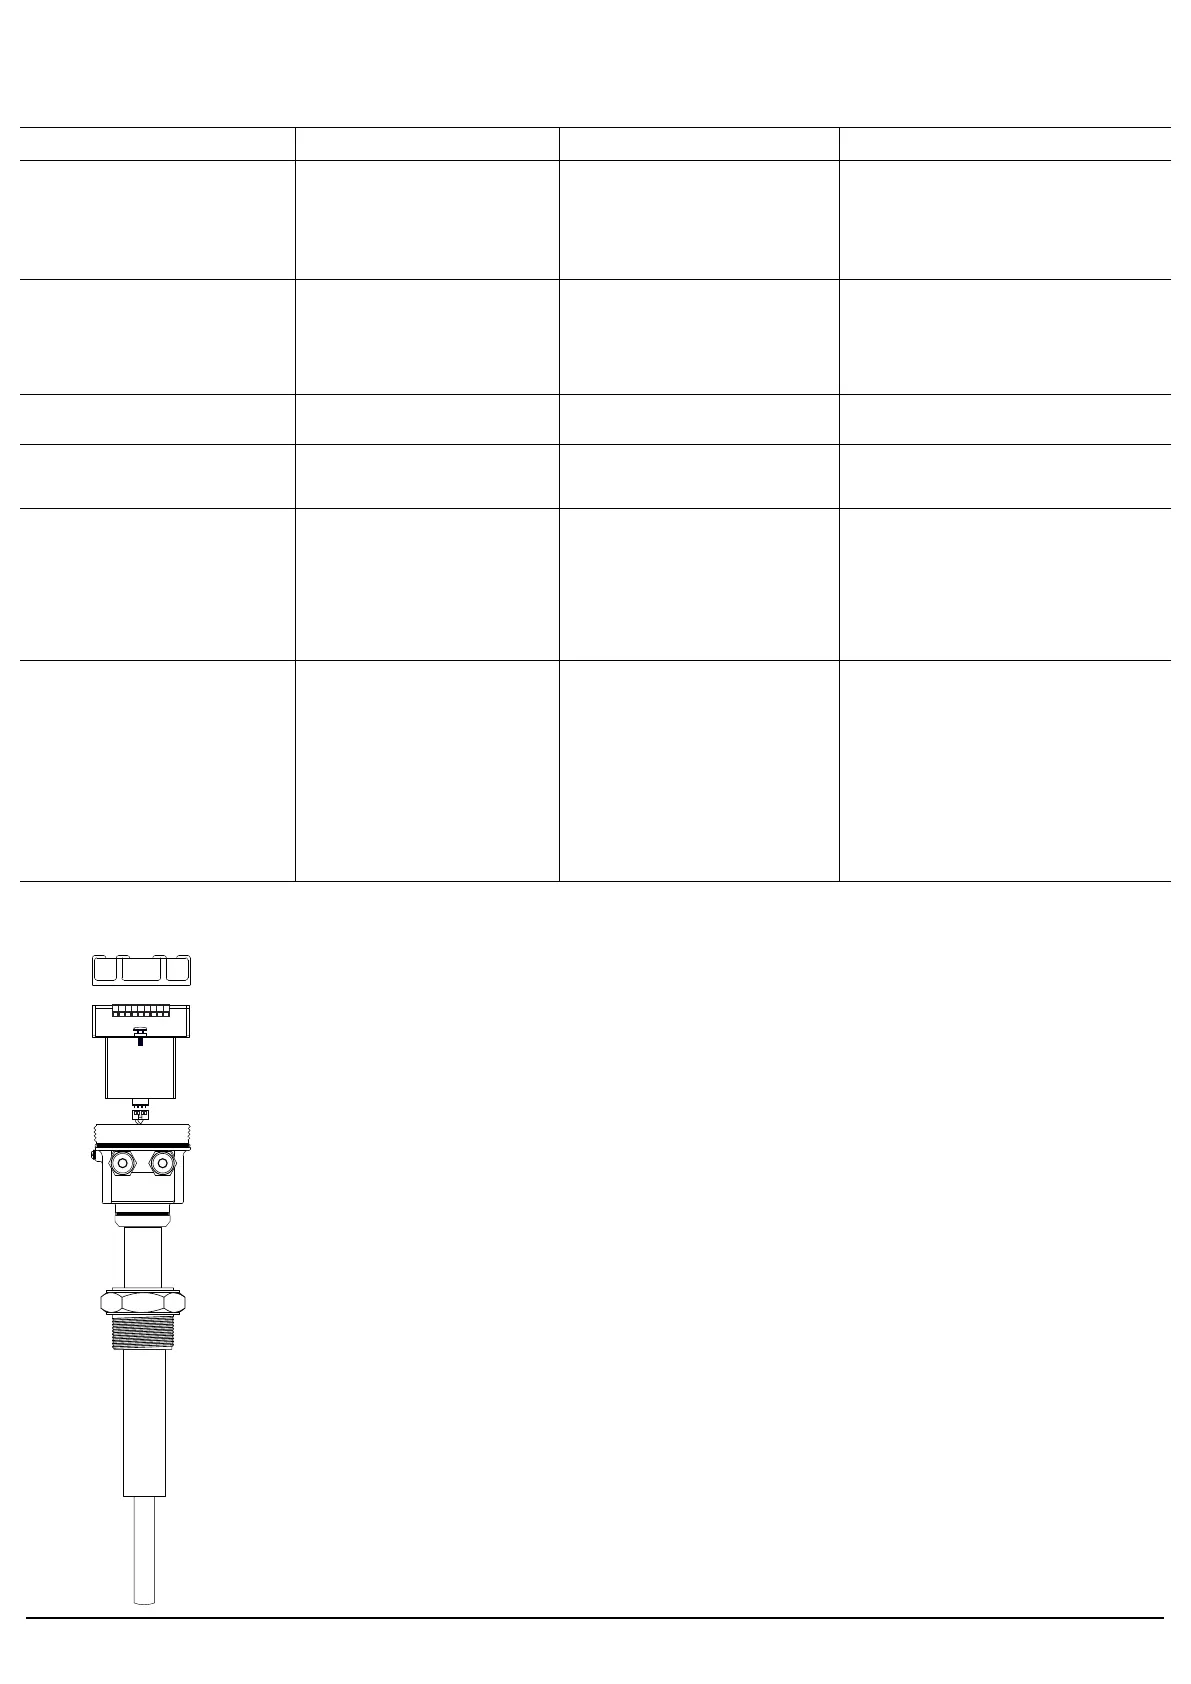
Top Cover
Electronic Insert
connection terminals
electronic insert fixing screw
4-way male connector for sensor (rod)
4-way female connector from sensor (rod)
Cable glands
Thermal spacer (where needed)
Process connection
Extension
Sense
Device enclosure
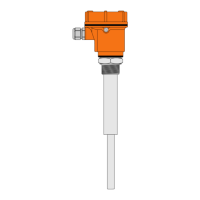
Shown on the left are various parts of LSVR level switch.
Separatable parts are
1. Electronic insert in short called 'electronics'
2. Rod + Enclosure + Cover + Glands collectively called 'mechanical'
For maintenance issues involving replacement of 'electronics', just a
single fixing screw is needed to be released.
Lift the electronics slowly by holding electronics with one hand and
mechanical with other, as wires are connected using rigid 4-way
connectors to it.
Disconnect 4-way connector by holding electronics with one hand and
female of connector by other hand, while the rest of the device is at rest.
Connect the new replaced sensor. 4-way connector is unidirectional
and only connects in proper direction.
Set the electronics properly to its position.
Match the mounting screw hole of electronics with that of enclosure
and fix the screw.
For mechanical issues please send the entire device back to Trumen.
Applications
Indication Probable cause Work-around Solution
No switching output or
sensor is permanently in alarm
If proper voltage is available but
'power' LED is still OFF
Power is not available
Sensor electronic insert internal power
section is failed
Sensor electronic insert rod oscillator
circuit failed
Sensor electronic insert evaluation
section failure
See if 'power' LED is ON
If power LED is OFF check voltage on
terminal 1 and 2
Sensor electronic insert is needed to be replaced.
Abrupt switching Material is agitated Set time delay to 5 second in both dry and
wet condition (turn switch 2, 3 ON)
Time delay solves switching issues in agitated
materials.
Device shows no material after some
time even when rod is inside the
material
Material fluffy or rod rate-holes the
material due to its own vibrations
Set device in sensitive mode (turn switch 1
ON)
Sensitive setting reduces vibrational strength and
makes switching point at lower amplitude.
Rod settings are all OK but rod fails to
switch to 'no material' at random times
Power supply carrying extra noise and
rod amplifier picking the noise
Make necessary arrangements to filter the
noise in power-line before being fed to the
device
Provide an exclusive earthing to terminal#
3, rod enclosure earthing screw and rod
process connection (device mounting
screw)
Device contains sufficient filtering of power supply
noise inside, but sometimes external earth is
needed to make filters sink the extra power supply
noise back to earth.
Device worked for few months / years
but now fails to switch with respect to
material while power conditions are all
same
Device senses rod frequency and
amplitude to ascertain presence /
absence of Material. Possible reasons
are
1. Rod frequency shift due to rod wear /
errosion by service material
2. Material deposition on rod leads
3. Over temperature of service material
causing rod drive damage
Select proper rod surface while ordering as
per service material to mitigate rod errosion
as well as deposition
Order device of proper thermal grade for
proper service life of device
Clean up deposited materials on rod
sense as a part of maintenance schedule
Care is needed to be taken while ordering.
Scheduled cleaning of rod sense in sticky material
application is recommended.
In case of temperature stress, rod sensor is needed
to be replaced.
Rod is not vibrating when rod sense
are touched by hand
Rod is vibrating but no switching output
when for rod sense are touched by
hand
Sensor electronic insert is needed to be replaced.
lsvr-manual-page04 4www.trumen.in
 Loading...