EasyManua.ls Logo

TUHOME Furniture KAIA User Manual

TUHOME Furniture KAIA
18 pages
To Next Page IconTo Next Page
Page #1 background imageLoading...
Page #1 background image
KAIA 3 DRAWERS DRESSER
Cómoda 3 cajones Kaia
Alto: 68,7 cm
Ancho: 70 cm
Fondo: 41,5 cm
Height: 27,05 in
Width: 27,56 in
Depth: 16,34 in
LOT N°
ASSEMBLY INSTRUCTIONS
INSTRUCCIONES DE ENSAMBLEFURNITURE
IF ANY PARTS ARE BROKEN OR MISSING PLEASE
CONTACT US AT: 1-888-391-01-66 /
customerservicetuhome@rta.com.co
OUR CUSTOMER SERVICE TEAM WILL PROVIDE
YOU HELP TO RESOLVE ANY ISSUES IMMEDIATELY
Question and Answer IconNeed help?

Do you have a question about the TUHOME Furniture KAIA and is the answer not in the manual?

TUHOME Furniture KAIA Specifications

General IconGeneral
BrandTUHOME Furniture
ModelKAIA
CategoryIndoor Furnishing
LanguageEnglish

Summary

Kaia 3 Drawer Dresser Assembly Instructions

Important Recommendations and Warnings

Essential guidelines for safe and proper use, maintenance, and handling of the furniture.

Required Tools

Assembly Hardware

Assembly Parts

Maximum Suggested Loads

Assembly Recommendations

Step-by-Step Assembly Guide

Step 1: Prepare Base Panels

Prepare panels E.F and E.P by inserting dowels and cam bolts.

Step 2: Assemble Drawer Slides Base

Attach drawer slides to panel Jx2 using cam bolts and cover caps.

Step 3: Connect Panel J to E.F

Connect panel J to panel E.F using cam bolts and tightening cams.

Step 4: Connect Panel J to E.P

Connect panel J to panel E.P using cam bolts and tightening cams.

Step 5: Prepare Panel D

Insert dowels and cam bolts into panel D.

Step 6: Attach Drawer Slides to Panel C

Attach drawer slides to panel C using screws and cam bolts.

Step 7: Attach Vertical Panels

Attach panels D, E.F, and J to panel C using cam bolts.

Step 8: Attach Panel B

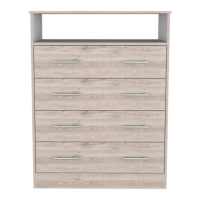
Attach panel B to the assembled structure using cam bolts.

Step 9: Attach Panel B to Top

Attach panel B to the top of the structure using cam bolts.

Step 10: Prepare Top Panel A

Insert cam bolts into the top panel A.

Step 11: Attach Side Panels to Main Body

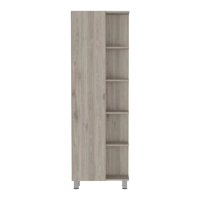
Attach side panels (with M parts) to the main body.

Step 12: Attach Top Panel A

Attach top panel A to the main body using cam bolts.

Step 13: Prepare Drawer Sides

Prepare drawer side panels Gx3 and Fx3 with cam bolts.

Step 14: Assemble Drawer Sides and Back

Assemble drawer sides F, H, G using drywall screws.

Step 15: Attach Drawer Base

Attach drawer base L to the assembled drawer sides.

Step 16: Insert Drawer Support

Insert drawer support I into the drawer assembly.

Step 17: Prepare Drawer Fronts

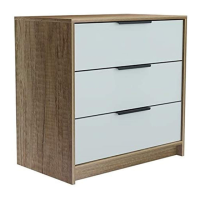
Prepare drawer fronts Kx3 with cam bolts.

Step 18: Attach Drawer Fronts

Attach drawer fronts K to the drawer assembly using cam bolts.

Step 19: Insert Drawers

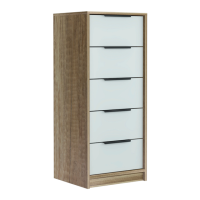
Slide the assembled drawers inside the cabinet.

Step 20: Secure Furniture to Wall

Anchor the furniture to the wall for safety and cover cam bolts.

Warranty Policy

Related product manuals