118 119
Light setting for the TUNZE
®
LED
Field
“Light control“
Settings in practice:
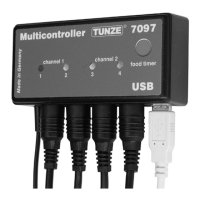
The Multicontroller 7097 enables a separate adjustment of the connected TUNZE
®
LED color channels, with sunrise and sunset
times, seasonal adjustments, moonlight, lightning simulation during the storm and desedimentation function, and demo-light for
each light channel. Optionally, a separate TUNZE
®
switching socket 7097.120 can be connected to a desired channel in order to
switch additional aquarium lighting on and off.
Note:
When using a Y-adapter cable 7090.300 it is only possible to connect identical LED lights with the same voltage, for example, 2
x 8850 with 24 V, or 2 x 8810 with 12 V. Is not possible to combine 24 V and 12 V products.
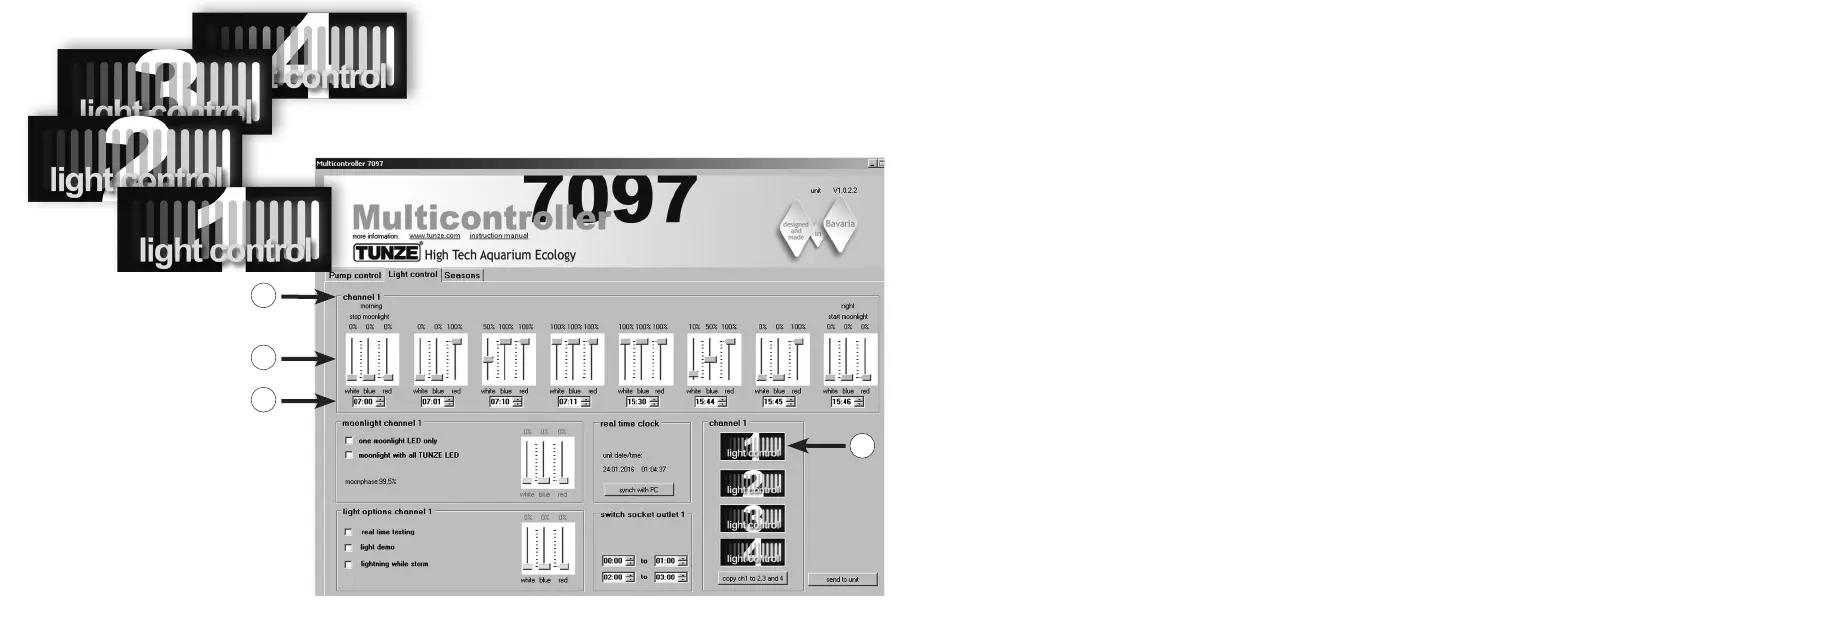
Prior to the adjustment, we recommend a synchronization of the Multicontroller 7097 time with the computer. For this, click on
the „light control“ eld, and in the eld „real time clock“ click on the “sync with PC” button. The real time in the computer is now
displayed in this eld.
Depending on the selected channel for the connection to the TUNZE
®
LED, in the “channel” eld click on the button “light control
1“ (or 2, 3, 4) (1) at the bottom right of the display. The channel number “channel 1” (or 2, 3, 4) will also be displayed at the top left
in the main “channel” frame (2).
It is best to start with the setting of channel 1!
The “channel“ main frame contains eight setting options for the light. Initially, the light times should be entered by clicking on hours
and minutes (3). The settings should always be entered from left (earliest time - stop of the moonlight) to the right (latest point in
time - start of the moon light).
Depending on the desired light colors, set the cursors for white light “white“, blue light “blue“ and red light “red“ for the respective
time (4).
The settings made in channel 1 can simply be copied into the other three channels. For this, press on the button “copy ch 1 to 2,
3 and 4“ (5) the eld „channel“ on bottom right of the display. The settings of the time and light colors will now be copied to the
three other channels.
There, “light control 2“ (or 3, 4) can then be clicked on, and the light colors set as needed.
2
3
4
1