U-Line Service 8
General Information
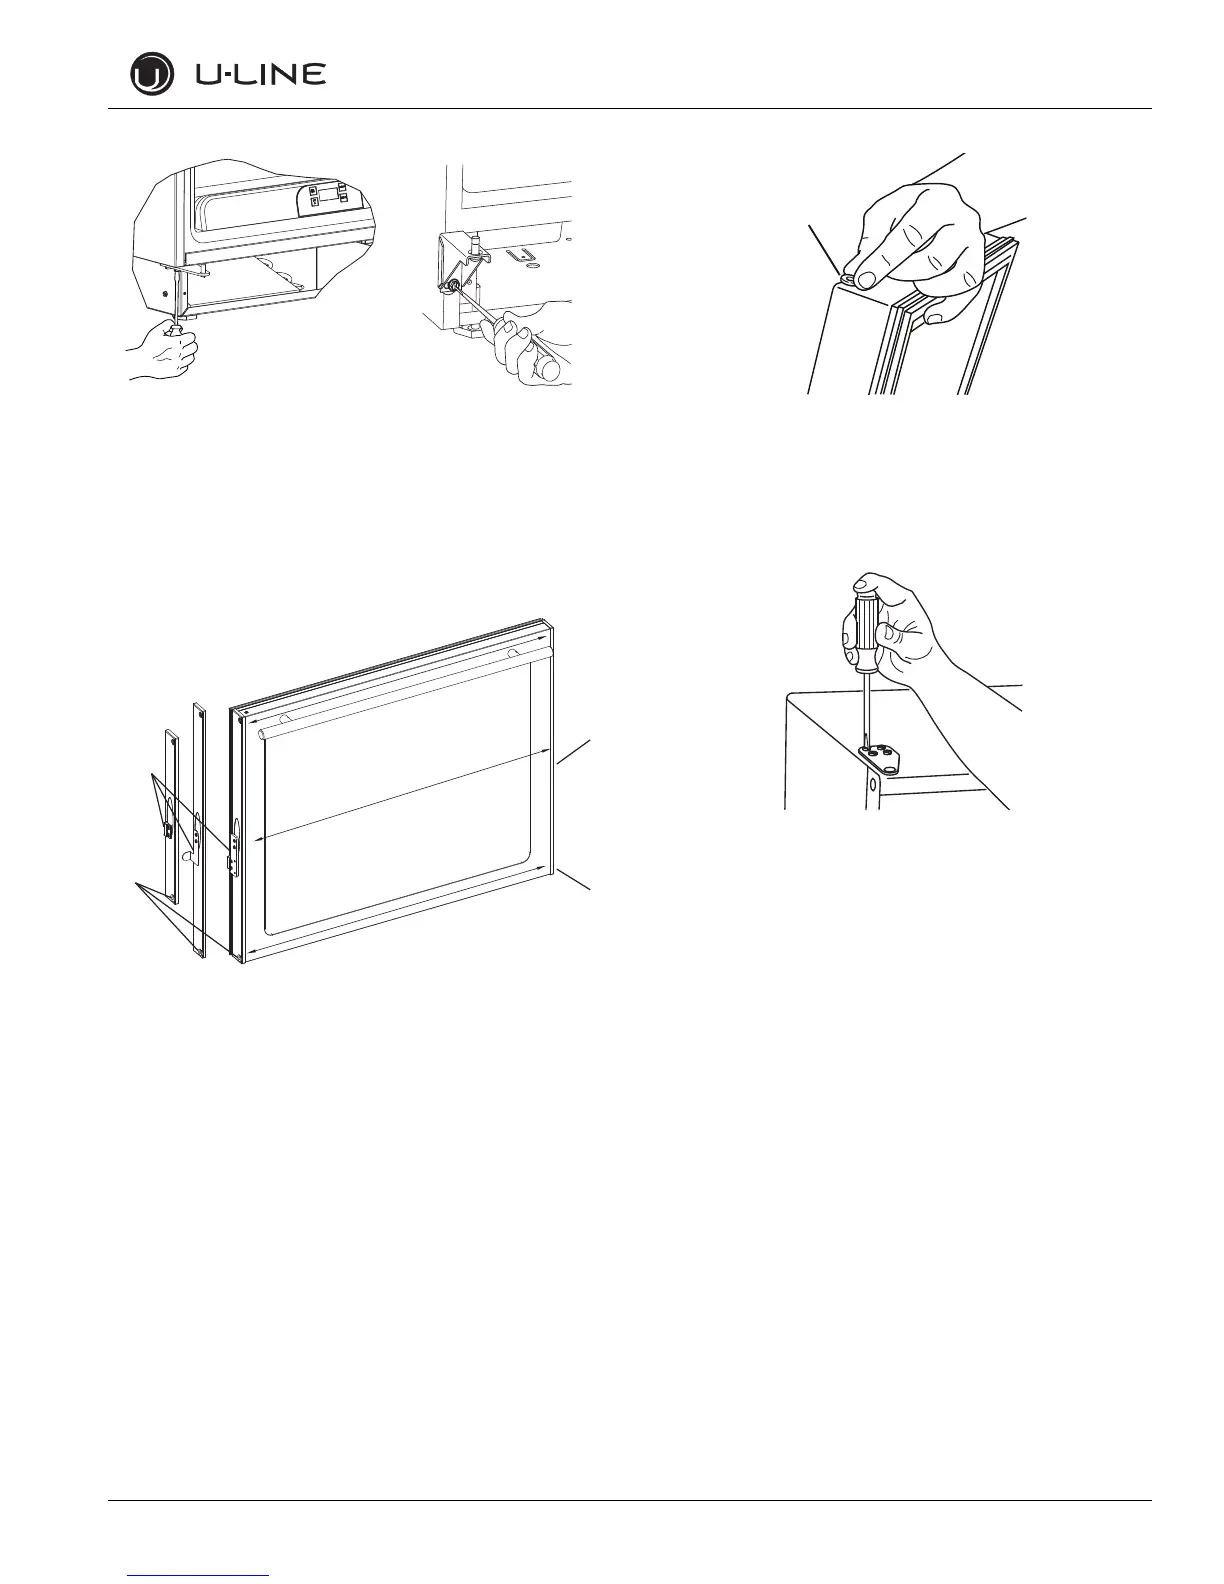
Install bottom hinge.
1. If you have a plate hinge, reorient the pivot screw so it protrudes
the opposite direction from the hinge. Remove the pivot screw
from the hinge. Turn the plate over and reinstall the screw.
2. Align hinge outer edge with cabinet. For models with a plate hinge,
the flat edge of the hinge alignes with the outer edge of the cabinet.
Install two or three screws, depending on model. Replace nuts if used.
Prepare door for reinstallation.
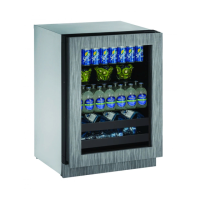
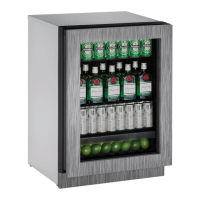
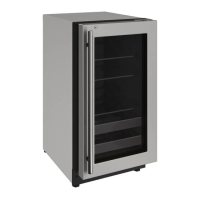
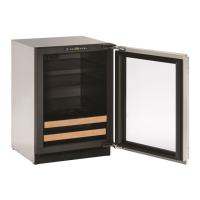
For stainless steel models with glass doors:
1. Stainless glass doors are flipped upside down to be reversed.
2. Lay the door on its side. Remove the plastic hole plug (1) and
ins
tall in the corner opposite of where it was removed.
3. Remove the plastic hinge bushing (2) and install in the corner
o
pposite of where it was removed.
4. Remove the U-Line nameplate (3) from door. This will reveal
mounti
ng holes for the door actuator bracket.
5. Remove door actuator (4) from door. Be sure to only remove the
two screws holding the actuator to the door. Reinstall the actuator
(4) on the opposite end of the door where the nameplate was
removed.
6. Install new nameplate where the actuator assembly was removed.
7. Install screws into holes on opp
osite side, where the hinge was
removed. Replace nuts if used.
Prepare door for reinstallation.
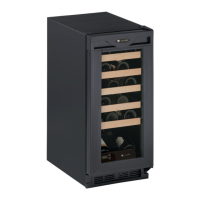
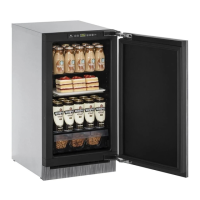
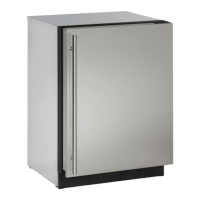
For black or white doors:
1. Remove plastic hinge bushing on bottom of door and reinstall on
opposite side. Clean out bushing hole in door bottom with a
screwdriver if necessary.
Install top hinge and door.
1. Reorient the pivot screw so it protrudes the opposite direction
fr
om the hinge. Remove the pivot screw from the hinge. Turn the
plate over and reinstall the screw.
2. Hold door to keep it from falling.
3. Lift the door onto the bottom hinge.
4. Align flat edge of the top hinge with the outer edge of the unit.
5. Install
three or four screws, depending on model.
Align and adjust the door.
1. Align and adjust the door, see DOOR ALIGNMENT AND
ADJUSTMENT.
Install grille.
Install the grille, see MAINTENANCE section of this guide.
 Loading...