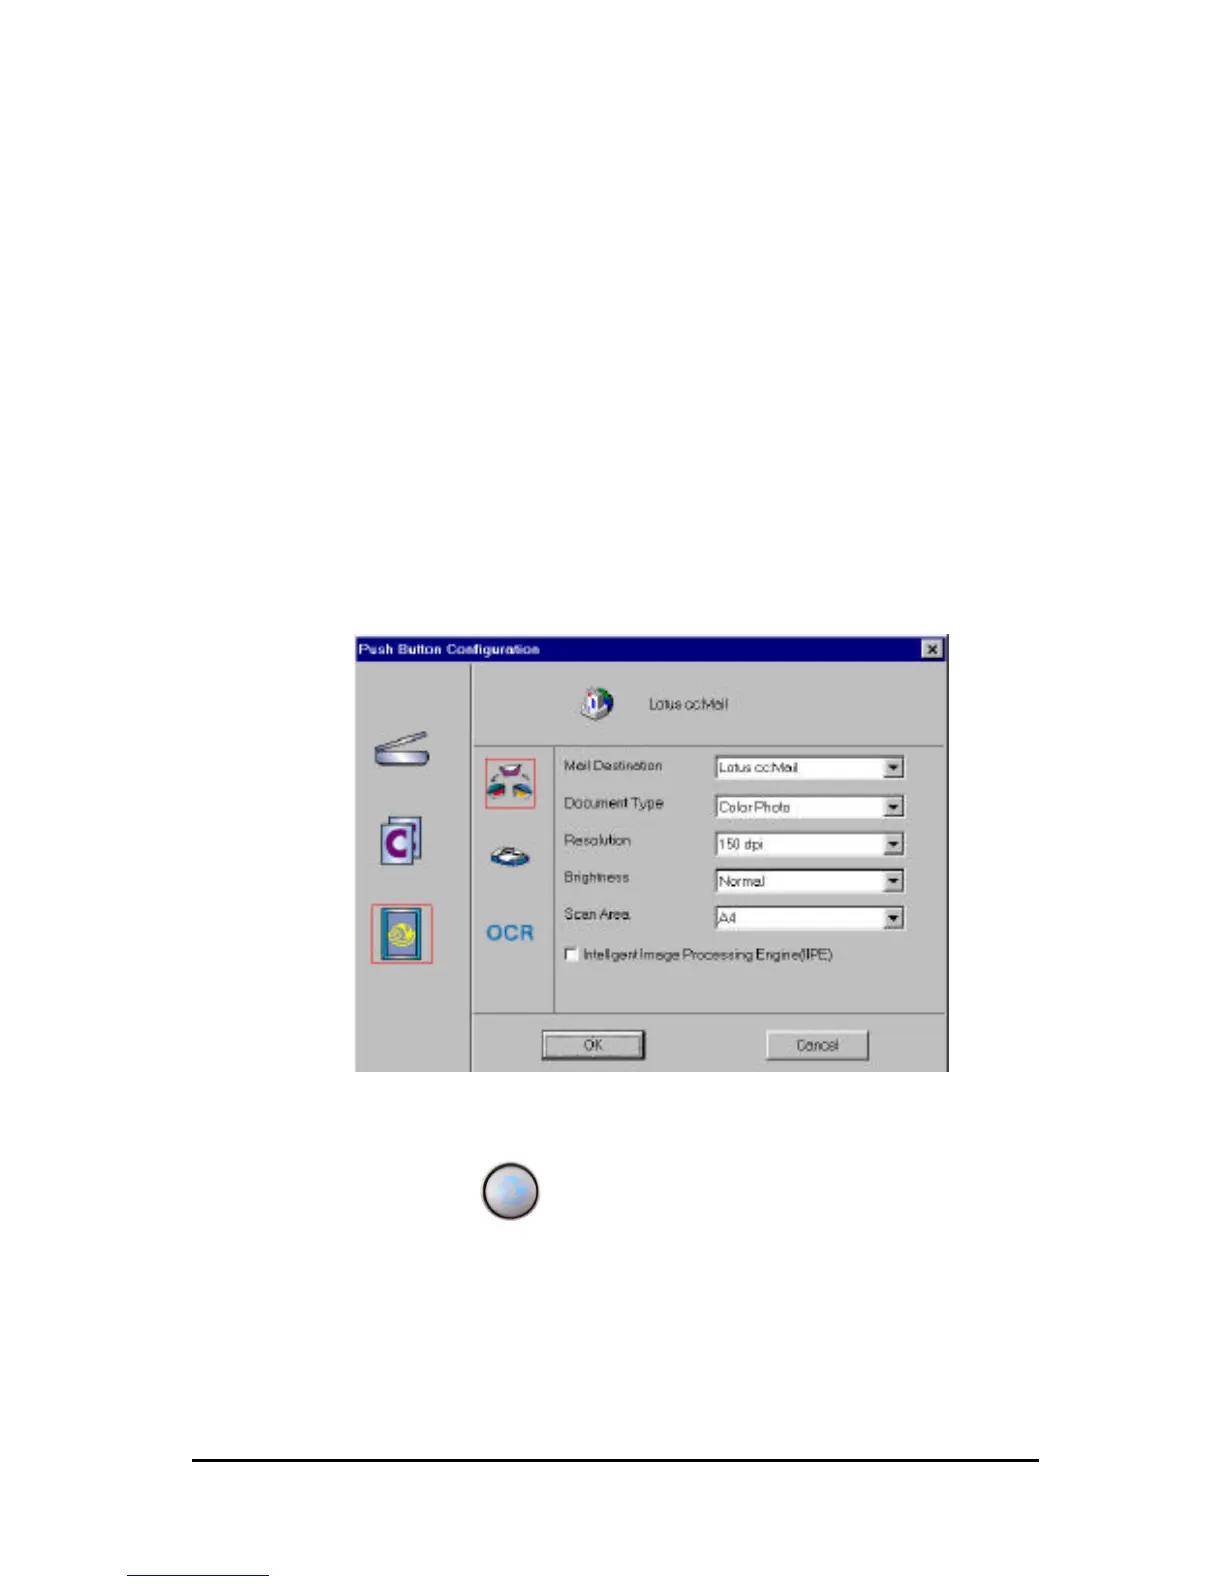
3. Click the Custom icon to open the window that contains the variables
you are adjusting.
The Custom icon controls the values for the E-mail, Fax and OCR features. You
must configure the variables for each function separately before the image is
scanned to specified destination what you want.
Note that you could configure all three features at a time, but only the last feature
you configured is the destination the image will be scanned to.
To configure the values for the e-mail function
1. Select the e-mail application you want to send the scanned image to, the
type of image you are scanning, the desired resolution, a scanning
intensity level the document size for the scanned image, by clicking on
the arrow to the right of each field.
2. Click the OK button to save the Custom push button configuration
settings.
3. Push the Custom button. The scanner will start scanning process
and send the scanned image to the selected e-mail application.
To configure the values for the Fax function
1. Select a scanning intensity level the document size for the scanned image,
by clicking on the arrow to the right of each field.
 Loading...