21
B. Initiating VistaScan directly
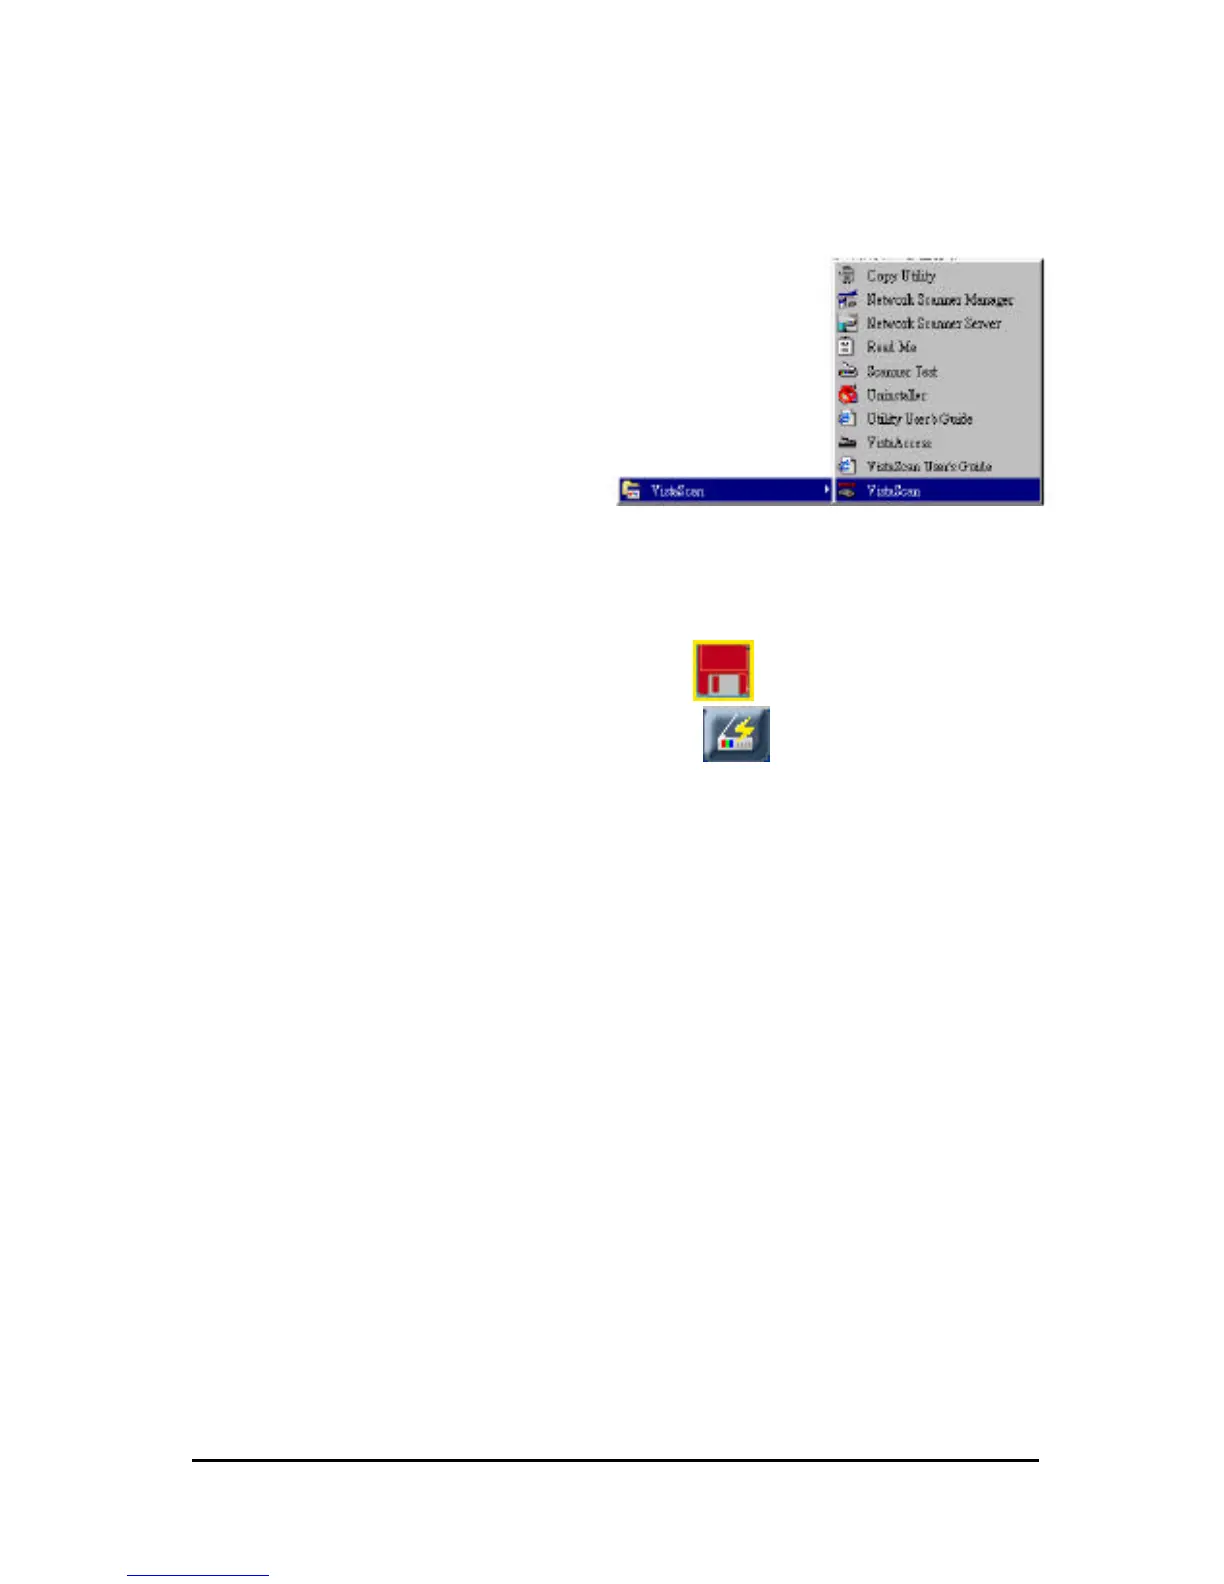
i. From the VistaScan program group on the desktop
1. Launch the VistaScan
program group as shown
on the right.
2. The VistaScan window
appears as shown in Fig. 5
3. From the “Scan To” panel
in the main menu, choose a
destination for the scanned
image.
4. Click on one of the small icons in the “Scan To” panel representing the
desired destination (a folder, printer, email application, etc.) for the
scanned image. For example, if you want to save the image in a
particular file, click on the small icon on the middle of panel, and
then click on the “Preferences” button on the top right of the
VistaScan interface. The Preferences dialog box appears.
5. In the Preferences dialog box, click on the “Scan Destination” tab and
then enter the relevant details into the “File Name”, “File Format” and
“File Directory” fields respectively. You may use the “Browse” button
to help you locate the desired folder for your image as shown in Fig. 6.
6. Click on “OK”. The entries you made will be implemented and the
dialog box closes.
7. There are four modes on the “Click to Scan” panel: click a scan mode
button that best suits the required scan. For example, if you wish to scan
a color photograph, click the Color Photo button to scan the image in
true color. Scanning will commence upon the selection of a button.
8. For an explanation of the other “Scan to” destinations, please refer to
the VistaScan's on-line help.
 Loading...