- 26 - - 27 -
ENGLISH
Some components have the tightening torque values engraved on the part itself. If
these are not recorded or have been erased, look for the values in the “Tightening torques” section
of this manual or in the manufacturer’s manual.
It is recommended that the brake levers point slightly downward. To check it, sit on the saddle,
extend your arm and verify that the arm draws a straight line with the fingers, when gripping the
brake lever.
If needed, loosen the lever screws and move the lever until it reaches a more comfortable position.
To retighten the screws, use a torque wrench, without exceeding the recommended tightening
torque.
ONCE THE ASSEMBLY IS COMPLETED
After having assemble the bicycle, make a braking test with the bike stopped. Tighten the brake
levers firmly and check that they have a defined pressure point and do not touch the handlebar.
In the “Adjustment and Maintenance Guide” section of this manual, you will find the maintenance
and adjustment instructions for the brake system.
An improper adjustment of the rear suspension shock can cause malfunctions, material damag-
es and even cause you to lose control and fall.
STEP 9 | Tyres inflation
Inflate both tyres with the maximum inflation pressure indicated on the sidewalls of the tyres.
For more information on the tyres, see the Tyres chapter in the “Adjustment and Maintenance
Guide” of this manual.
Use manual pumps with a reliable pressure gauge. Do not use service station pumps.
STEP 10 | Final adjustment of the pedalling position
The handlebar along with the saddle, define the position of the cyclist on the bicycle. You must en-
sure that the position is as ergonomic as possible.
These final adjustments are made with the suspensions and the tires inflated to the proper pres-
sure.
Adjust the height of the saddle. If possible, measure the height of the saddle on your previous bike.
You must take the measurement from the centre of the bottom bracket, up to the top surface of
the saddle. Transfer this height to your new UNNO bike, by moving the seat post into the seat tube
until you reach the desired height.
Check that the seat post is properly inserted, by always leaving the minimum insertion line inside
the seat tube.
A seat post positioned too high, above its minimum insertion line, can damage the bicycle and
make you lose control and fall.
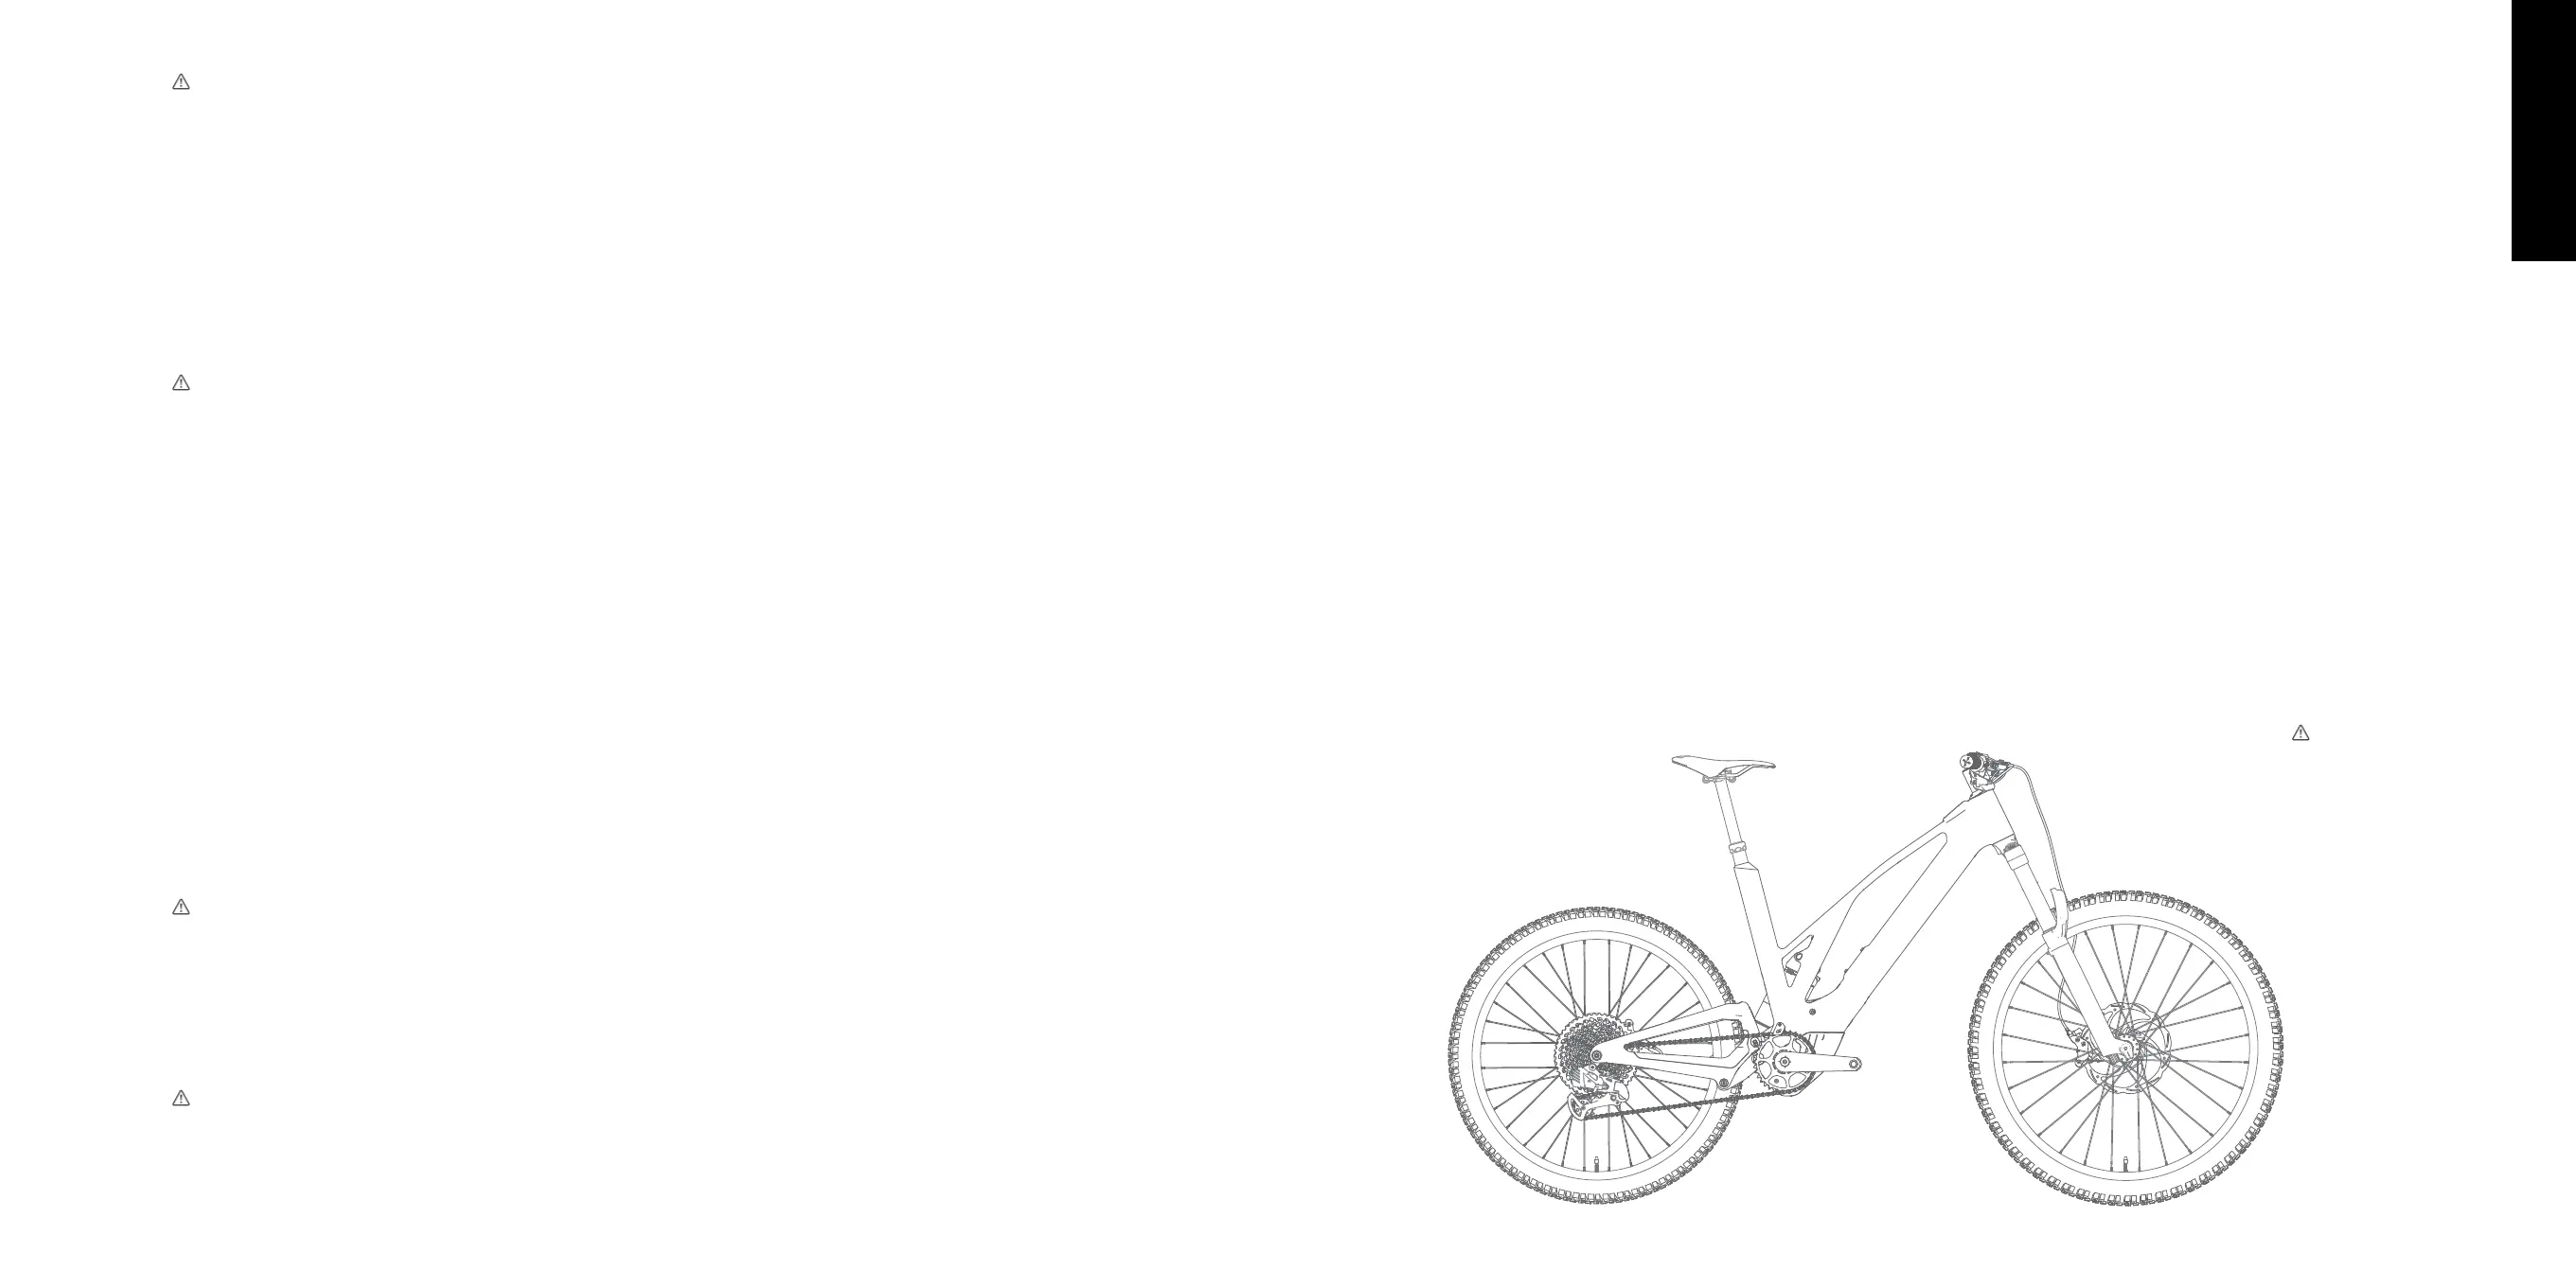
On bicycles with full suspension, make sure that when fully compressing the rear suspension, the
wheel does not touch the saddle when it is in the lowest possible configuration (descent position
in the case of a telescopic seat post). This could damage the saddle and the frame.
It is mandatory to leave a gap of minimum 12mm between wheel and saddle once the rear
shock absorber is fully compressed.
Align the saddle and, with a torque wrench, tighten the screws of the seat tube clamp, according
to the recommended tightening torque.
 Loading...