- 24 - - 25 -
ENGLISH
cause a fall.
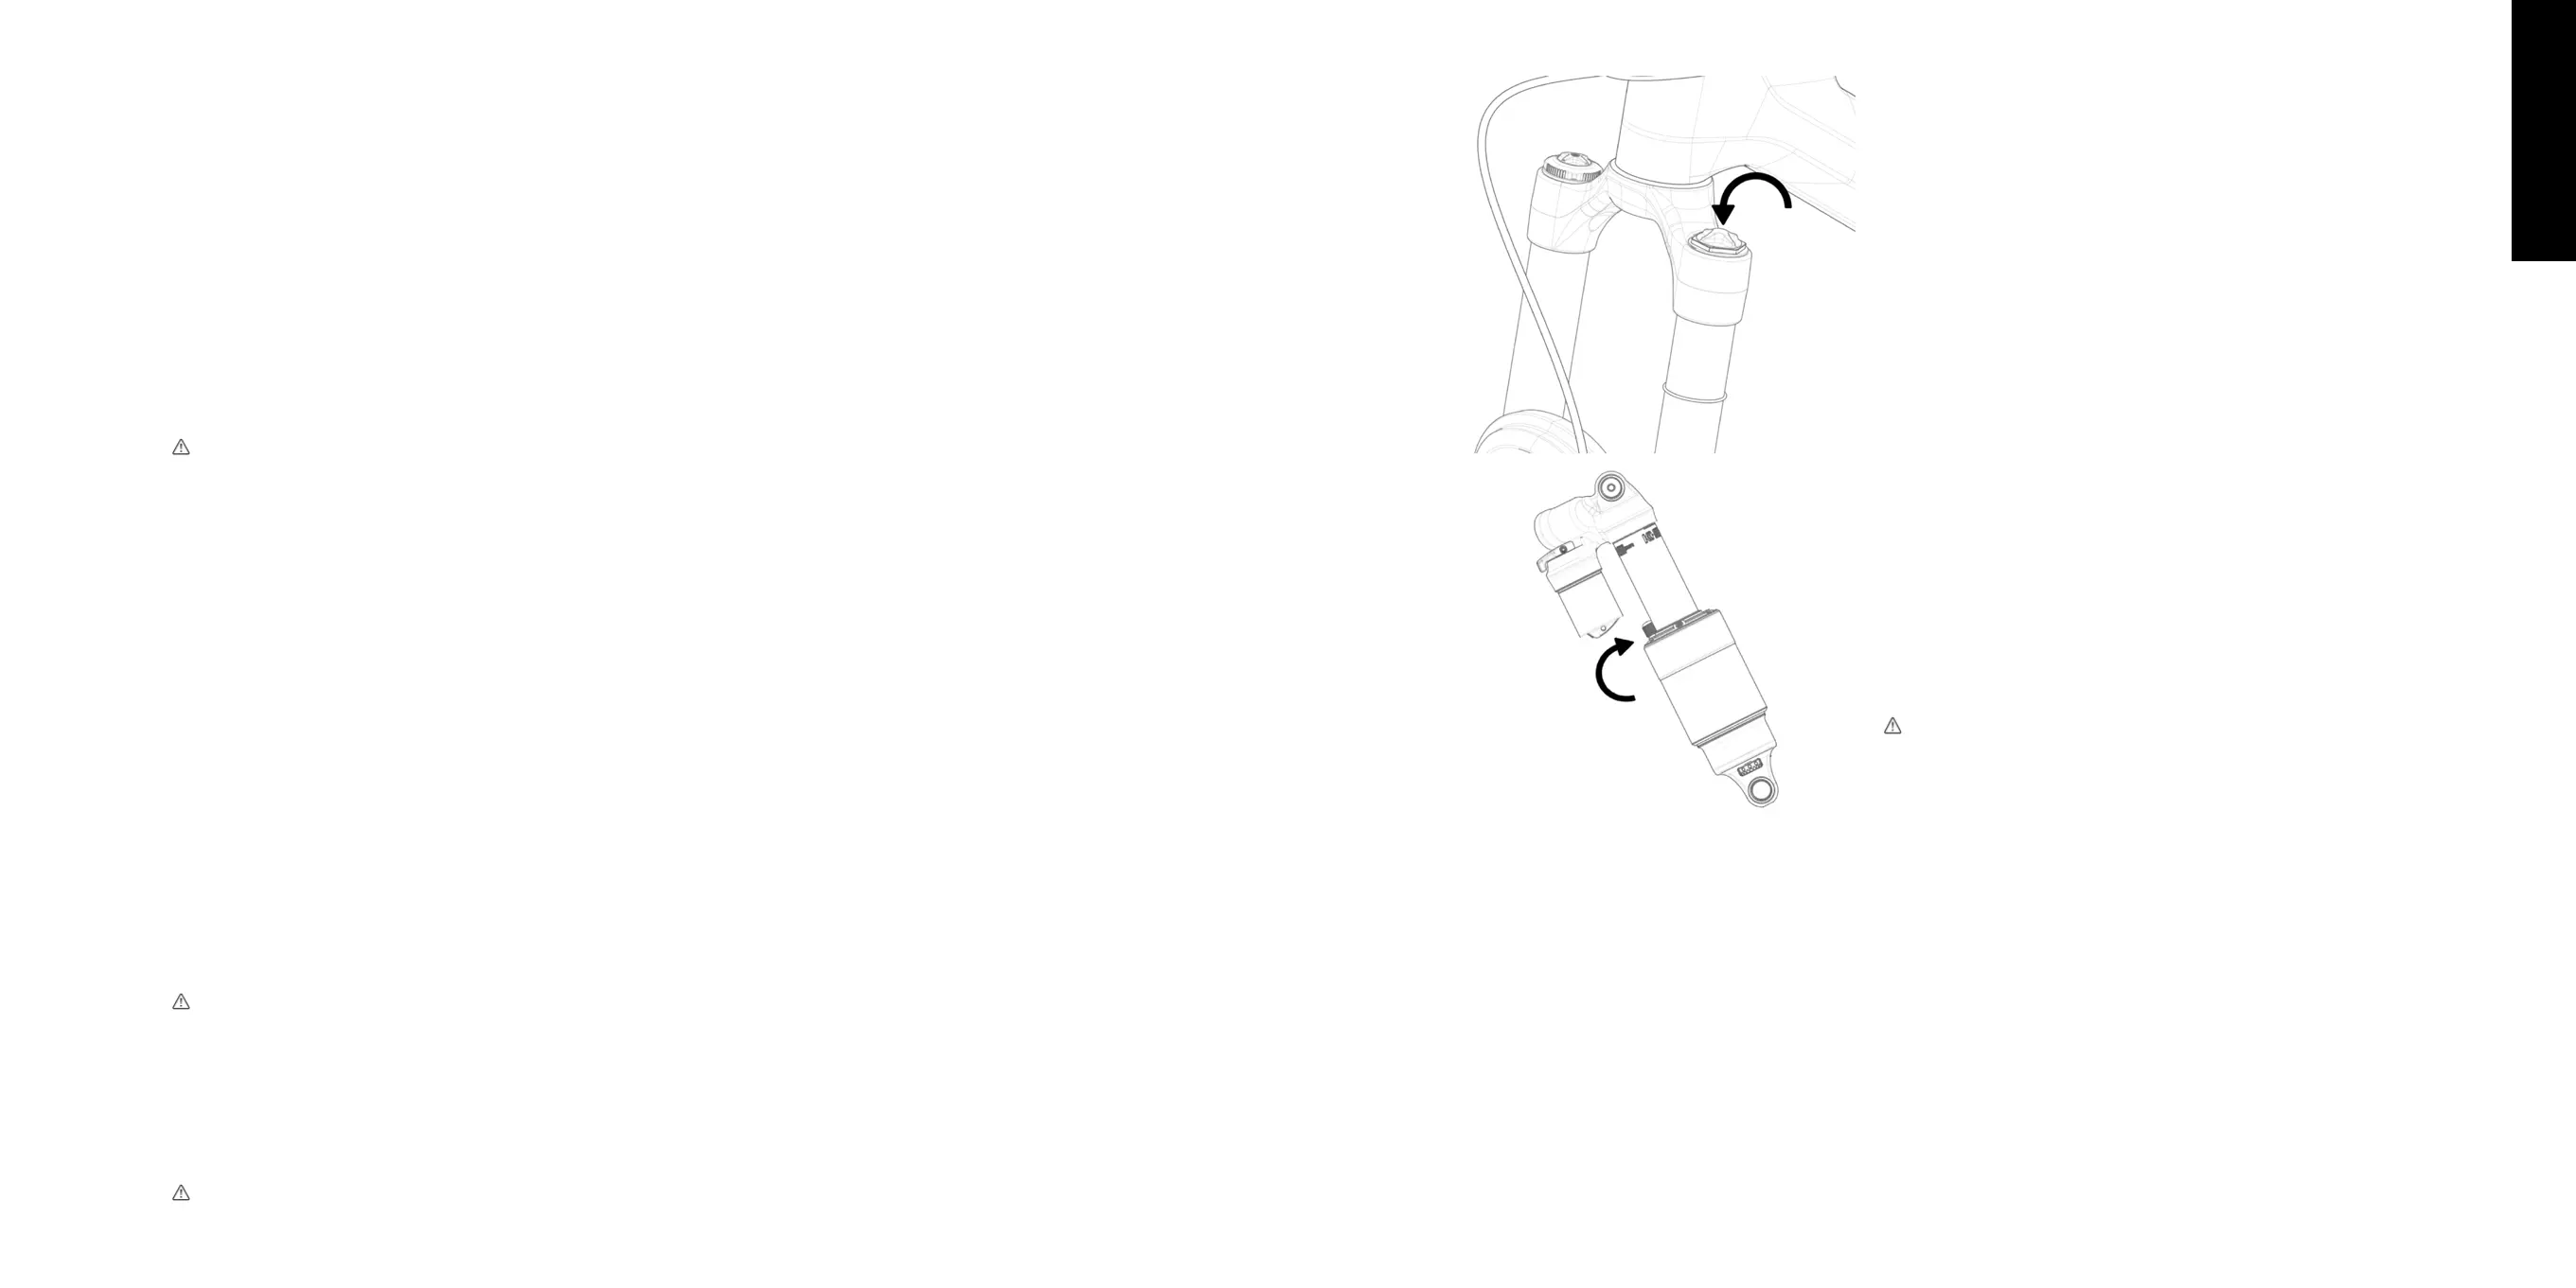
STEP 5 | Inflating the Suspension Fork
On some bicycle models, the suspension fork is com-
pletely deflated for the shipment. It must be inflated
with the proper air pressure.
Remove the fork inflating cover.
Inflate the fork with a high-pressure air pump, specific
for pneumatic suspensions.
For the suspension fork to work optimally, it must be
adjusted accordingly to the weight of the cyclist, his
position on the saddle and the bicycle usage.
To do it, follow the instructions found in the corre-
sponding chapter in the “Adjustment and Mainte-
nance Guide” in this manual and in the fork manu-
facturer’s manual. v
An improper adjustment of the fork can cause
malfunctions, material damages and even cause you
to lose control and fall.
STEP 6 | Inflating the Rear Suspension Shock
On some bicycle models, the shock absorber on the rear suspension is completely deflated for
transport. You must inflate it with the proper air pressure.
Remove the shock inflating cover.
Inflate the shock with a high-pressure air pump, specific for pneumatic suspensions.
For the suspension fork to work optimally, it must be adjusted accordingly to the weight of the cy-
clist, his position on the saddle and the bicycle usage.
To do it, follow the instructions found in the corresponding chapter in the “Adjustment and Mainte-
nance Guide” in this manual and in the shock manufacturer’s manual.
end, it must be difficult to move.
When opening or closing the lever, never force or pull on a spoke or the brake disc.
If you cannot close the lever completely, open it again and turn the axle a little to the left. Try to
close the lever again.
Once closed, the lever should no longer rotate. It must not protrude either forward or outward and
must fit next to the leg.
Finally, turn the wheel and check that it is well cantered, firmly attached to the fork and that it
turns freely without touching at any point. After a few kilometres, maximum 80, check again that
the wheel is still secure.
If the through axle is not properly tightened, it can cause a fall.
STEP 4 | Mounting the pedals
Before mounting a pedal on the crank note the letter that is engraved on its axis. The letter “R”
means it’s the right pedal and “L” means the left one.
The left pedal has a left thread, meaning that you must turn the pedal in the opposite to the usual
direction (to the left).
Grease a little the threads of the pedals, with conventional grease, before screwing them into the
cranks.
Screw the first two or three turns by hand. Then, use a special key for pedals, until they are com-
pletely screwed.
After traveling about 80 km, check that the pedals are still firmly attached to the cranks.
To do this, move the pedals up and down and left to right.
If a pedal loosens, its thread and the crank’s thread can be damaged, increasing the risk of fall-
ing.
If you mount automatic pedals, before using them, we recommend to clean both the shoe cleats
and the locking mechanism in the pedals, since the dirt could interfere the proper functioning of
the set.
Too much dirt could prevent you from detaching quickly enough from the automatic pedals and
 Loading...