7
ASSEMBLY INSTRUCTIONS
TV
2
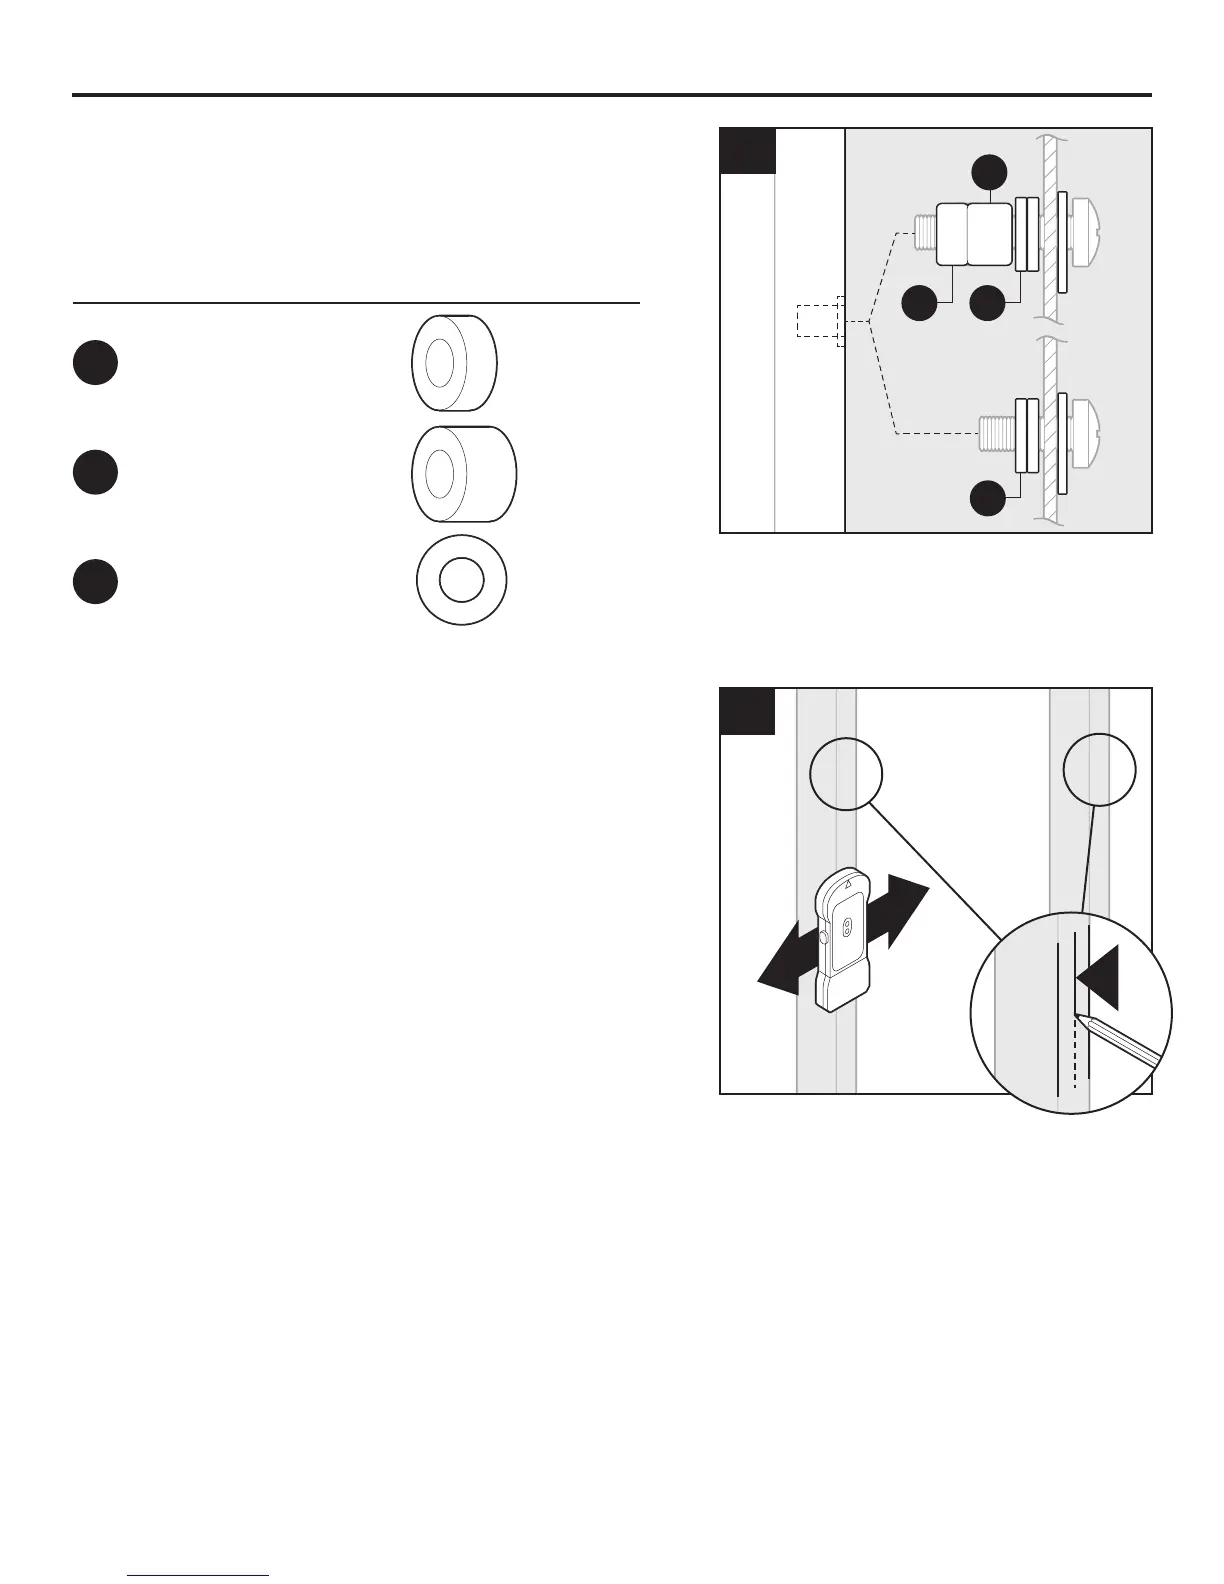
MM
NNLL
NN
2. If screws are too long, additional 5 mm spacers (LL),
10 mm spacers (MM), and steel washers (NN) may
be needed.
1
1
2
3
Wood Stud Installation
Note: For concrete, proceed to step 7.
3. Use a stud nder (not included) to locate wood
studs. Mark the edge and center locations.
Hardware Used
LL
MM
NN
x 4
x 4
x 8
5 mm Spacer
10 mm Spacer
Steel washer
M4 x 12
Screw
Qty. 4
AA
M5 x 12
Screw
Qty. 4
BB
M6 x 15
Screw
Qty. 4
CC
M8 x 15
Screw
Qty. 4
8 mm Lag bolt
Qty. 2
Anchor
Qty. 2
DD
M4 x 30
Screw
Qty. 4
EE
M5 x 30
Screw
Qty. 4
FF
M6 x 30
Screw
Qty. 4
GG
M8 x 30
Screw
Qty. 4
HH
Square
washer
Qty. 4
KK
5 mm
Spacer
Qty. 4
Phillips
screw
Qty. 8
Mounting arm screw
(preassembled to
Mounting arm (A))
Qty. 2
LL
OO PP
10 mm
Spacer
Qty. 4
MM
Steel
washer
Qty. 8
NN
II
JJ