Installation Guide
Roseberry Curved End Unit
Important Information
• Check the product for any signs of damage and remove any protective film.
• It is recommended that a technically competent installer undertakes installation.
• It is the installer’s responsibility to carry out a thorough assessment of the installation
environment (i.e. wall type/structure and the combined weight of the cabinet and
basin) and use appropriate fixings.
• Care should be taken when drilling to avoid any hidden wires or pipes.
• To prevent the cabinet falling from the wall this product must be fixed using the wall
attachment device and brackets provided.
Installation
Unclip the doors from the curved end unit.
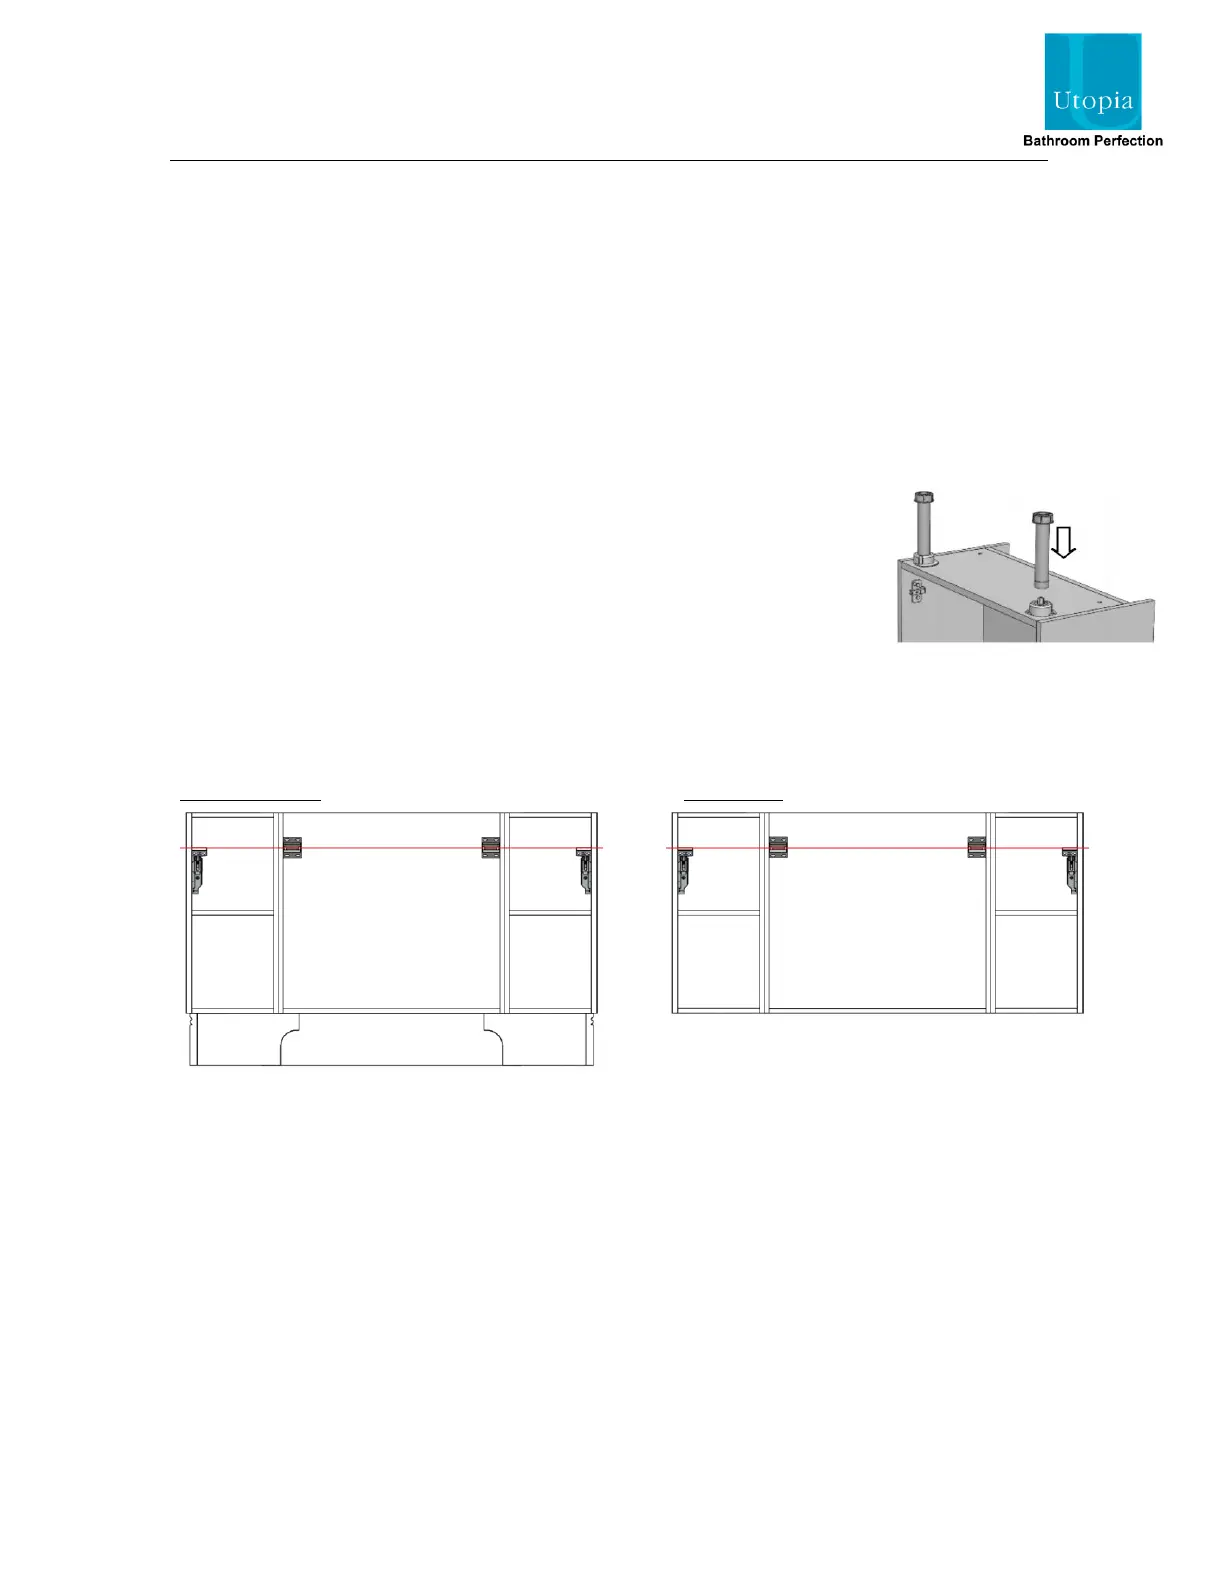
If you are installing these units as floor-standing, turn the cabinet
upside down and fit the adjustable legs. Screw the plinths to the bottom
of the units if they are being used.
Mark a horizontal line on the wall at the required height. Note that the marked line
passes through the centre of the wall brackets for the central washbasin unit and along
the top of the wall brackets for the curved end unit. Ensure that the wall brackets will fit
inside the width of each cabinet.
Floor-standing Wall-hung
Secure the wall brackets to the wall using suitable fixings.
Fit the washbasin unit first, following the instructions supplied with it. Hang the curved
end unit next, ensuring that the wall bracket is securely located.
Re-fit the doors onto the cabinets. Ensure that the doors and drawer fronts are all
aligned before fitting the plinth, if used.
Using suitable screws, secure the curved end unit to the washbasin unit by screwing
through the gables. Try to hide the fixings behind the drawer runners or shelves.
 Loading...