2. Y
LVE
I,ECH I{t
Stl
RECtf{D|T|O{|r'rG
ItG VALVE l€CH
N|SM
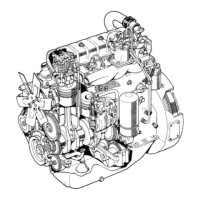
Check
fhe condl+lon of +he valve iappets
paylng
speclal afientlon lo iha coniac+ face agalnsi
ihe camshafi.
Replace
any
worn
or otherwlse
defectl
ve lappets.
Check the s+ralghiness of fhe
push rod
uslng
a
plane
dlsc.
Also
check tha+ the ball
end faces
of
ihe
Dush
rods are lntact.
Dlsmantlo ihe rocker at-rn assembly
and clean
ihe
par+s
carefully. Check ihat ihe
shaft ls nol-
v,orn
and
that +he lubrlca+lon Dorts
are clean.
Check
ihe rocker arm bearlng
bush
lor xear. lf
you
replace
+he bush, ensuro
thal
+he oll
Pori
ls tn
posl+lon
before
presslng
ihe
bush ln
place.
After
lns+alllng
+he bush,
broach lt
'to
l+s correc+
slze
19,990...20,010
mr. lf
the
ihrusi faco of
+he rockor arrn ls worn,
grlnd lt
to lts correct form. Slnce
+he
ihrusi face has
boen case hardened,
grlnd
only
deep enough
fo
srnoo+h
ouf the lrregu lar
ll les.
Place a lock rlng In fhe ofher end of the
rocker arm shafl,
lubrlcaie the shaft
and
Insiall
the
parts
on ihe
shafi
ln
correci
order.
Make sure ihai the lock rlngs sl't
properly
ln
ihelr
grooves.
and fha+
ihe
cup
plugs
In fhe
shaf+
ends
are ln lhelr
posl+lons.
324
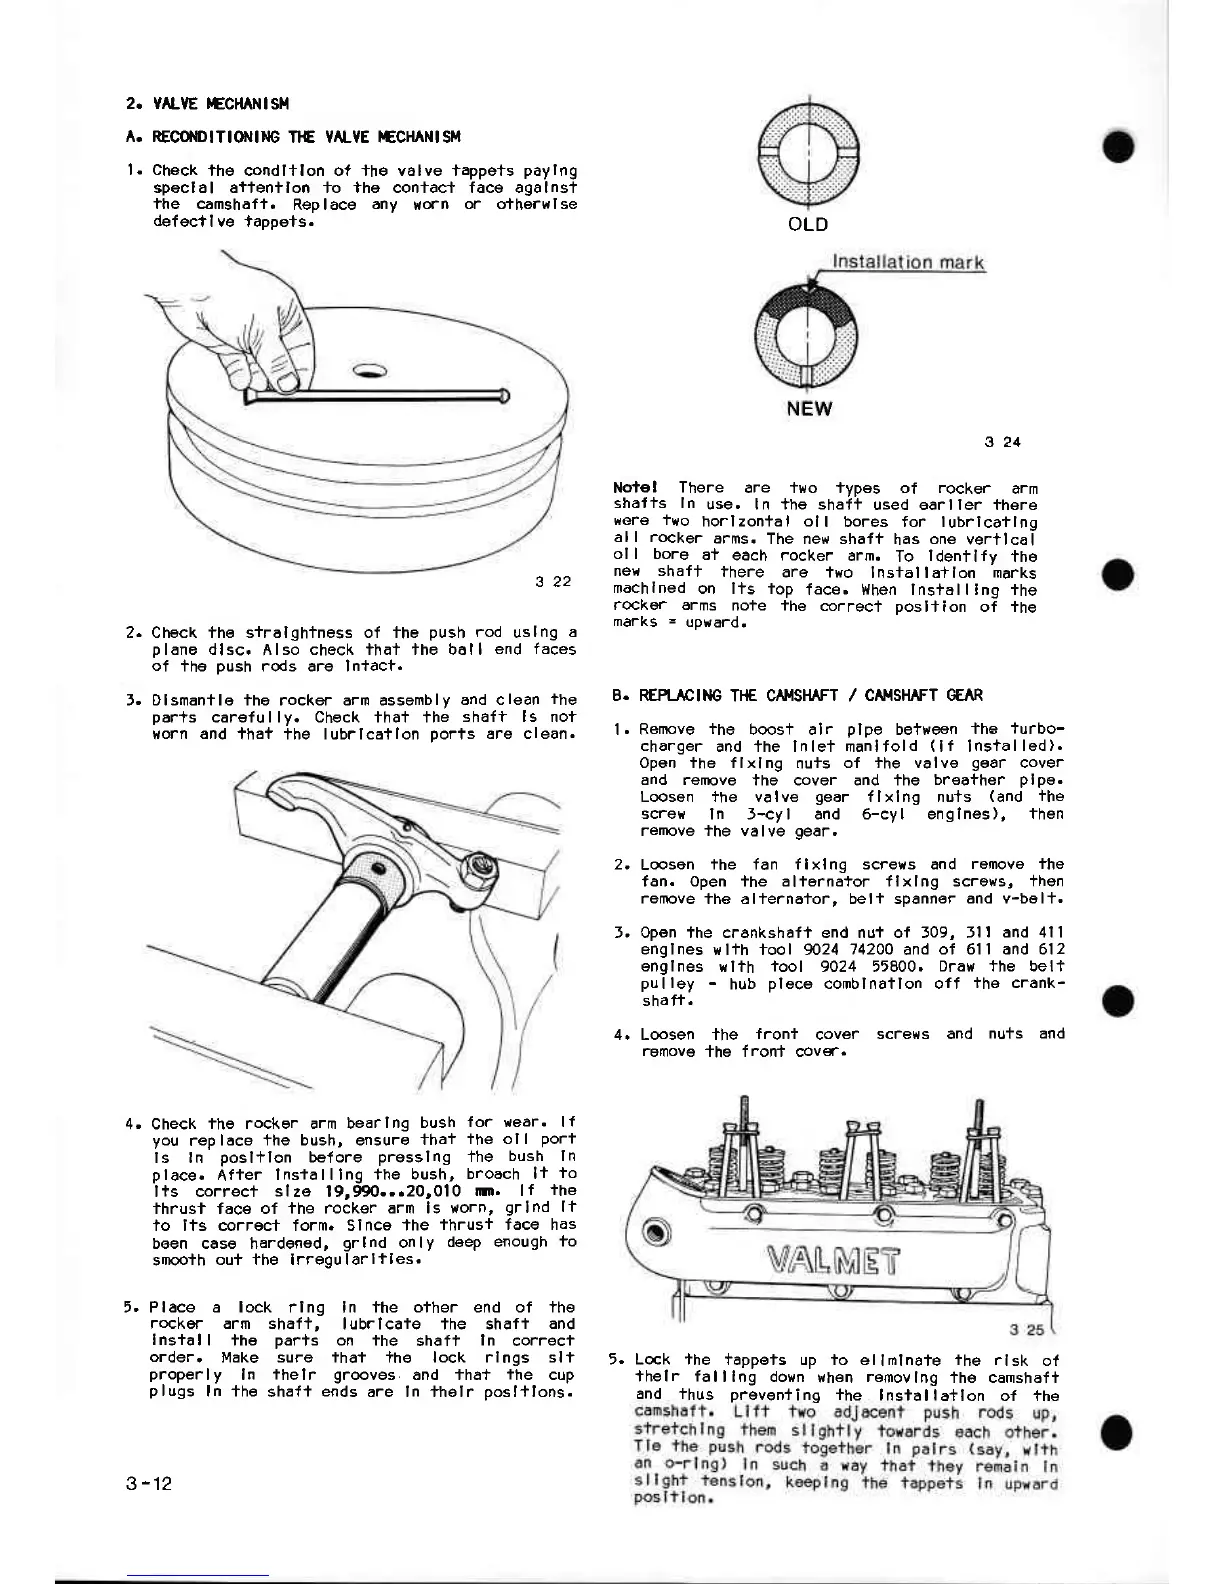
Not€
| There
are +ro types of rocker
arm
shat+s ln
use. In +he shaf+
used earller thsre
Here
'fldo
horlzonfal ol
I bores for lubrlcatlno
all rocker
arms.
The ner{ shaft
has
one
verilcai
oll bore
at
each rocker
arm.
To
ldenilfv
the
nee shaf+
there
are il{o
Insialla+lon
rnarks
machlned
on lts top
face. I{hen lns+alllng ihe
rockor arms
noie the
c!.rec+
Dosl+lon
of ihe
marks
=
upward.
B. REPIIC
ING T1€ CAIISMFT /
CÄI.|SHT|FT GEAR
l. Remove
the
boost alr
Dlpe
betvleen
the
+urbo-
charger
and the lnle+ manlfold
(lf
Ins+alled),
Open the flxlng
nu+s
of +he valve
gear
cover
and rerpve
the cover and +he
breather
plpo.
Loosen the valve
gear
flxlng nu+s
(and
ihe
screH
ln f-cyl and 6-cy I englnes),
then
renove +he valve
gear.
2.
L@son
ihe fan flxlng scrers and
remove ihe
fan. open the aliernator flxlng screws, then
reflpve
th6 al+erna+or, beli spanner
and
y-bolt.
f. Opon fhe crankshafi end nu+ of i09, Jll
and 4ll
englnes
wl+h tool 9024
74200
and
of 6ll and 612
englnes
wlth
tool
9024 55800.
Draw fhe beli
pulley
-
hub
plece
comblnatlon off
the crank-
s ha ff.
4. Loosen ihe
fron+
cover
scrers and
nuts and
removo
+he faonf covs'.
Lck the
iappeis up to ellmlnafe ihe rlsk
ol
+helr falllng
doun
l{hen
renovlng
ihe camshaft
and thus
preven+ing
+he
Installa+lon
of +he
OLD
NEW
3
-12
 Loading...