Installation
Varec, Inc. 19
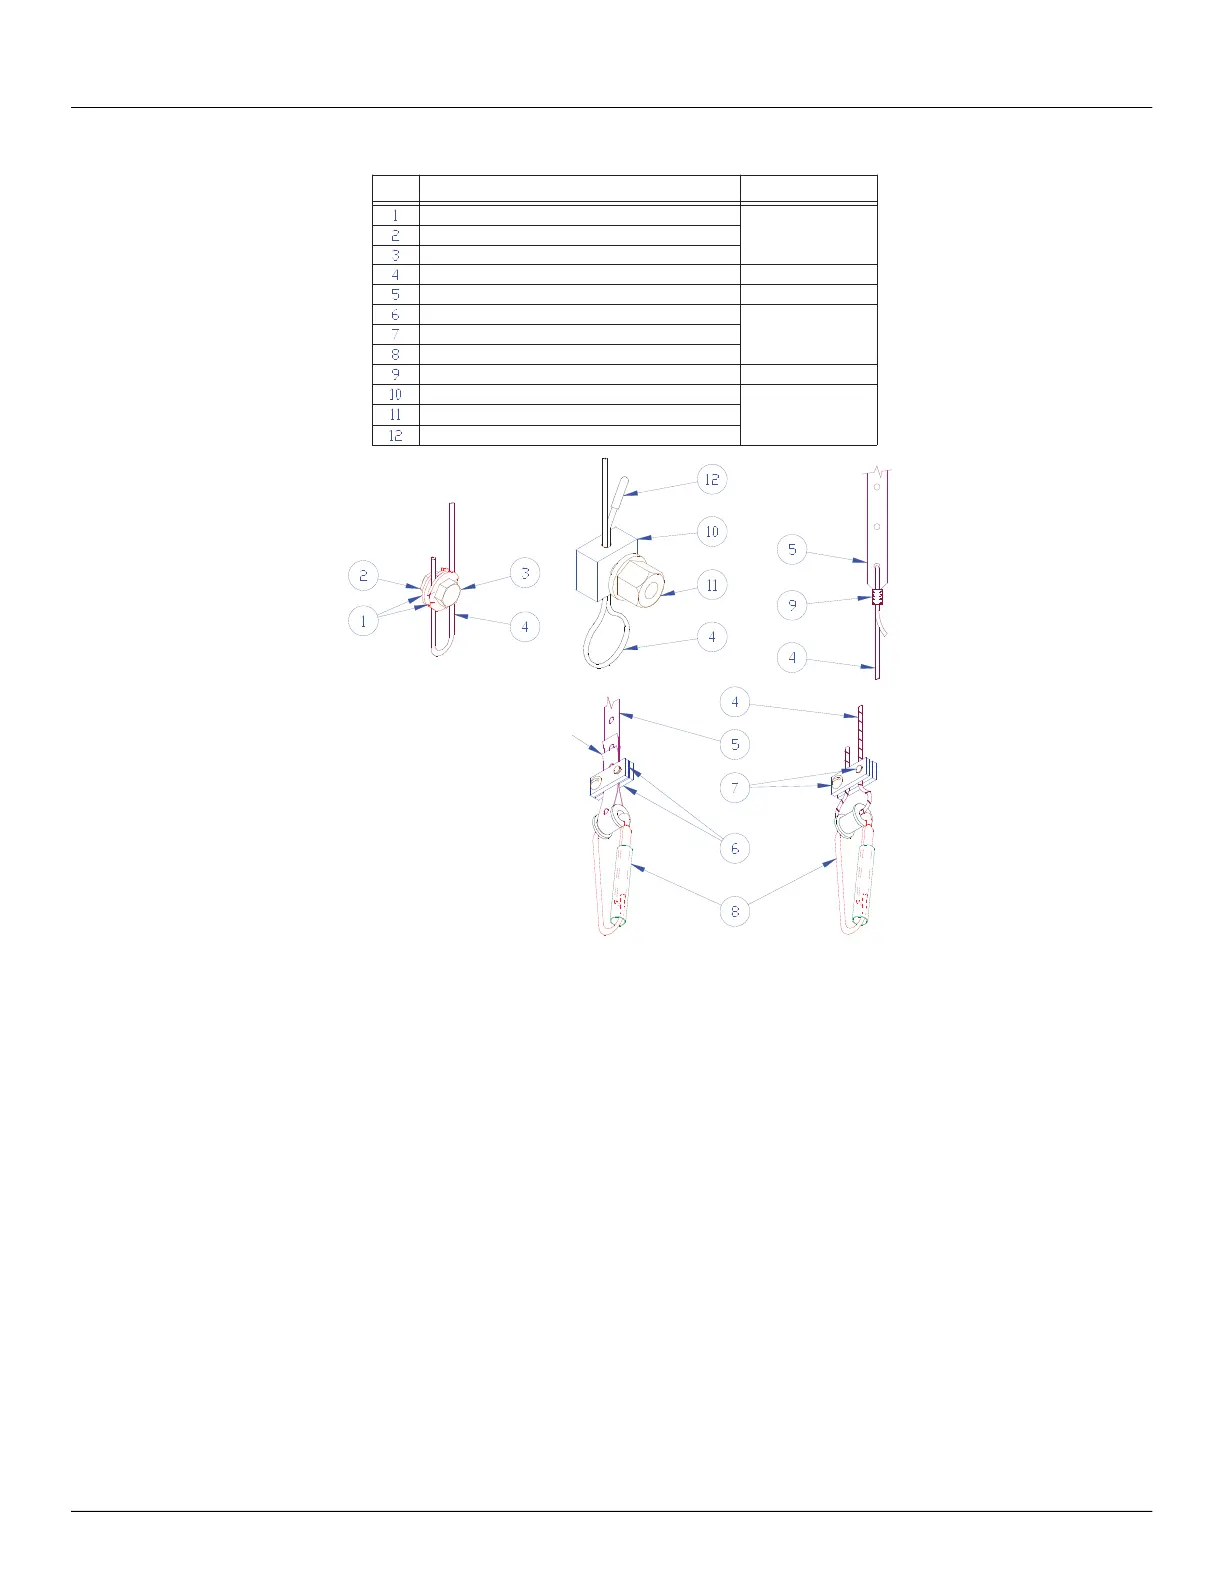
Figure 10: Tape/Cable Clamps
26. Tilt the float on edge and slip the guide cables through the loops on the inside of the tank.
Set it on the tank bottom with the tape/cable connection up.
27. At the elbow on the tank entry pipe, unroll one or two turns of the tape/cable and start to
feed it into the horizontal pipe. Continue to unroll the tape/cable several turns at a time
until it reaches the ground at the bottom of the gaugeboard installation position. Make
sure that the tape/cable on the ground does not become kinked or dirty.
Note Throughout these instructions the term “tape/cable” is used to designate either
the indicator cable drive or the combination tape and cable drive that is used to also drive
the accessory drive elbow. If the tape/cable combination is used, the cable end goes on
the gaugeboard side.
28. Lower the tape cable to the tank bottom and let several inches fall on the tank bottom.
29. Temporarily attach the tape/cable to the float with the furnished fastener (see Figure 8 on
page 17). Feed the other end of the indicator cable over the sheave in the elbow and make
sure that it is seated on the pulley. Final attachment to be made at initial calibration.
6 inch [155] Piece of tape
formed into "U" for
reinforment. Avoid
bending at hole.
HEX HEAD CAP SCREW
CABLE CLAMP (CRIMP TYPE)
FLOAT CONNECTOR
NUT ASSEMBLY
SEAL CAP
BLOCK
ROUND HEAD SCREW
PERFORATED TAPE
JAM NUT
CONNECTING CLAMP
CABLE
CLIP
ITEM
DESCRIPTION
P004-02-002
B6065-006
BM5478-600
PART NUMBER
BM3612