The reverb quantity of each track (and for the Lower parts) remains unvaried for all Style parts. To carry out any modification, select the track
or the part pressing the relevant function button. Modify the value pressing the VALUE +/- buttons.
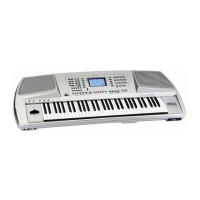
ARRANGE VIEW: THIRD PAGE
For each Lower part or track it is possible to establish which effect (Chorus, Delay or Distortion) will be used to process the voice further to the
quantity of the effect applied.
To modify this setting, select the track or the part using the relevant function button, then press the same function button repeatedly until the
effect to be assigned is displayed. On the selected track or part, use the VALUE +/- push buttons to enter the quantity of effect to be applied
to the timbre.
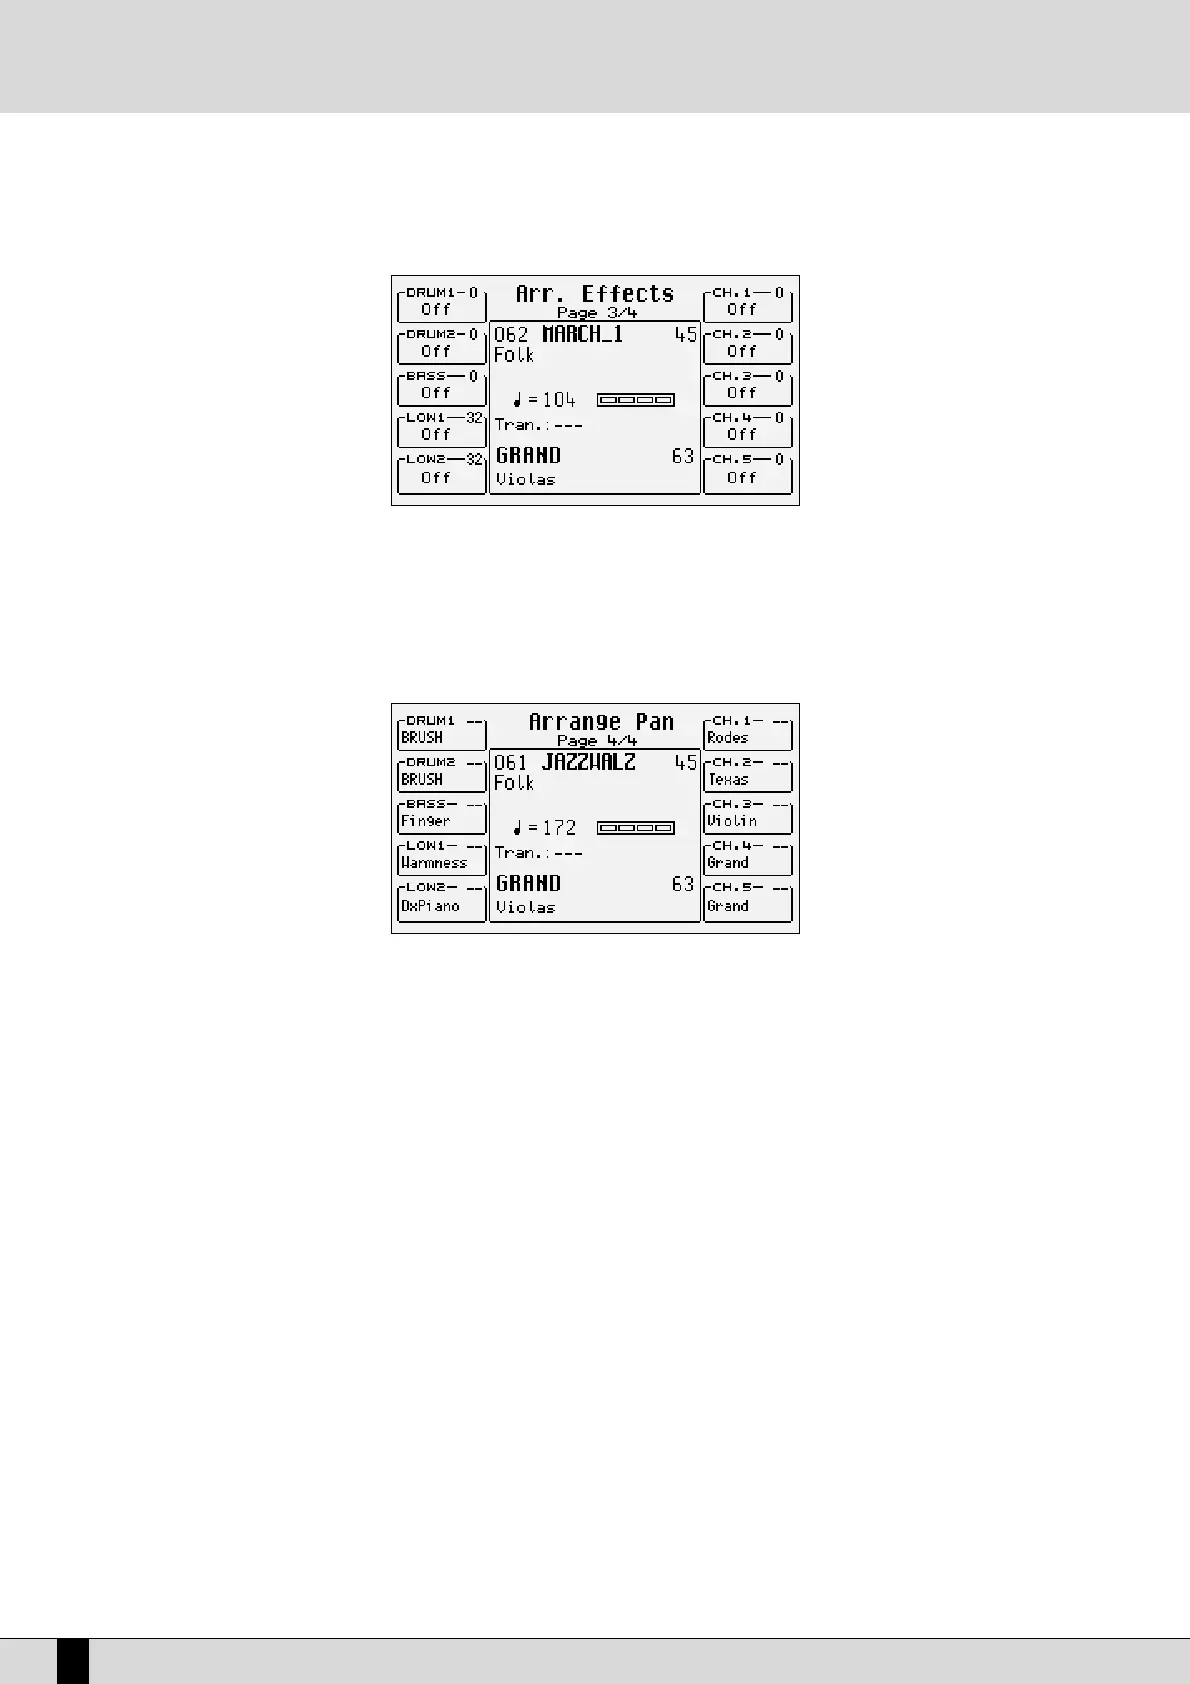
ARRANGE VIEW: FOURTH PART
The pan function, with different values for Right and Left, allows you to position the timbre on the stereo panorama. To modify the setting, select
the track or the part using the relevant function button and change the value pressing the VALUE +/- push buttons. Two dashes indicate that
the timbre is placed to the centre of the stereo panorama.
STORING AND SAVING THE CUSTOM STYLES
All Arrange View parameters of ARRANGE MODE as well as those on the second page of Left Control described must be saved in a Custom
Style so you can call them up later on. In other words, the Style to store replaces the source style that was modified in RAM. Use the normal
procedure foreseen for the SAVE/ENTER command.
STORING A CUSTOM STYLE
After having modified the parameters, press the SAVE/ENTER button to activate the storage operation.
●
Select F2 Styles from the page displayed.
●
Enter the Style name using the keys of the keyboard and the CURSOR +/- push buttons.
●
Confirm the operation pressing F10 Save or exit the page pressing F5 Escape. The modified parameters are saved together with the Style
in the Flash RAM memory.
SAVING ALL CUSTOM STYLES ON A DISK
You may save all Custom Styles in one single block on the disk.
●
Open the DISK menu pressing the relevant push button.
●
Select the target using the Styles push buttons to input the corresponding number.
●
Press F3 Save to activate the saving procedure.
●
Select F6 Custom Styles.
●
Enter the file name using the keyboard keys and the CURSOR +/- push buttons.
●
Confirm the operation pressing F10 Exec or quit the procedure pressing F5 Escape.
●
The file thus created contains all the Custom Styles and has the extension .STY.
VEGA
40
Arranger
 Loading...