Do you have a question about the Velocifero MAD and is the answer not in the manual?
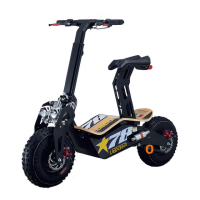
Verifying the presence of the seat support component in the package.
Verifying the presence of the seat cushion component in the package.
Verifying the presence of the user manual in the package.
Instructions for securing the steering column onto the vehicle's main board.
Identification of components: bolt, gasket, spring pad, and nut for column assembly.
Guidance on correctly positioning the quick release mechanism for the steering column.
Process of attaching the steering column to the upper plate using provided hardware.
Securing the steering column assembly by tightening the quick release mechanism.
Caution against pulling cables excessively during installation to prevent damage.
Steps to reset the handlebar to its horizontal position for automatic locking.
Visual confirmation of the handlebar's state after the reset procedure.
Inserting the seat cushion's mounting bracket into the designated seat support.
Adjusting the seat cushion's vertical position using the quick release lever.
Initial step involves removing the seat cushion lock nut from the vehicle frame.
Mounting the seat cushion onto the sleeve via a retaining bolt and base hole.
Finalizing seat installation by tightening the cushion lock nut.
Connecting the wire for the battery to its corresponding electrical interface.
Connecting the wire for the speed limit function.
Connecting the wire for the horn.
Connecting the wire for the taillight.
Connecting the wire for the rear license lamp.
Ensuring all electrical connections are tidily hidden under the foot pedal.
Inserting the fuse into the battery fuse interface for safety.
Information on the toolkit location and fuse type provided.
Recommended charging and discharging cycles for full battery activation.
| Max Speed | 45 km/h |
|---|---|
| Brakes | Disc brakes |
| Max Load | 120 kg |
| Suspension | Front and rear suspension |
| Tire Size | 145/70-6 |
| Charging Time | 6-8 hours |
| Battery | 48V 13Ah Lithium |