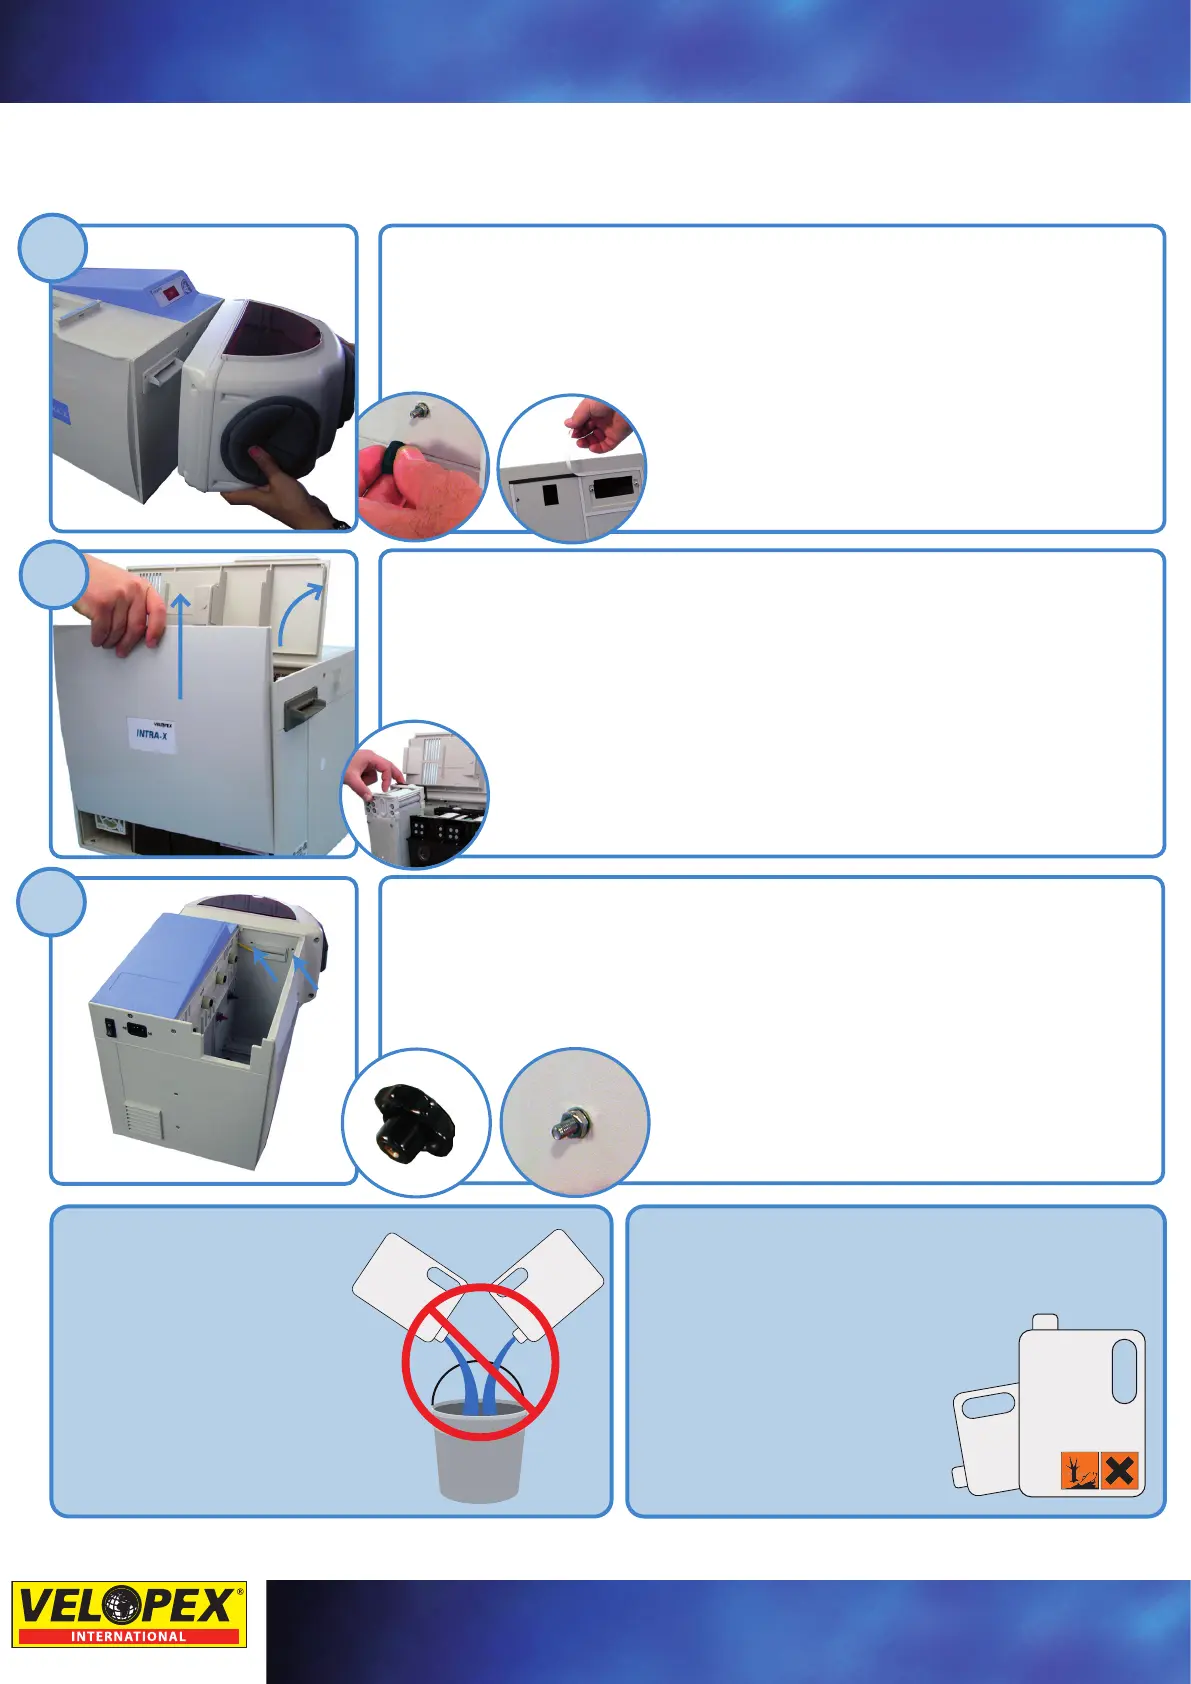
Apply silicon grease to the heaters / Appliquez la graisse de silicone aux réchauffeurs /
Applicare grasso al silicone sui riscaldatori / Silikonfett auf die Heizkörper geben /
Aplique la grasa de silicona en los calentadores / Нанесите силиконовую смазку на
обогреватели
Slide the tanks back into the machine. Make sure the drive pin on the module slides into
the recess. Replace the side panel and lid / Glissez de nouveau les réservoirs dans la
machine. Assurez-vous que le boulon guide glisse dans les modules jusqu'à la cavité.
Replacez le panneau latéral et le couvercle. / Riposizionare i serbatoi sulla macchina.
Assicurarsi che il perno guida sui moduli scorra sulla cavità. Riposizionare il pannello
laterale e il coperchio / Die Tanks wieder in das Gerät einführen. Versichern Sie sich, dass
die Führungsstifte der Module in die Nische gleiten. Seitenteil und Deckel wieder
einsetzen. / Deslice de nuevo los depósitos en la máquina.
Asegúrese de que el perno guía se desliza en los módulos
hasta la cavida. Sustituya el panel lateral y la tapa /
Поставьте резервуары в аппарат. Убедитесь, что
направляющие стержни модулей вошли в
углубление. Закройте боковую панель и крышку.
Remove black stud covers from the front panel, and peel protective tape off the loader. Slide
the loader over the film guide / Retirez les recouvreurs noirs du panneau frontal et tirez de la
bande protectrice du chargeur. Glissez le chargeur dans la glissière du rouleau / Rimuovere le
coperture dei montanti neri dal pannello frontale e il nastro di protezione dal caricatore.
Scorrere il caricatore sulla guida della pellicola / Die schwarzen Abdeckungen der
Stiftschrauben und das Schutzband des Ladeteils entfernen. Das Ladeteil über die
Filmsteuerung schieben / Retire los recubridores negros de los topes del panel frontal y tire de
la cinta protectora del cargador. Deslice el cargador en la guía
del carrete / Открутите винт, закрепляющий переднюю
панель, и снимите защитную крышку. Установите
загрузочное устройство на направляющую пленочного
канала
Thread the two retaining screws through the front panel. Inside the loader, screw the black
knob onto the stud / Vissez les deux vis de fixation au travers du panneau frontal. À
l'intérieur du chargeur, vissez le bouton noir au boulon / Avvitare le due viti di supporto sul
pannello frontale. All'interno del caricatore, avvitare la manopola nera sul perno / Beide
Halteschrauben in das Vorderteil schieben. Im Innern des Ladeteils die schwarzen Knöpfe an
die Stiftschrauben anschrauben / Atornille los dos tornillos de sujeción a través del panel
frontal. Dentro del cargador, atornille el botón negro al perno /
Пропустите резьбу двух фиксирующих винтов через
переднюю панель. Внутри загрузочного устройства
прикрутите к винтам черные ручки
Plug in the machine using the electric cord and switch on. Wait until the “Ready” symbol
is displayed/ Branchez la machine via le câble d'alimentation et allumez-la. Patientez
jusqu'à l'apparition du symbole "prêt" / Collegare la macchina con il cavo di
alimentazione e accenderla. Attendere finché non viene visualizzato il simbolo "pronto" /
Das Stromkabel des Gerätes an das Netz schließen und das Gerät einschalten. Warten bis
das Symbol "betriebsbereit" erscheint / Enchufe la máquina por el cable de alimentación
y enciéndala. Espere hasta que aparezca el símbolo de "listo"/
Подсоедините аппарат к сети с помощью
электрического кабеля и включите его. Подождите
пока появится сигнал "Готово"
B
2
3
4
10-30 mins
Lift the lid and remove the side panel. Slide out the modules and remove all the packaging /
Levez le couvercle et retirez le panneau latéral. Retirez les modules en les faisant glisser et
retirez les emballages / Sollevare il coperchio e rimuovere il pannello laterale. Rimuovere i
moduli e gli imballaggi / Den Deckel heben und das Seitenteil entfernen. Die Module
herausziehen und die Verpackung entfernen / Levante la cubierta y retire el panel lateral.
Saque los módulos deslizándolos y retire los envoltorios / Поднимите крышку и снимите
боковую панель. Потяните модули кверху и вытащите все упаковки.
Warning: Never mix the chemicals
together / Avertissement : Ne
mélangez jamais les produits
chimiques / Avvertenza: Non
mischiare mai le sostanze
chimiche / Warnung: die
Chemikalien auf keinen Fall
mischen / Precaución: No mezcle
nunca los productos químicos /
Предупреждение! Никогда не
смешивайте химические
продукты!
D
EVEL
O
PER
FIXER
Check with your local authority on how to dispose of chemical
/ Consultez les autorités locales concernant le recyclage des
produits chimiques / Rivolgersi alle autorità locali per
informazioni sullo smaltimento delle sostanze
chimiche / Informieren Sie sich bei den
örtlichen Behörden über die Entsorgung der
Chemikalien / Consulte con las
autoridades locales la recogida de
productos químicos / Установите
через местные власти, куда
можно выливать отходы
химических продуктов
Fill up the tanks to the lowest edge of the tank window. / Remplissez les réservoirs jusqu'à
l'extrémité inférieure de la fenêtre du réservoir / Riempire i serbatoi fino all'estremità
inferiore della finestra del serbatoio / Die Tanks bis zur obersten Kante am Tankfenster
füllen. / Rellene los depósitos hasta el extremo inferior de la ventana del depósito /
Заполните резервуары по самую нижнюю отметку окошка
1
D
A
B
C
A = Developer / Révélateur / Rivelatore / Entwickler /
Revelador / Проявитель
B = Fixer / Fixateur / Fissatore / Fixiertank / Fijador /
Закрепитель
C = Water / Eau / Acqua / Wasser / Agua / Вода
D = DO NOT FILL / NE PAS REMPLIR / NON RIEMPIRE /
NICHT FÜLLEN / NO RELLENAR / НЕ ЗАПОЛНЯТЬ
D
A
B
C
A
C
Installation/Installazione/Instalación/Установка
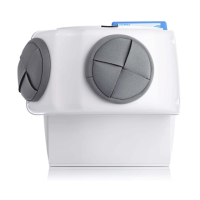
Daylight Loader / Chargeur lumière du jour / Caricatore luce diurna /
Tageslichtvorsatz / Cámara oscura / Загрузчик дневного света
Processor / Développeuse / Sviluppatrice / Filmentwickler / Reveladora /
Процессор
 Loading...