Do you have a question about the Velux Integra KLI 313 and is the answer not in the manual?
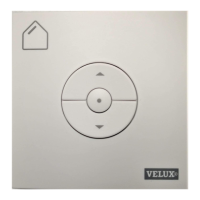
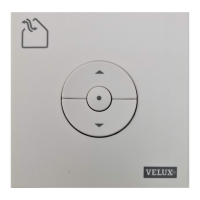
Identifies the VELUX INTEGRA product series and specific model numbers.
Describes the wall switch as a supplement to existing wall switches for added control.
Explains the wall switch as a replacement for other controls, requiring product pairing.
Illustrates the process of installing batteries into the wall switch unit.
Details the procedure for pairing the wall switch with a VELUX window.
Shows how to mount the wall switch bracket using screws and a spirit level.
Demonstrates attaching the wall switch to its mounted bracket.
Illustrates the basic operation of the wall switch buttons.
Guides on installing and configuring multiple wall switches.
| Type | Switch |
|---|---|
| Model | KLI 313 |
| Installation | Wall-mounted |
| Product type | Remote Control |
| Communication technology | Radio frequency |
| Frequency | 868 MHz |
| Power Consumption | Low power |
| Protection Class | IP 20 |
| Compatibility | Velux Integra products |
| Control range | Up to 30 meters |
| Power supply | Battery operated |