1. The closer the laser is to the table, the less stable the structure will be,
try to elevate the laser as far away from the table as possible when using
the laser.
2. Precise positioning of the pattern and the engraved object.
a.Move the laser to the lower left of the frame.
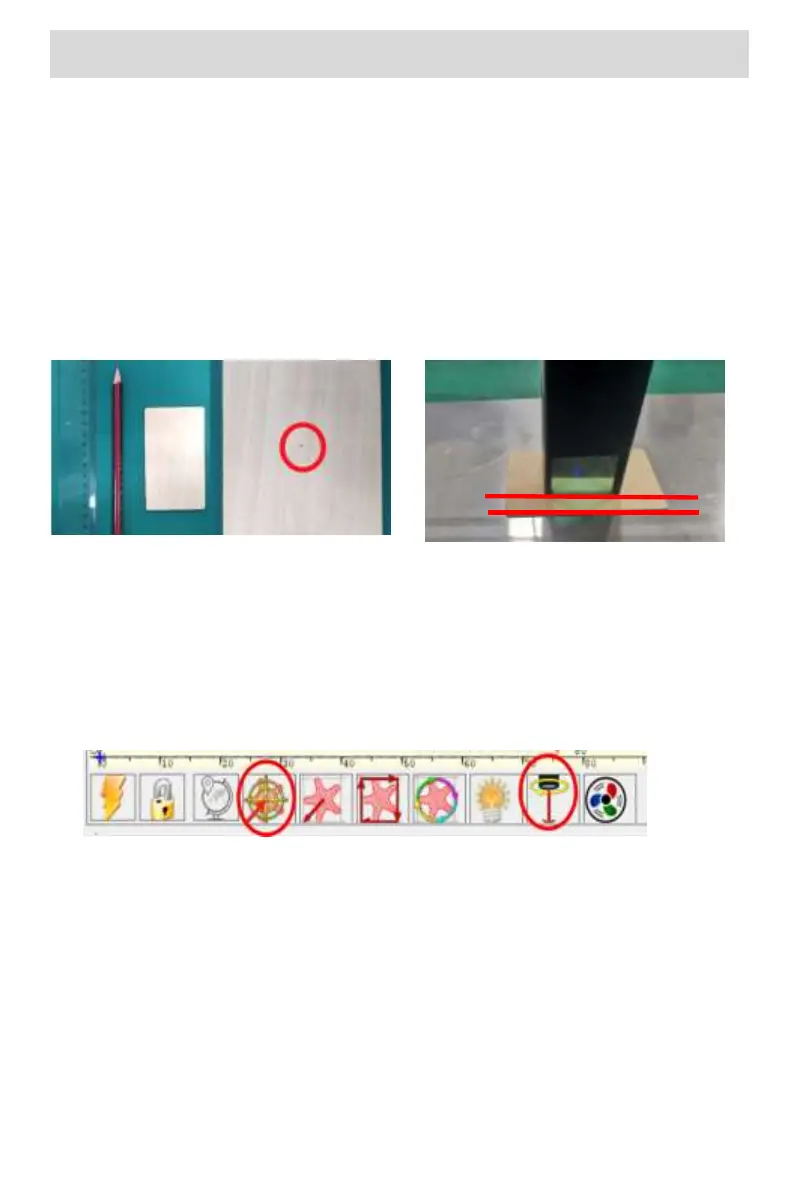
b. Using a ruler and pencil to draw a center point on the engraved object
(Picture 1).
c.The shield must be parallel to the edge of the engraved object(Picture
2).
Part 7: Techniques for using machines
Picture 1 draw a center point on
the engraved object
Picture 2 The shield is parallel to
the edge of the engraved object
d.Click on the following two buttons in sequence to move the laser so
that the laser point moves to the center of the engraving. Once the
positioning is complete, you can start engraving.
Picture 3 center point positioning
1 2
 Loading...