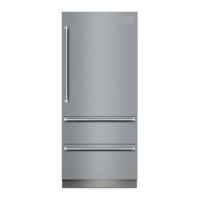
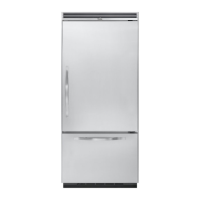
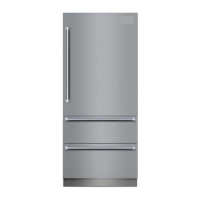
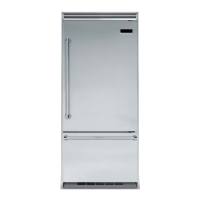
This document is an installation guide for the Viking Range 7 Series Integrated Refrigerator/Freezer, covering models VBI7360/CVBI7360, FBI7360/CFBI7360, MVBI7360/CMVBI7360, and MFBI7360/CMFBI7360. It provides comprehensive instructions for the proper setup, operation, and maintenance of these appliances, emphasizing safety and optimal performance.
The primary function of this device is to provide integrated refrigeration and freezing capabilities within a kitchen environment. Designed for seamless integration, these units offer a sophisticated solution for food preservation, combining aesthetic appeal with advanced functionality. The guide details the necessary steps to ensure the refrigerator/freezer operates efficiently and safely from the moment of installation.
Key usage features include the ability to customize the appliance's appearance with optional custom front panels. The installation process for these panels is clearly outlined, allowing users to match the unit to their kitchen cabinetry. The guide also covers the adjustment of door/drawer panels, ensuring proper alignment and smooth operation. For models equipped with an ice maker, the document provides instructions for water line installation, including important safety warnings regarding water supply quality and tubing requirements. The appliance is designed with a power on/off switch, conveniently located behind an access panel, for easy control during cleaning or servicing. The control panel, located at the top of the unit, allows users to manage various settings, including temperature, and provides indicators for operational modes like Sabbath Mode and Showroom Mode.
Maintenance features are integrated throughout the installation and operational instructions. The guide emphasizes the importance of proper leveling, which is crucial for the unit's efficient operation and the correct closing of doors and drawers. Leveling adjustments can be made from the front of the unit, simplifying the process. Kickplate installation is also detailed, contributing to both the aesthetic finish and the structural integrity of the installed unit. For units requiring water connection, the guide provides instructions for flushing the copper tubing before attachment to remove particles, a critical step for maintaining water quality and preventing issues with the ice maker. The document also includes a water filter system specification and performance data sheet, highlighting the filter's capabilities in reducing various contaminants and providing guidance on filter replacement. This ensures the continued provision of clean, filtered water. Furthermore, the guide addresses door stop adjustment, allowing users to modify the door opening angle (e.g., from 90° to 105°) to suit their space and preferences. This adjustment involves removing and rotating the door stop, a simple procedure that enhances user convenience. The performance checklist at the end of the guide serves as a useful tool for installers and users to verify that all aspects of the installation and initial setup are correctly completed, from cabinet size verification and electrical/water supply connections to door alignment and internal packaging removal. This checklist helps ensure the unit is ready for optimal performance and identifies any potential issues that need addressing.
Safety is a paramount concern, with multiple warnings and important information highlighted throughout the manual. These include electrical shock hazards, tip-over hazards, and precautions related to water supply connections. Users are advised to use qualified technicians for electrical wiring and to ensure proper grounding. The anti-tip bracket installation is emphasized as a crucial step to prevent the appliance from tipping, especially given its top-heavy design. The guide also provides contact information for service and registration, ensuring users can easily access support if needed.