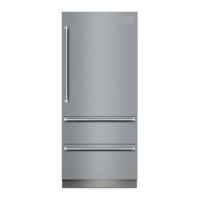
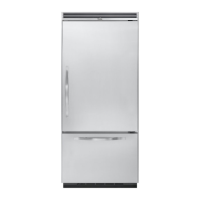
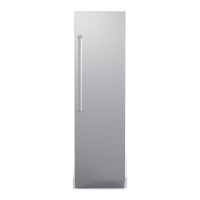
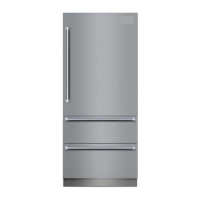
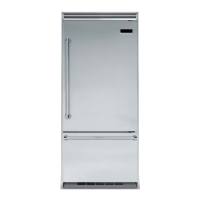
This document provides installation and usage instructions for the Viking 7 Series Integrated All Refrigerator and Integrated All Freezer models. It covers a range of models, including VRI/CVRI, FRI/CFRI, MVRI/CMVRI for refrigerators, and VFI/CVFI, FFI/CFFI, MVFI/CMVFI for freezers, across various widths (18", 24", 30", 36"). The manual emphasizes safety, proper installation, and maintenance to ensure optimal performance and longevity of the appliance.
Function Description:
The Viking 7 Series Integrated All Refrigerator and All Freezer units are designed to provide advanced food preservation within a custom cabinetry setup. These appliances are built to integrate seamlessly into kitchen designs, offering a sleek, flush-mount appearance. The refrigerator models are dedicated to cooling, while the freezer models are dedicated to freezing, allowing for flexible configurations in a kitchen. Some models include an ice maker, requiring a water line connection. The units feature a control panel for managing settings such as temperature, Sabbath Mode, and Showroom Mode. The integrated design means that custom front panels can be attached to the appliance doors, allowing them to blend with the surrounding cabinetry.
Usage Features:
The appliances are equipped with a user-friendly control panel, typically located at the top of the unit, which allows for various adjustments. The display will flash "PL" when first plugged in, and pressing the refrigerator select button twice initiates the display. Users can verify and exit Sabbath Mode, which disables interior lights, the main display (except for SAB and temperature indicators), and alarms. Showroom Mode, which disables the refrigeration system but keeps other functions like lights and controls active, can also be activated or deactivated via specific key combinations (VAC and ALARM keys held for 3 seconds). Factory settings for temperature are 39°F for refrigerators and 0°F for freezers, with a recommendation to wait 24 hours before making changes.
The door swing can be adjusted from a factory-set 90° opening to 105°. This adjustment involves locating the door stop on top of the door hinge, removing two screws, rotating the door stop 180° so the shorter end faces away from the door, and then replacing the screws. This feature provides flexibility in kitchen layouts and accessibility.
For models with water filtration and an ice maker, the system is designed to provide clean, potable water. The manual outlines precautions for water supply, including using only 1/4" copper tubing and flushing the line before connecting to the unit. The water filter system is certified to reduce chlorine taste and odor, particulates, asbestos, atrazine, cysts, lead, lindane, mercury, and toxaphene, ensuring high-quality water and ice.
Maintenance Features:
Proper installation is crucial for the appliance's performance and safety. The manual details requirements for cutout dimensions, electrical connections (dedicated 15-amp, 115-volt, 60-Hz circuit with a grounded 3-prong plug), and water supply (minimum 20 psi, maximum 120 psi for non-dispenser units; minimum 35 psi, maximum 120 psi for dispenser units). The anti-tip bracket must be installed prior to moving the unit into place to prevent tipping, a significant safety hazard due to the appliance's top-heavy design.
Leveling the unit is an important step during installation, performed from the front by removing an access panel and using a 5/16" hex drive to adjust the leveling legs. It is emphasized that the unit should be leveled to the floor, not the surrounding cabinetry, to ensure proper door closing and operation.
Custom front panels can be installed, requiring the removal of panel trim on both sides of the door to access mounting holes. The manual provides detailed dimensions for these panels and hole locations. Door panel adjustments for front-to-back and up-and-down alignment are possible by loosening hardware in vertical and horizontal slots on the side of each panel.
The water filter cartridge requires periodic replacement, and the manual advises having a replacement available. If the filtration system has frozen, the cartridge must be replaced. If the system hasn't been used for several months or if water has an unpleasant taste/odor, flushing 2-3 glasses of water is recommended, and if the problem persists, the filter cartridge should be changed.
The power on/off switch, located behind the header panel, allows for easy power disconnection for cleaning or servicing. Removing the header panel involves prying it away from the unit, first on the hinge side, then the opposite side. It's important to ensure the switch is in the "on" position after any maintenance.
The manual also includes a performance checklist to verify that all installation steps are completed correctly, such as checking cabinet size, electrical and water supply, anti-tip device security, unit leveling, door alignment, and internal packaging removal. For service and registration, users are instructed to have model and serial numbers, purchase date, and dealer information ready, and to contact Viking Range, LLC for assistance. Only authorized parts should be used for repairs to maintain warranty protection.



 To Next Page

 General