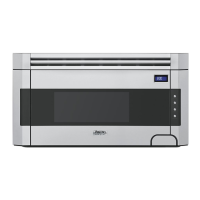
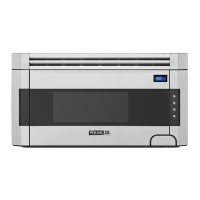
7
DMOR200SS
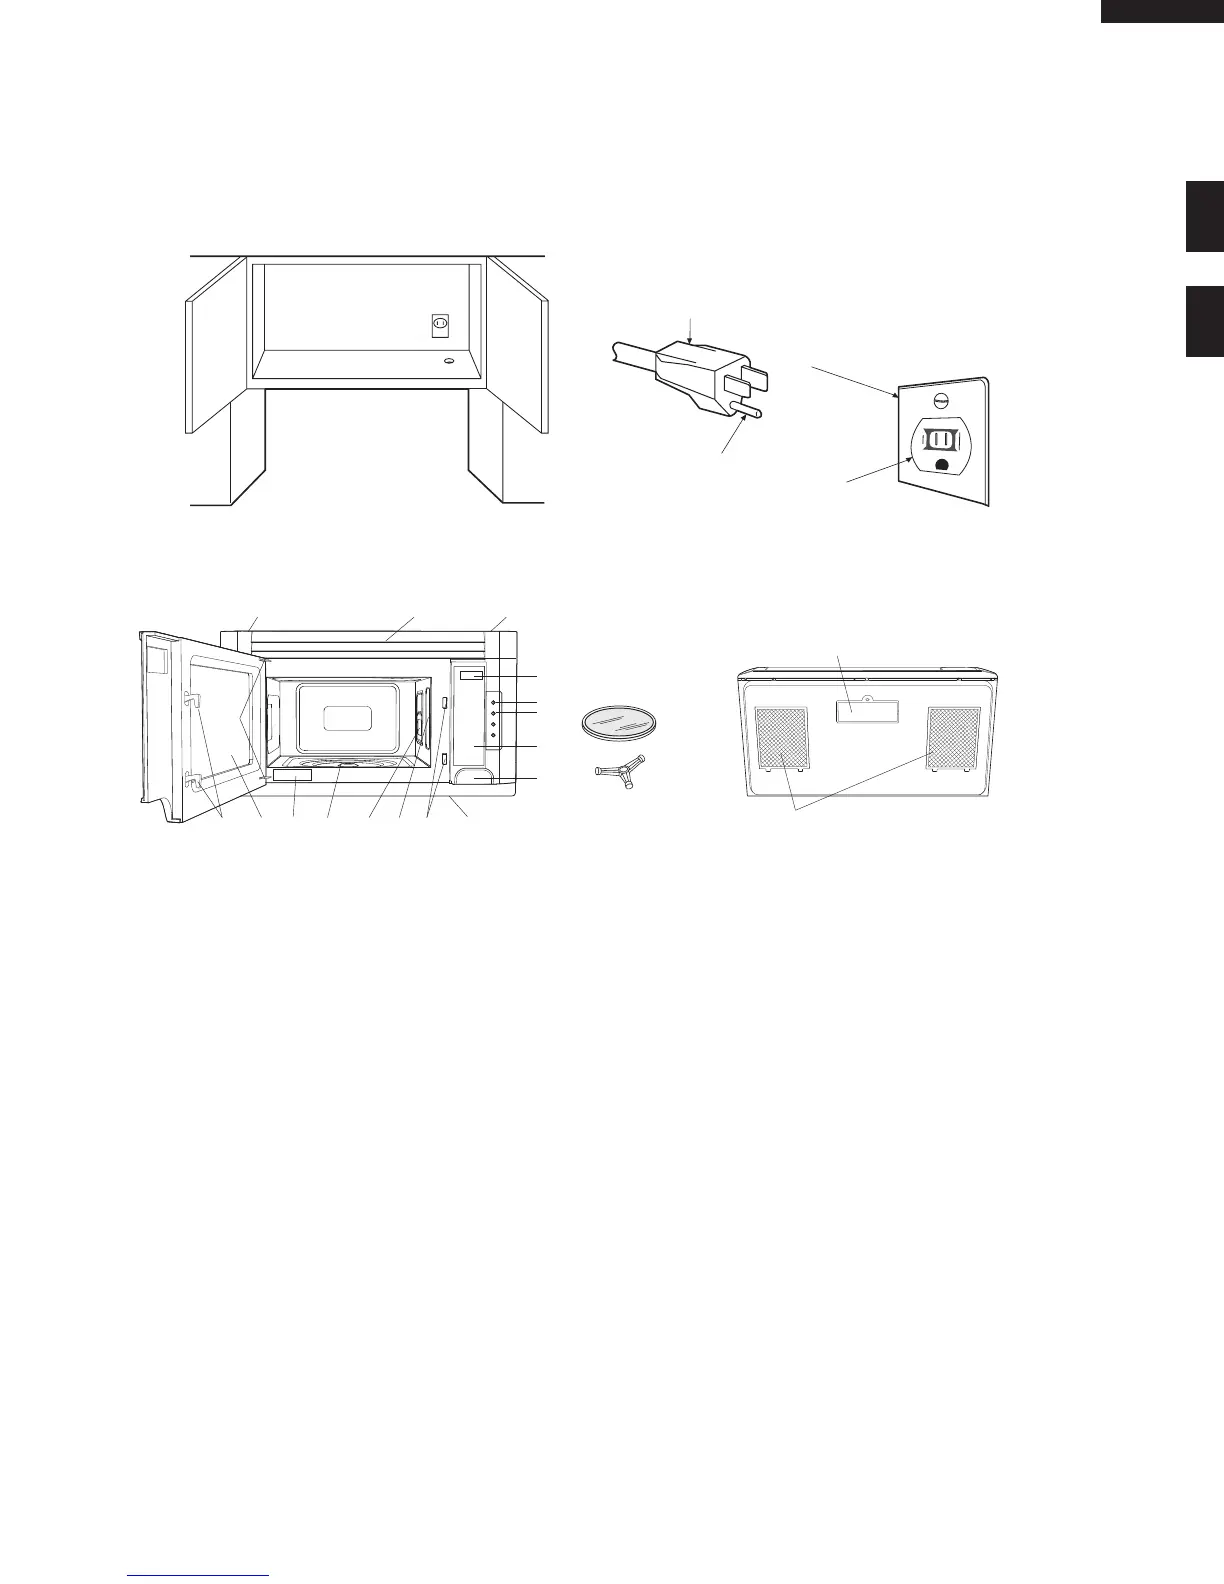
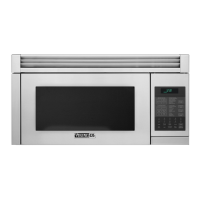
Electrical Requirements
The oven is equipped with a 3-prong grounding plug. DO NOT UNDER ANY CIRCUMSTANCES CUT OR REMOVE THE
GROUNDING PIN FROM THE PLUG.
The power supply cord and plug must be connected to a separate 120 Volt AC, 60 Hz, 15 Amp. or more dedicated line,
using a grounded receptacle. The receptacle should be located inside the cabinet directly above the Microwave Oven/Hood
system mounting location.
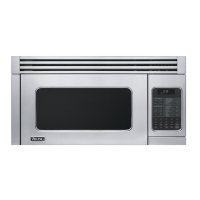
OVEN DIAGRAM
3-Pronged Plug
Grounded
Receptacle Box
Grounding Pin
3-Pronged Receptacle
Product Controls
Oven door with see-through1
window
Door hinges2
Waveguide cover3
DO NOT REMOVE.
Turntable motor shaft4
Oven light - on during operation 5
and when the door is open.
Safety door latches - door must 6
be securely closed for the oven
to operate.
Cook and time display7
LIGHT Hi/Lo pad - controls8
interior light
Press the LIGHT Hi/Lo pad once
for Hi. Press again for Lo. Press a
third time to turn the light o.
FAN Hi/Lo pad - controls fan9
Press the FAN Hi/Lo pad once
for Hi. Press again for Lo. Press a
third time to turn the fan o.
Control panel 10
One touch DOOR OPEN 11
Push to open door
Louver12
Nameplate13
Louver screws - remove14
screws to replace
charcoal lter.
Removable turntable15
- rotates clockwise or
counterclockwise
Only remove for cleaning
Removable turntable16
support
1. Carefully place the
turntable support in
the motor shaft in the
center of the oven
oor.
2. Place the turntable on
the turntable support
securely.
Heat deector17
16
2
34 5
7
8
9
10
12
15
16
6
11
13 17
1414
(Front of Microwave)
(Rear of Microwave)
18
19
Light cover18
Grease lters19
Bottom of Unit