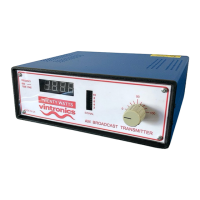
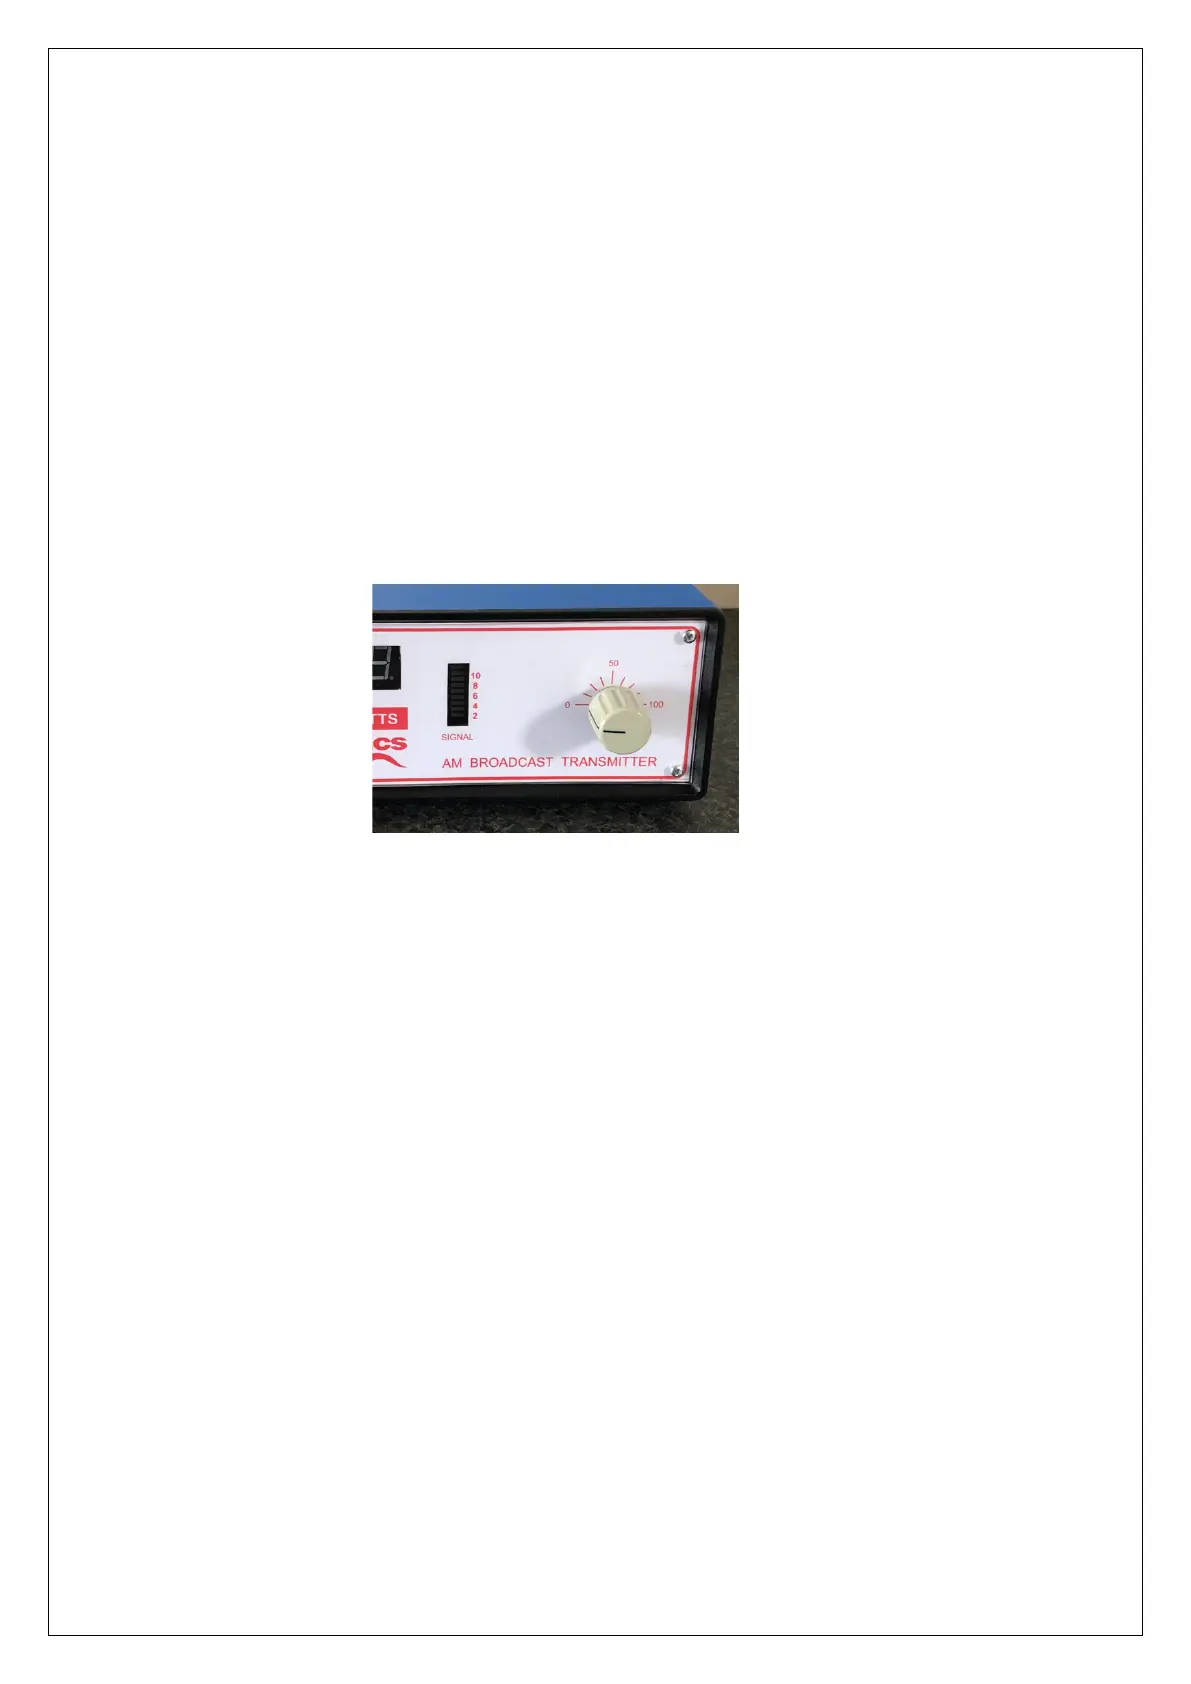
Setup
1. Insert stripped end of wire into the Aerial terminal and screw into place
2. Remove top cover and locate the variable inductor.
3. Adjust frequency using DIP switches on the rear as per required settings.
4. Connect phono audio cable (L and R) to transmitter and audio source.
5. Connect power supply to DC socket and turn on unit from power switch
6. Adjust aerial tune knob and variable inductor for maximum power on output power
display
7. Switch off and replace cover.
Advanced setup and troubleshooting
Internally, on the higher frequency model there is a selector link on the output coil (toroid)
which is used for better aerial matching. At higher frequencies in particular, if the tuning
capacitor is at one end, use the link to select a lower inductance for improved matching.
Much better matching can be achieved by moving the link. Remove top cover to gain access.
A longer aerial wire can be used with the transmitter and will give a better range. Excellent
results have been obtained using a single long wire of approximately 18 metres length as
shown in the diagram. The aerial is essentially the length of the back garden, using
insulators that radio hams use. Roof top is the end of the wire, suspended via a tree at the
other end. Also, the use of a good Earth helps with signal efficiency and distance. A copper
stake in the ground is a good start. Search the Internet for further advice.
 Loading...