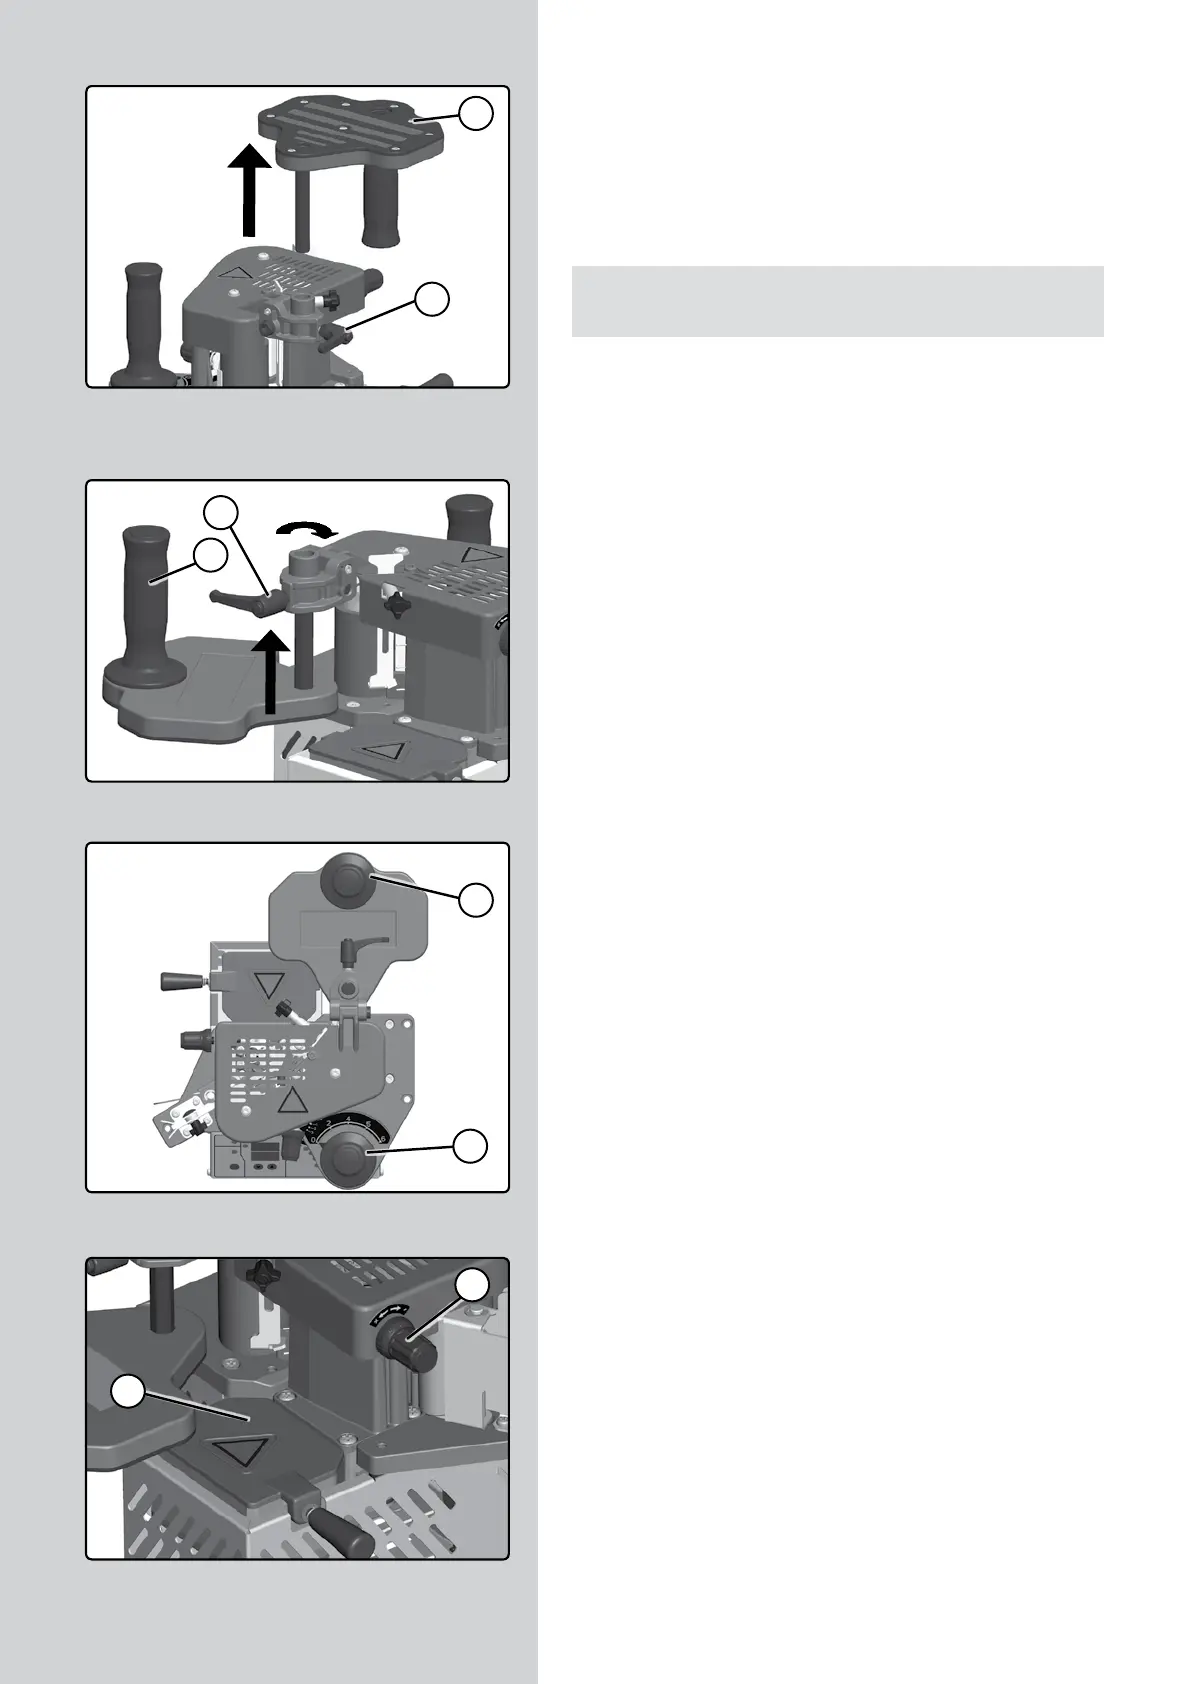
• Turn lever A (Fig. 3), remove the plate guide B (Fig. 3) and
assemble it as shown in (Fig. 4).
• Check that the handles A and B (Fig. 5) are aligned as shown.
• Save the wooden box and cover for storing and transporting
the gluing machine.
6. PORTABLE EDGEBANDER PEB250/250
RECOMMENDATIONS FOR GOOD EDGE ADHESION
The following are the most important recommendations for
consideration when using the PEB250, taking into account the
board, edge, glue and work temperature.
6.1 ABOUT THE EDGE AND BOARD
• The edge of the board to be banded must be at 90º to the
top surface and free of dust. For boards with an inclination of
up to 10º, see section 8.4 Inclined guide plate adjustment.
• The edge must have a good surface to obtain a perfect finish
when banding chip boards with thin edges and dust free.
• The pieces and the edges that are going to be glued must be
at a temperature of at least 18°C (64ºF).
• Always apply sufficient force on the edge to obtain a good
banding.
• For rigid (Formica) edges, sufficient pressure must be applied
to overcome the rigidity of the same.
• With porous boards, the amount of glue to be applied should
generally be increased.
6.2 ABOUT THE GLUE
• Check that the quantity of glue that the edge receives is
appropriate by doing a trial run considering that:
- For 0.4 mm PVC, ABS or plastic edges...Vernier B in pos. 0
(Fig. 6)
- For 0.4-1.5 mm edges...........Vernier B in pos. 2 (Fig. 6)
- For 1-1.5 mm rigid (Formica) edges...Vernier B in pos. 7 (Fig.
6)
- For 2 mm edges….....................Vernier B in pos. 5 (Fig. 6)
- For 3 mm edges................................Vernier B in pos. 8 (Fig. 6)
• With rigid edges, it is preferable to reduce the temperature
by 10%; increasing the volume of glue is counter-productive
and does not necessarily achieve better quality adhesion.
• Make sure you have enough fully melted glue in the tank to
finish the job. If glue needs to be added to the tank for this,
activate the gluing speed some 5 minutes earlier (see section
9.2 Controlling the gluing speed).
• Degraded glue loses its adhesive properties and does not stick
properly. The colour of the glue tends to darken.
• When you are going to glue the edges, use Virutex special glue
for PEB200/PEB250 (ref. 2599266), which has been specially
developed for this purpose.
• You can also use one of the following glues which have been
approved by Virutex for use in the PEB200/PEB250:
- Rayt type MA-6244
- Kleiberit 743.7
(Figure 4)
B
A
(Figure 5)
B
(Figure 6)
B
(Figure 3)
B
A
A
A
24 - PEB200-PEB250 / Operating instructions