VWR_Quick_Guide_VisicamTC20plus_Jan16_rev0.docx
2 / 4
2. SWITCH-ON TC20 PLUS
Follow the instructions in the order as described below. ATTENTION: before doing the connections, be sure
that the Tablet is switched off
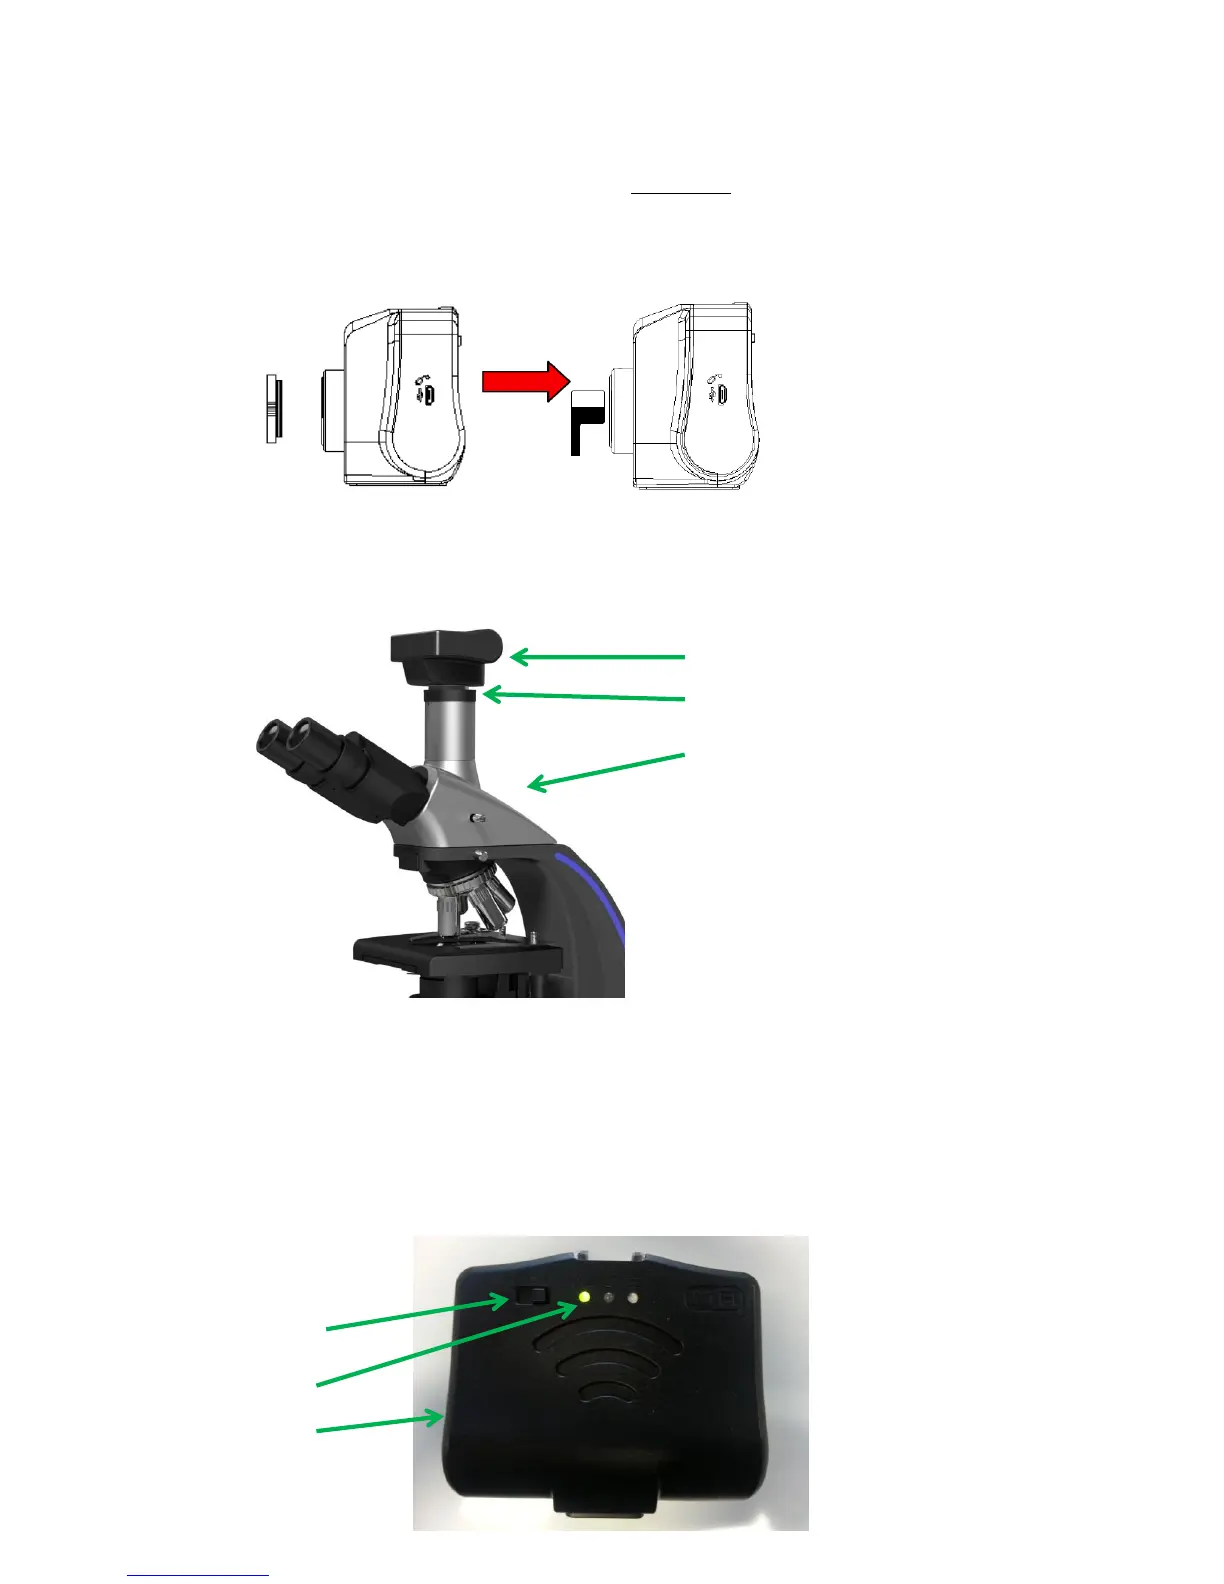
1. Open the plastic cap that protects the sensor of the camera (left image below) and remove the
dust-protective film (right image below)
2. Connect the 5 Volt power supply to the WiFi camera
3. Put the camera on your microscope trinocular port* or into one of the two eyepieces**
* A 0,5x c-mount adapter is necessary and it can be ordered as accessory depending on the Microscope
model
** A 0,5x eyepiece adapter is necessary and it can be ordered as accessory
4. Now connect the 5 Volt power supply of WiFi camera to the electrical mains, and move the button
on the WiFi working mode position (button to the right); you should see the green light on the
camera switch on. See image below:
 Loading...