OPERATING THE POWERMASTER SYSTEM
10 D-303223 PowerMaster-10 / PowerMaster-30 User's Guide
2. Operating the PowerMaster System
For more information regarding terms used in this chapter, refer to APPENDIX B. GLOSSARY.
Note: Except for specific reference to PowerMaster-30 functions, the buttons displayed throughout the User's
Guide are of the PowerMaster-10 control panel. When using the PowerMaster-30 control panel, these buttons
can be interchanged.
Basic Arming and Disarming
Following are a set of procedures for performing basic arming and disarming of the alarm system.
Partition selection process
∗
∗∗
∗
Access to any desired partition is achieved through the use of an individual code or proximity tag. It is not
possible to access the INSTALLER MENU if one or more partitions are in the AWAY or HOME modes.
Before attempting to perform any operation on any given partition(s), it is necessary to perform the operations
below which enable you to select the desired/allowed partition(s) using the individual code or proximity tag:
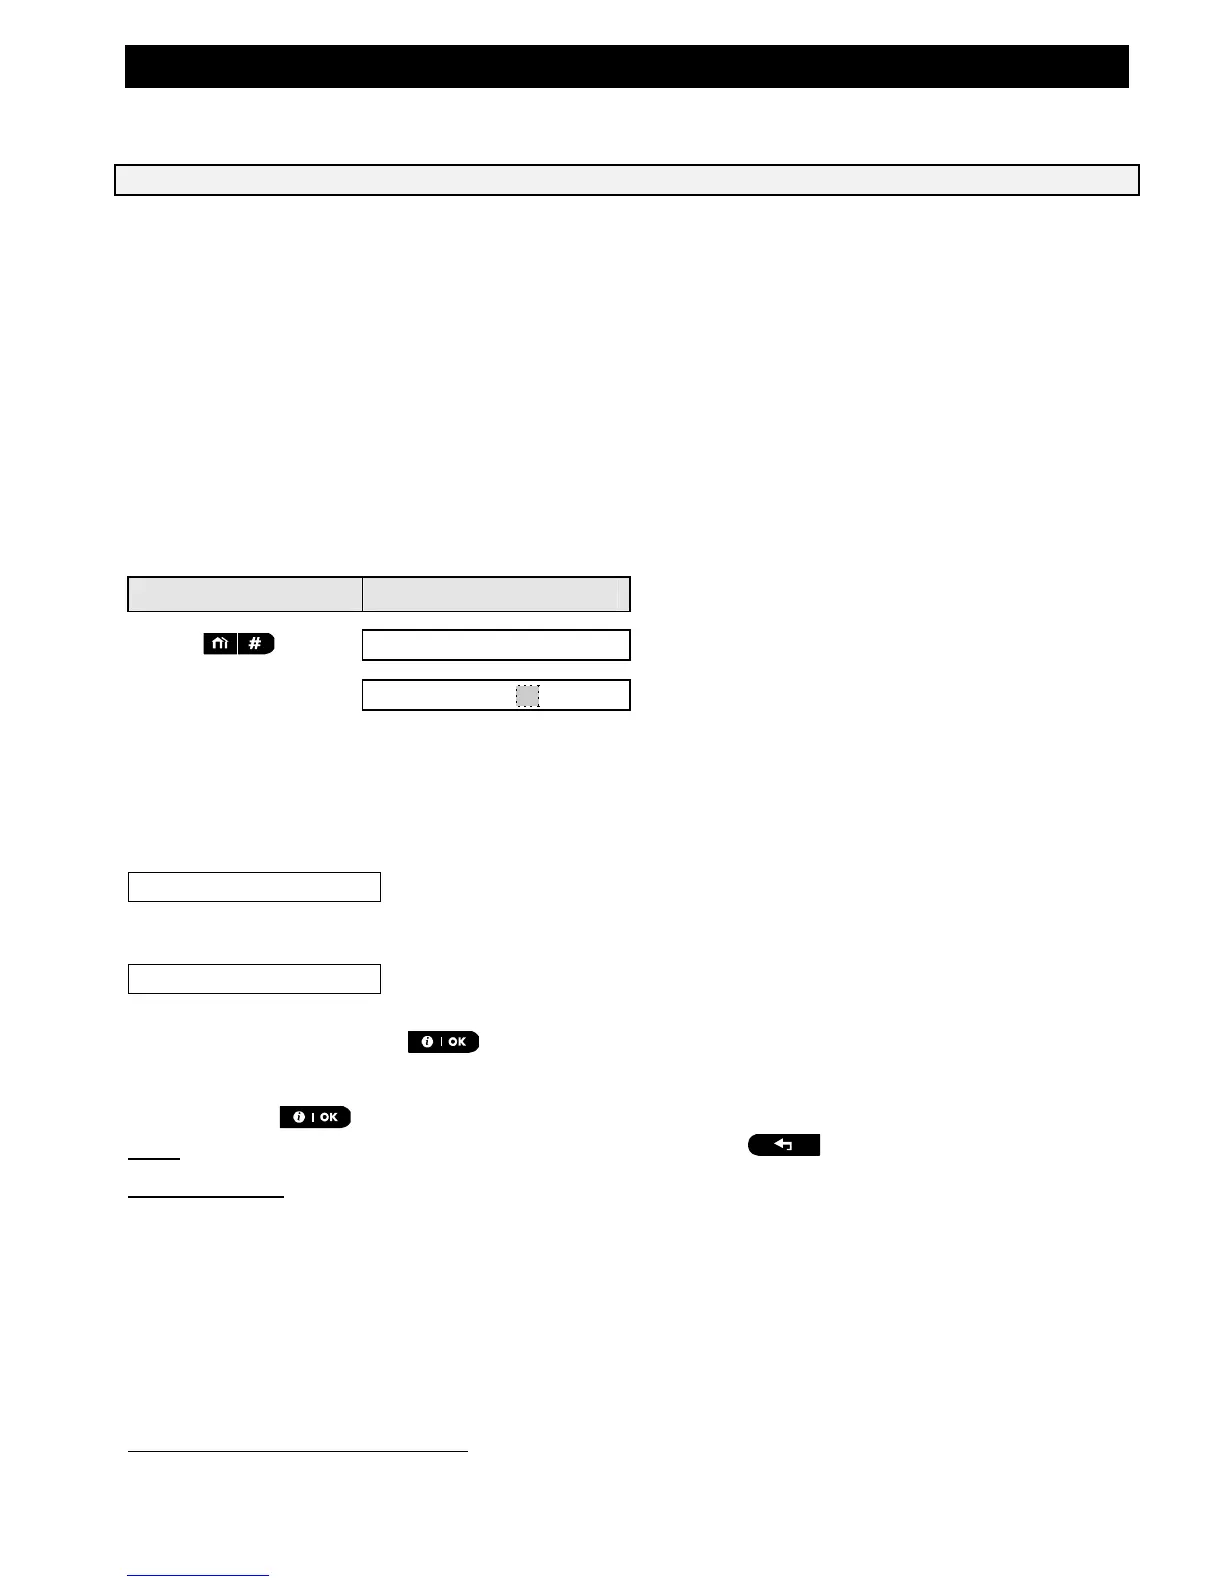
PRESS RESULTING DISPLAY
SELECT PARTITION
Enter partition # (1 - 3) PARTITION 1
Note: The “Sad Tune” will be heard when attempting to select a partition to which no sensors / peripherals were
enrolled.
Preparing to Arm
Before arming, make sure that READY is displayed.
READY HH:MM
This means that all zones are secured and you may arm the system any way you choose.
If at least one zone is open (disturbed) the display will read:
NOT READY HH:MM
This means that the system is not ready for arming until all zones are secured (closed).
To review the open zones click . The details and location of the first open zone detector (usually an
open door or window sensor) will be displayed.
To fix the open zone, locate the sensor and secure it (close the door or window) – see "device locator" below.
Each click of the button will display another open zone or trouble indication.
Note: To quit at any stage and to revert to the "READY" display, click .
Device Locator: The PowerMaster-10 / PowerMaster-30 system has a powerful device locator that helps you to
identify open or troubled devices indicated on the LCD display which operates as follows:
While the LCD displays an open or faulty device, the LED on the respective device flashes indicating "it's me".
The "it's me" indication will appear on the device within max. 16 seconds and will last for as long as the LCD
displays the device.
It is highly recommended to fix the open zone(s), thus restoring the system to the state of “ready to arm”. If you
do not know how to do this, consult your installer.
IMPORTANT! All arming procedures below are based on the assumption that quick arming has been enabled
by the installer. If quick arming is disabled, the PowerMaster-10 / PowerMaster-30 will prompt you to enter your
security code before arming as follows:
∗
Refers to PowerMaster-30 only