Do you have a question about the Vita-Mix T&G2 Blending Station and is the answer not in the manual?
| Manufacturer | Vita-Mix |
|---|---|
| Model | T&G2 Blending Station |
| Type | Commercial Blender |
| Motor Power | 2 peak HP |
| Electrical | 120V, 50/60Hz |
| Use | Commercial |
| Container Capacity | 48 oz |
| Warranty | 3 years |
| Material | Polycarbonate |
Covers essential safety rules like reading instructions, avoiding liquids, supervision, unplugging, and keeping away from moving parts.
Details on handling damaged cords, authorized service, using recommended attachments, and outdoor use limitations.
Instructions on safe operation, keeping hands away from the container, and blade handling warnings.
Information on the maximum normal load capacity of the container.
Guidelines on operating with the lid, cleaning the control panel, and avoiding water jets.
Specific electrical outlet and wiring requirements for different voltage units.
Explanation of grounding plugs, adapters for two-prong outlets, and proper grounding methods.
Details on height, shipping weight, and dimensions for the on-counter model.
Details on height, depth, shipping weight, and dimensions for the in-counter model.
Lists voltage, amperage, and wattage specifications for different regions.
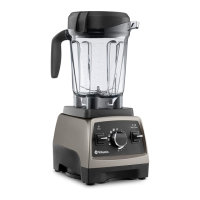
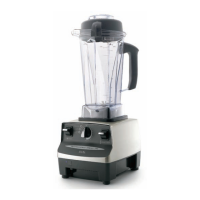
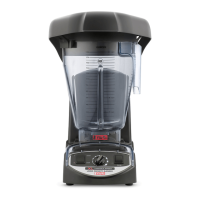
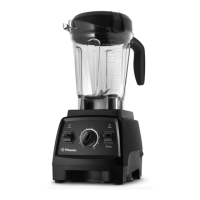
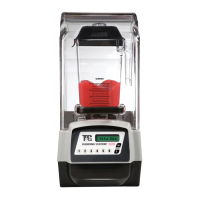
Identifies key components like Display Window, Owner Controls, Program Buttons, and Pulse button.
Explains the ON/OFF switch function and display messages during operation.
Details the pre-programmed cycles, their operation, and using the PULSE button.
Instructions on accessing and using the owner controls for reprogramming.
Instructions on how to remove, attach, and seal the two-part lid.
Description of the one-piece lid, its ease of use, and ingredient addition.
Step-by-step guide for removing and putting back the cover door.
Detailed instructions for removing and reinstalling the back cover.
Guidelines for cutting holes, clearances, and ventilation for in-counter units.
Instructions on venting exhaust using flexible ducting.
Specifies electrical needs for 120, 220, and 100 VAC in-counter installations.
Detailed dimensions and diagrams for in-counter placement and spacing.
Step-by-step guide for properly installing the gasket for the in-counter model.
Instructions on how to program specific recipes to the six preset buttons.
Guide to reprogramming all six buttons to a family of similar blending cycles.
Explains factory settings for programmed buttons and how to use them.
Details on loading ingredients, setting the container, and selecting programs.
How to use PULSE H and PULSE L buttons to adjust speed during a cycle.
What to do when a cycle finishes, including waiting for blades to stop.
Information on the thermal sensor, overheating messages, and cooling procedures.
Advice for optimal results and routine care for longevity.
Lists parts with item numbers and descriptions for ordering.
Important notes regarding compatibility of blade assemblies and other parts.
Visual representation of parts with corresponding item numbers.
Lists specific cleaning products and suppliers recommended by Vita-Mix.
Warnings against abrasive cleaners and sanitizers on polycarbonate parts.
Advice on rinsing containers, avoiding freezing, and potential damage.
Instructions for cleaning the motor base, control panel, and lid safely.
Instructions for cleaning the removable cover door and the in-counter gasket.
Detailed steps for cleaning, rinsing, and sanitizing the blending container.
Important reminder to check blades daily for damage or looseness.
Solutions for 'THERMAL SENSOR FAILURE' and 'MOTOR LOCKED PROGRAM TERMINATED'.
Addresses loud noise, non-spinning blades, vibration, and leaks.
Solutions for motor grinding noise, machine not running, or shutting off.
Solutions for irregular running, 'NO PROGRAM' display, or incorrect program activation.
Addresses 'CORRUPT DATA' display and machines stopping mid-cycle.
Detailed instructions for handling motor overheating messages and cooling.
Precautions and steps for handling the sharp blade assembly and inserting it.
Information on the drive spline and retainer nut, including removal.
Step-by-step guide for removing and replacing the retainer nut.
Details the three-year limited warranty for defects in materials and workmanship.
Lists conditions under which the warranty becomes void, such as abuse or improper installation.
Instructions on how to obtain service or repair covered by the warranty.
Outlines the 1-Year Service Contract, including its coverage and exclusions.
Explains the process for obtaining repairs, returning parts, and shipping instructions.
Provides contact numbers and procedures for warranty and non-warranty service.