SETTINGS
Settings displays the camera information and settings for the selected camera.
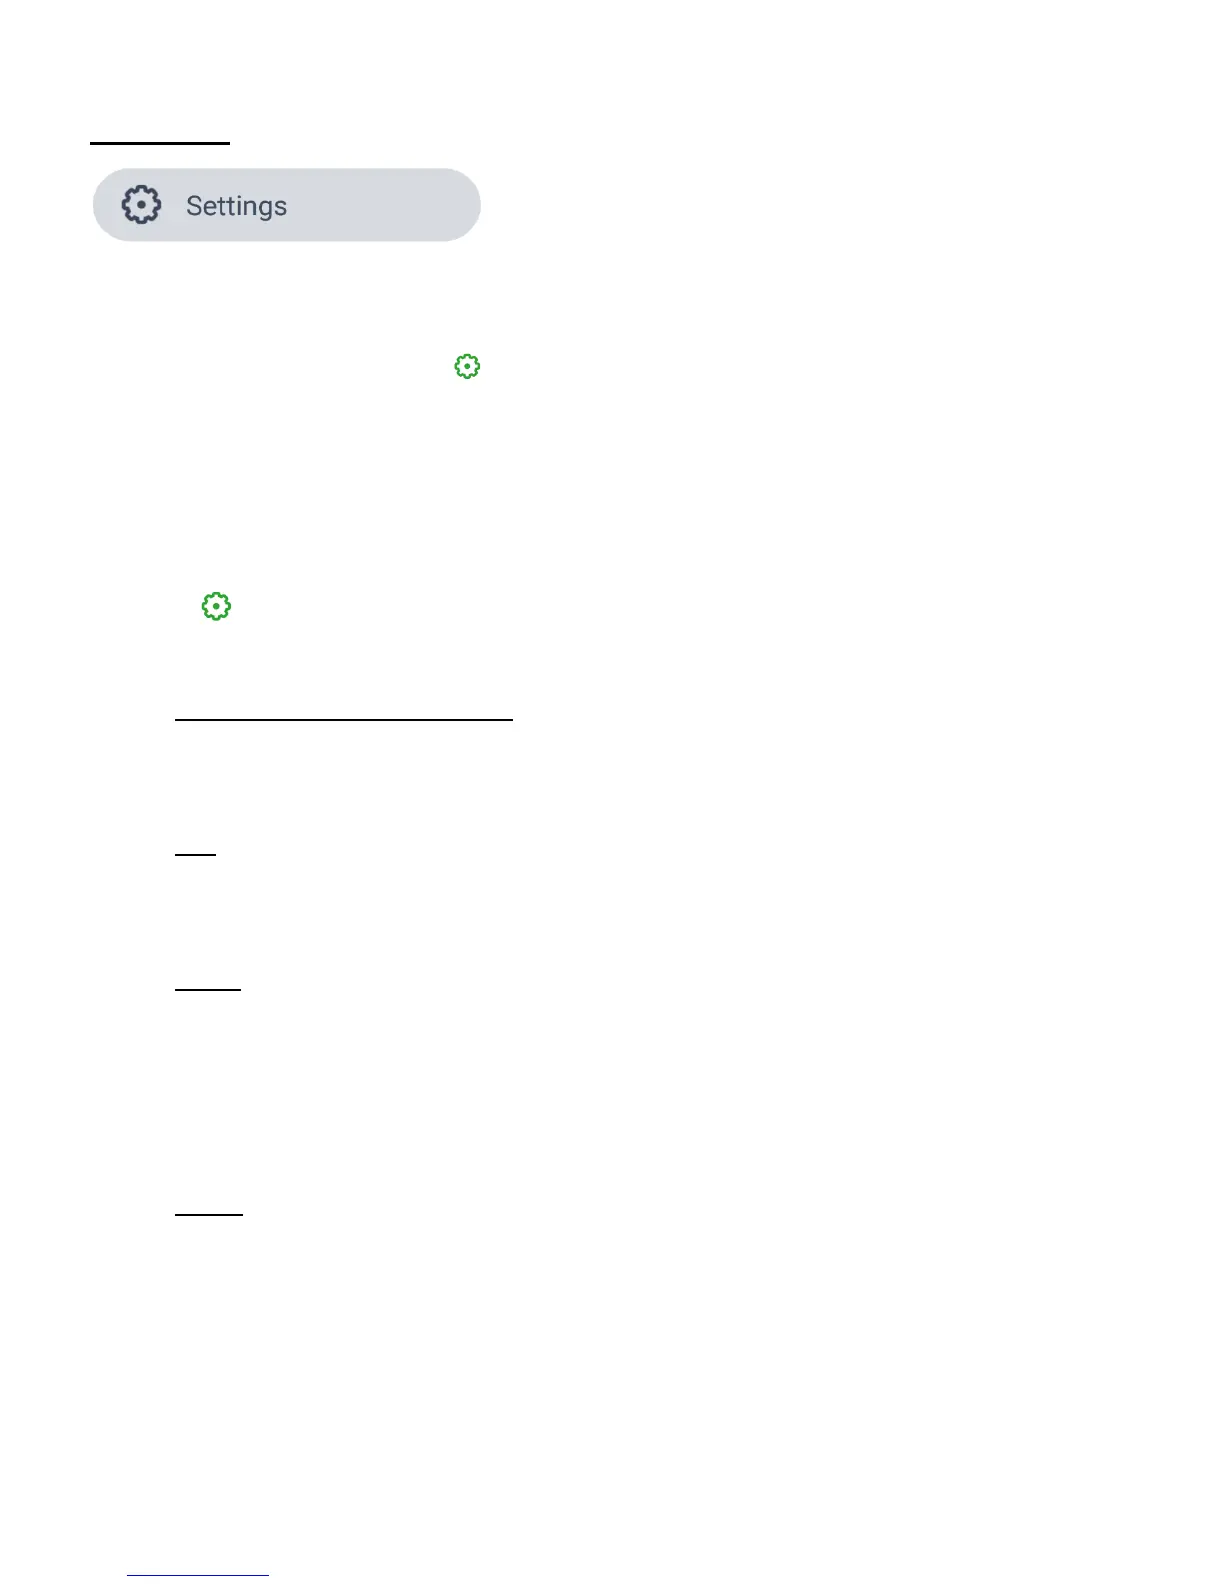
1. Tap Settings from the Main Menu to open the ‘Settings’ screen.
NOTE: Alternatively, tap the Settings button on the bottom navigation bar to open the
‘Settings’ screen or to go directly to the settings of your selected IP Camera while in Live or
Events mode.
2. The list of registered cameras appears on the ‘Settings’ screen.
3. Tap on your IP Camera to open the ‘Settings’ screen specific for your selected IP Camera.
The Settings button on the bottom navigation bar is selected and changes to green.
4. The following information appears in the camera’s Settings screen:
• Camera Room: Camera Name
The room and camera name are displayed on the top of the screen.
• UID:
The IP Camera’s UID is shown.
• Name:
The IP Camera’s name is shown. To view and edit the name, tap on ‘Name’ to open the
‘Name’ screen. To edit the name, tap on the name field, type in the desired camera
name and then tap Rename (Android) or Done (iOS) to save.
• Room:
The IP Camera’s room name is shown. Tap to open the screen displaying the room
options. The currently selected room appears with a check mark. To change the room,
tap on the desired room or enter a custom room name (New Room), then tap the back
button to save and return to the previous screen.