Do you have a question about the Vixen R200SS and is the answer not in the manual?
Prepare the secondary mirror by marking it and reassembling, then create a pinhole viewing disc for initial alignment.
Use a sight tube and pinhole disc to view a marked dot on the secondary mirror, adjusting its position for optical axis alignment.
Align the primary mirror using collimation push and pull screws, checking the reflection of the draw tube and secondary mirror.
Perform a star test after collimation and allow the optics to cool to ambient temperature for final evaluation.
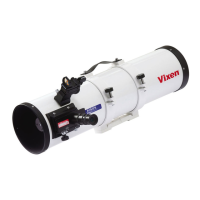
| Type | Reflector |
|---|---|
| Aperture | 200 mm |
| Focal Length | 800mm |
| Focal Ratio | f/4 |
| Optical Design | Newtonian |
| Finder Scope | 6x30 |
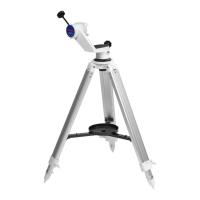
| Mount Type | Equatorial |
| Resolving Power | 0.58 arcseconds |
| Eyepieces | 25mm, 10mm |