Page 13 of 16
STEP 10: SIDE MONITOR ASSEMBLY
Assemble the side monitor mounts as shown in FIGURE 10. Use the provided M4*12mm Phillips Machine Screws and
M4 Washers (No. 10) or suitable machine screws as needed (your display may require larger or longer screws than
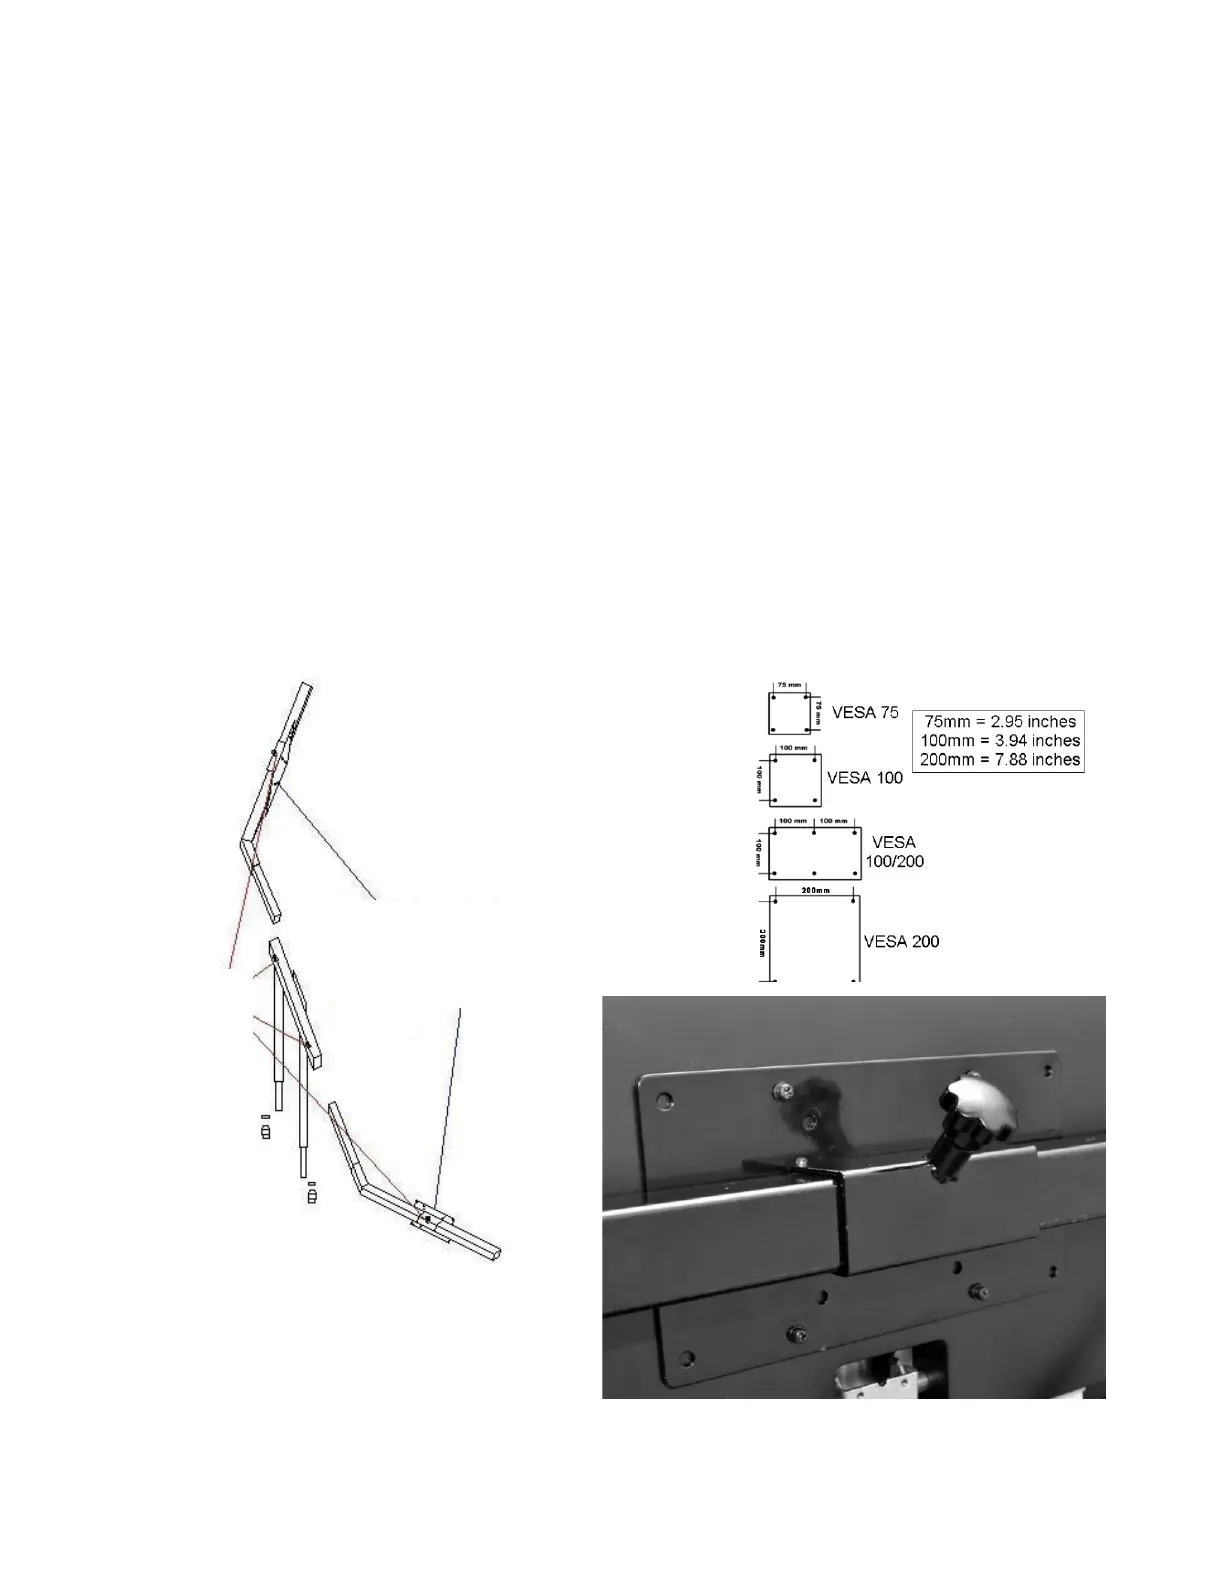
provided). The Volair Sim cockpit mounts are pre-drilled with the industry standard VESA bolt patterns for most of the
common monitor bolt pattern sizes (see below).
In order to get the alignment of the side displays with the center one, first loosen all of the adjustment screws on the
monitor arms, monitor brackets, and on the back of the monitor (VESA). Note that in order to get the proper alignment
of the side bezels you can move the side monitors on their arms and also slide the monitor left and right arms in and out
of the center support. Also, note that the holes on the left and right monitor brackets are slotted so you can rotate the
monitors slightly and also move them up/down.
Next, ask a helper to hold the left monitor in perfect position with the center monitor. When satisfied with the position,
tighten all of the screws while the helper is holding the monitor in position until you are finished. Next, repeat the
process for the right monitor taking care that the angle and bezel spacing of the right monitor is the same as the left
one. Again, remember you can achieve the right angle and bezel position by independently moving the arm in/out of
the center support and also sliding the monitor left and right on the arm.
With a little time and patience, a seamless positioning can be achieved where the displays are aligned well with the
center one and the bezel spacing is minimized and uniform across all three displays.
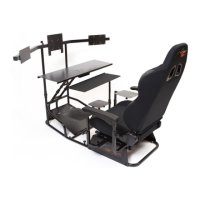
FIGURE 10: SIDE MONITOR MOUNT BRACKET
 Loading...