Manual Food Processing equiPMent
3
ENGLISH
OperatOr’s Manual
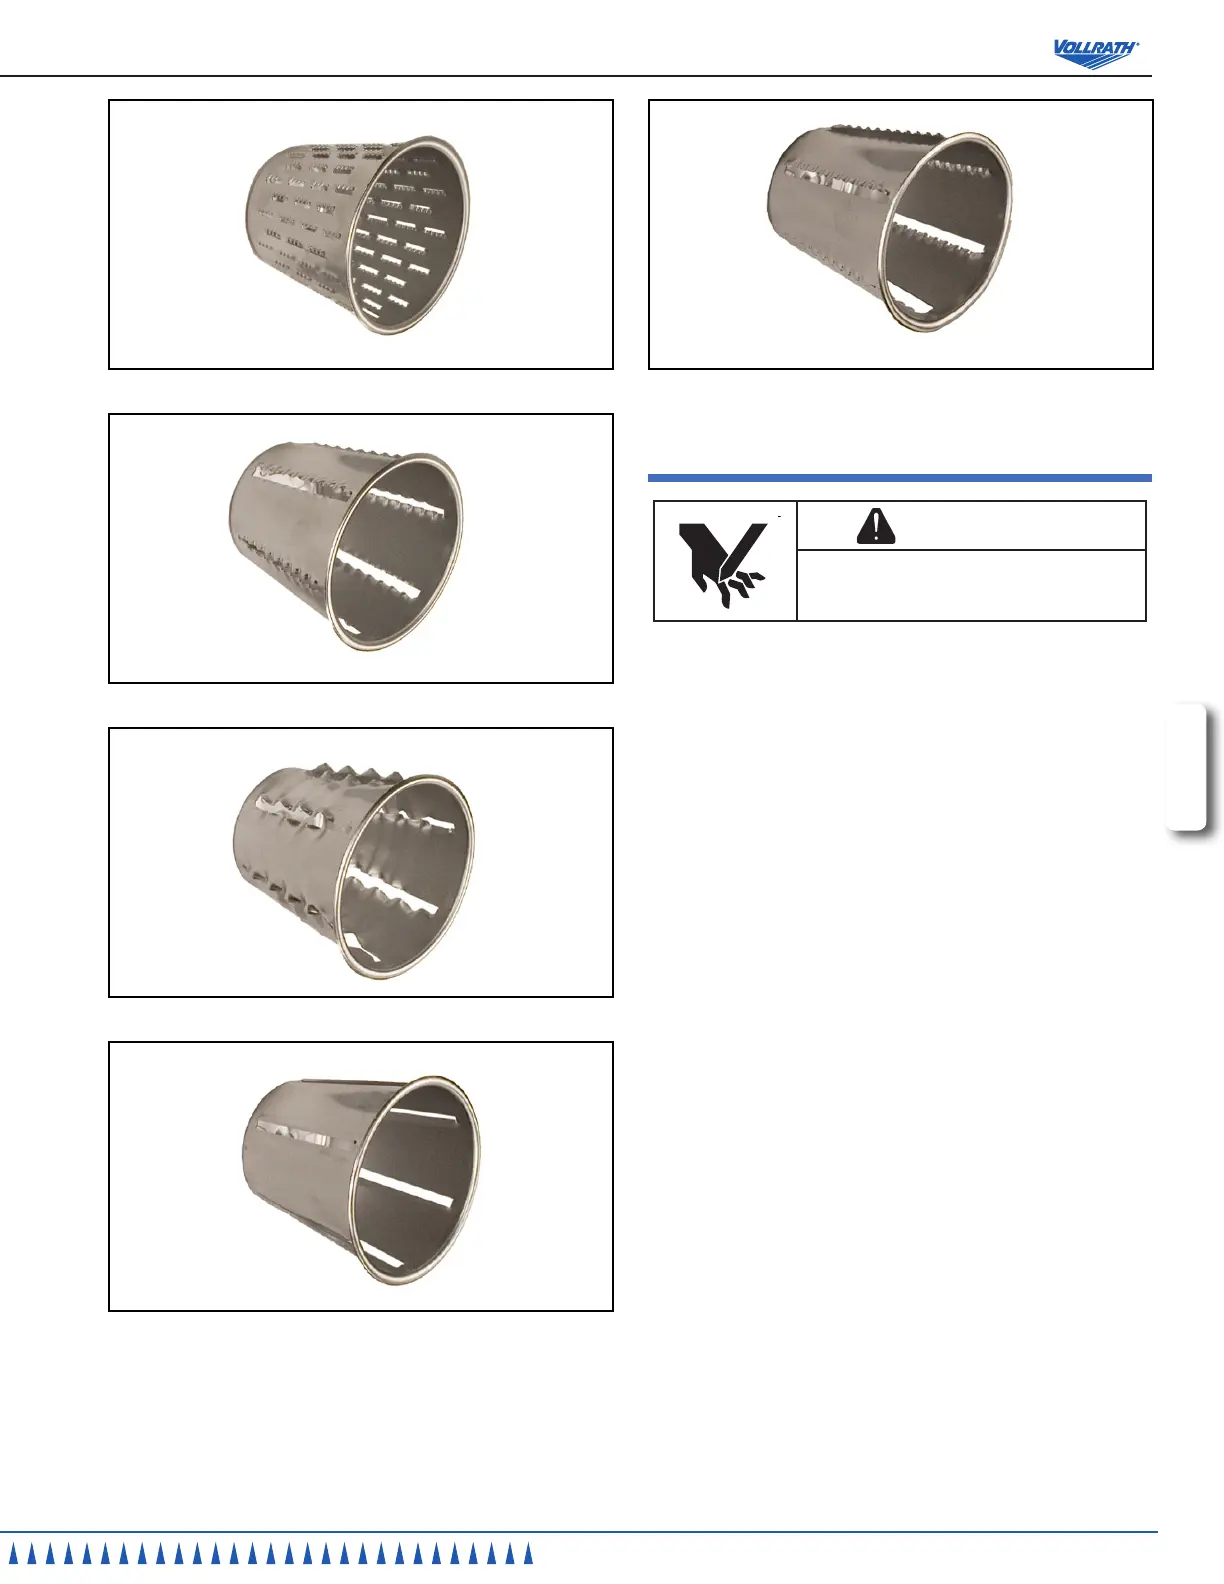
Figure 7. Cone Blade Number 5, Krinkle Cut.
oPeration
WARNING
Sharp Blade Hazard.
Blades are sharp and can cause cuts. To avoid
injury from sharp blades, handle with caution.
Prior to rst use, it is important to clean the unit. Wash new blades and unit
with warm soapy water and rinse thoroughly to remove the thin protective oil
lm. Allow unit and blades to air dry.
1. Securing the base to the work surface:
Clamp base models. Slide the clamp base (E) over the edge of a table
or counter edge. Turn the clamp (not shown) to rmly tighten to the base.
See Figure 1.
Suction base models. Position the suction base (G) on the clean, at
and smooth surface of the table or counter. Lift the lever (H) up and
down on the other side to secure the base rmly to the work surface.
See Figure 2.
2. Slid the hopper (B) onto the base. See Figures 1 and 2.
3. Select the desired cone blade. See Figures 3, 4, 5, 6 and 7.
4. Place the hole in the center of the cone blade (C) onto the center pin
of the unit. Hold the handle (D) and rotate the cone blade clockwise to
secure the cone blade to the lugs on the unit. See Figures 1 and 2.
5. Place a container under the cone blade (C).
6. Lift the cover (A) and place food product into the hopper (B). Lower cover
(A) onto food product.
NOTE:
Do not allow the cover to ride on the cone blades as this
could cause metal scraping to mix with the food products.
7. Rotate the handle (D) and process the food. Repeat steps 5 and 6 as
necessary. It may be necessary to hold pressure on the cover down
while processing the food.
8. Remove the cone blade (C) by holding the handle (D) and rotating the
cone blade (C) counter clockwise.
9. Clean unit as directed in the CLEANING Section of this manual.
Figure 3. Cone Blade Number 1, Shredder.
Figure 4. Cone Blade Number 2, String.
Figure 5. Cone Blade Number 3, French Fry Cut.
Figure 6. Cone Blade Number 4, Thin Slice.
 Loading...