13
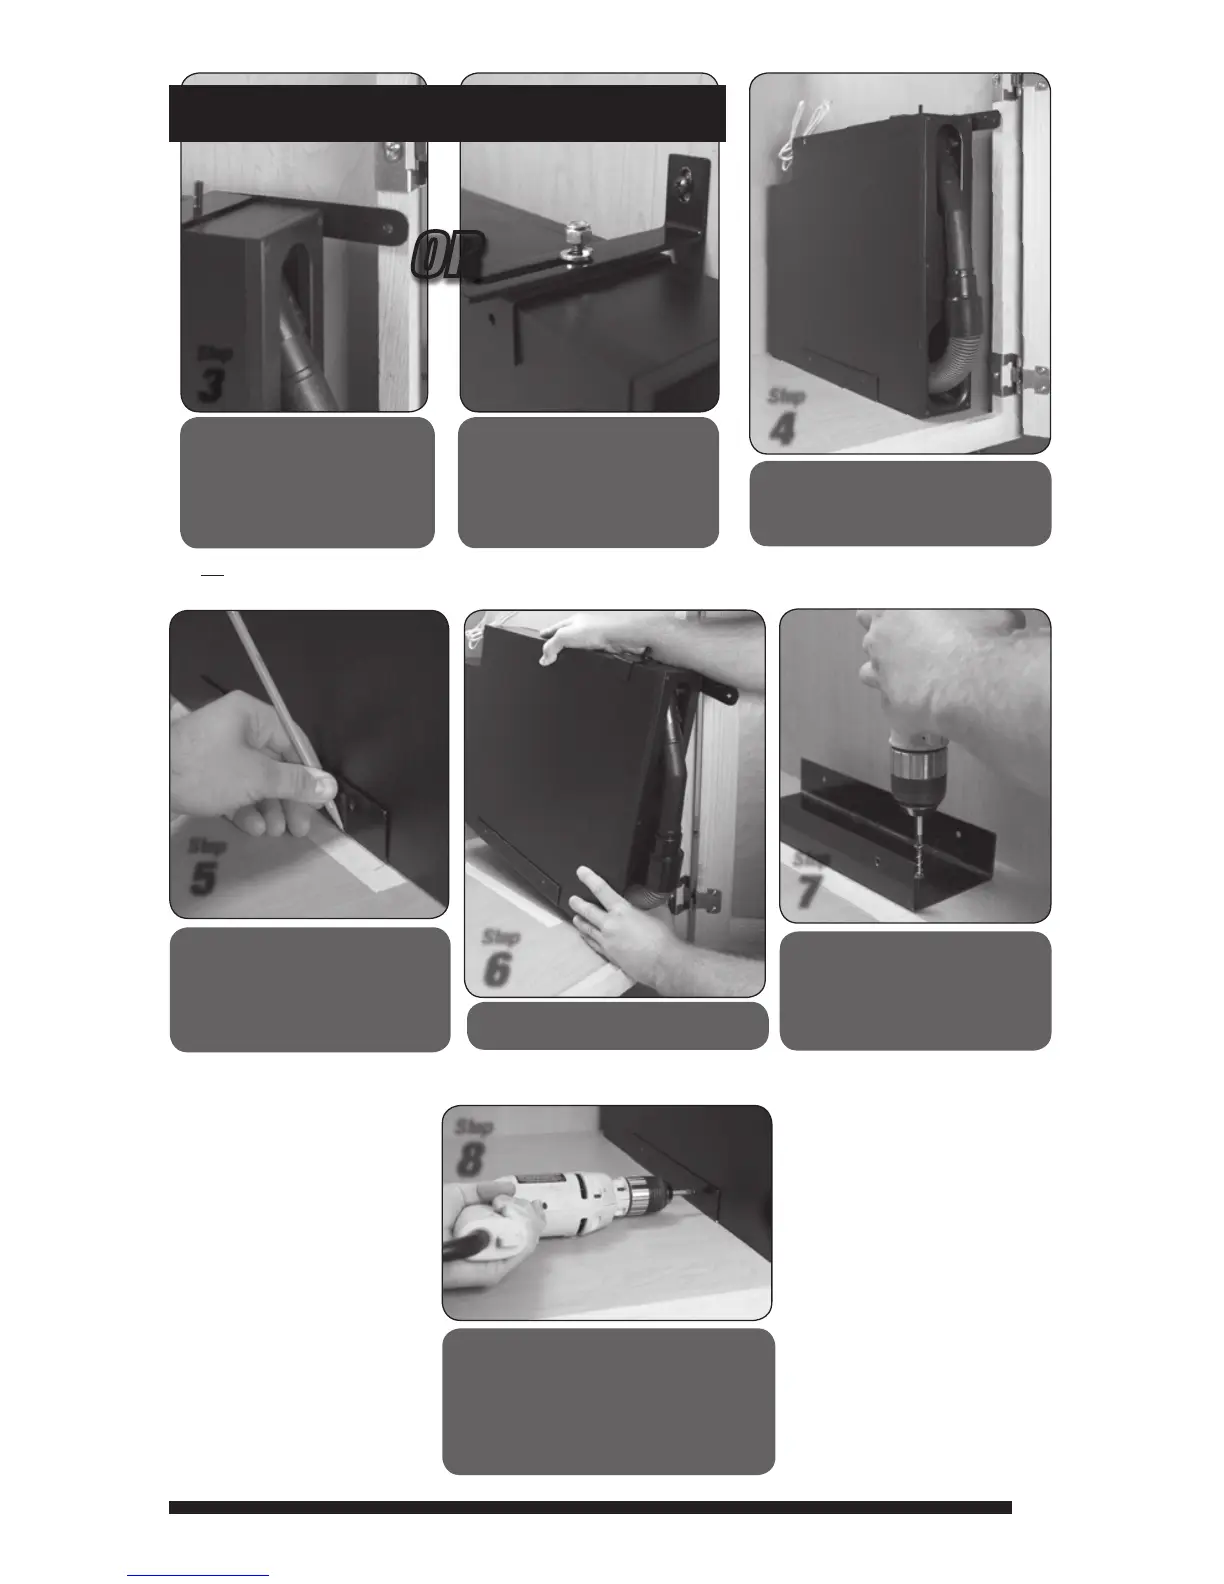
Secure the unit to the door
frame. Pre-drill a pilot hole in
the door frame before driving
screw to prevent splitting the
wood (use a 5/64 drill bit).
Step
3
Secure the unit to the
cabinet side wall. Pre-drill a
pilot hole in the side wall before
driving screw to prevent splitting
the wood (use a 5/64 drill bit).
OR
Determine Position: position the top bracket (consists of the bracket
and sliding arm). There are two options to secure the top of the unit:
OR
Do not insert screws at this time. The Vroom will need to be removed (see step 6).
Check to make sure that there is
clearance for the door and proper
hose operation.
Step
4
Align the bracket to the
reference marks and predrill
the 2 holes. Install the 2
screws through the bracket into
the floor of the cabinet.
Step
7
Remove the unit
Step
6
Positioning the Base Bracket
Position the unit and make refer-
ence marks for the bracket. (A
piece of masking tape to mark on
works well.)
Step
5
Place the Vroom back into the bracket
and properly position. Then use two black
wood screws (provided) to secure the
Vroom to the Base Bracket. WARNING:
using oversized screws can damage the
internal workings of the Vroom unit.
Step
8