Do you have a question about the VTech Zoo Jamz Guitar and is the answer not in the manual?
Carefully remove the toy from its box, keeping the packaging in good condition. Detach toy from cardboard.
Turn the toy on to understand its functions. Choose one of the eight colorful buttons on the neck to adapt.
Remove the back cover by unscrewing 15 screws, then remove 3 screws holding the circuit board in the neck.
Identify silicon buttons on the circuit board corresponding to toy buttons. Gently pull silicon cover to reveal mesh circuit.
Strip a wire and solder it to one half of the mesh circuit board, ensuring no contact with other metal strips.
Secure the wire connection, test the adapted switch, and gently replace the silicon button over the mesh circuit.
File a notch for flush wire seating, screw the circuit board and back cover into place, then test the adapted toy.
Carefully repackage the working toy into its original box, securing it with the original tabs and taping edges.
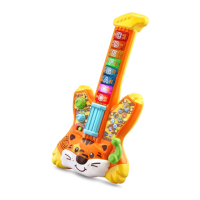
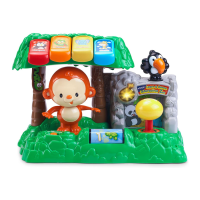
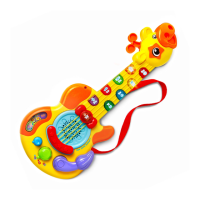
The VTech Zoo Jamz Guitar is an interactive musical toy designed for children aged 12 months to 4 years, aiming to teach music and encourage creative play. It functions as a 3-in-1 toy, allowing children to sing along, create their own music, and act as a rock star. The toy features a giraffe-shaped neck with eight colorful buttons, each with different functions that contribute to a child's learning and play.
The primary function of the Zoo Jamz Guitar is to provide an engaging musical experience for young children. It allows them to explore different sounds and melodies through its various buttons and modes. The toy is designed to be adaptable for children with diverse needs, with detailed instructions provided for modifying one of the eight colorful buttons to work with an external switch. This adaptation process involves accessing the internal circuit board and soldering a jack and wires to a chosen button's circuit, enabling alternative input methods.
The VTech Zoo Jamz Guitar, through its design and explicit adaptation instructions, stands out as a versatile and inclusive musical toy, offering both standard play features and the potential for enhanced accessibility for children with diverse needs.