9
4.0. Installation
4.1. Location planning
• Place the trampoline on a flat, level surface with impact attenuating
properties – such as grass.
• Ensure that the trampoline is sufficiently stable, to prevent the
trampoline from tipping over or blowing away. Sandbags or pegs
may be suitable anchorage devices.
• Keep a minimum of 8 m overhead clearance, when measured
from the bed height, to prevent users from inadvertently contacting
overhead hazards – such as electric wires, tree limbs and clotheslines.
• Maintain a minimum clearance of 2 m on all sides of the trampoline.
This area should not include concrete, bitumen, brick or other hard
surfaces, as these can cause serious injuries if users fall off the
trampoline.
• Do not locate the trampoline on top of other objects or store anything
underneath the trampoline bed.
• Keep the area around and underneath the trampoline clear. Place
the trampoline away from walls, structures, fences and other play
areas.
• Place the trampoline in a well-lit area.
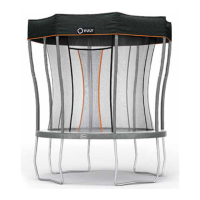
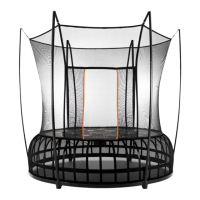
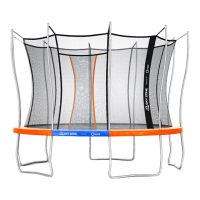
Correct Installation
Incorrect Installation
4.2. Parts checklist
S
1x BOX A 1x BOX B
W-poles, Curved poles,
Straight poles, Safety
padding, Springs
Net poles, T-joiners, Jump
mat, Safety net
M
1x BOX A 1x BOX B 1x BOX C
W-poles, Curved poles,
Safety padding
Net poles, Safety net
T-joiners, Jump mat, Straight
poles, Springs
L
1x BOX A 1x BOX B 1x BOX C
W-poles, Curved poles,
Safety padding
Net poles, Safety net
T-joiners, Jump mat, Straight
poles, Springs
XL
1x BOX A 1x BOX B 1x BOX C 1x BOX D
W-poles, Safety pad, Jump
mat, Safety padding
Curved poles, T-joiners Net poles Straight poles, Springs