EasyManua.ls Logo

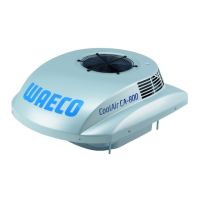
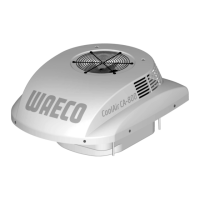
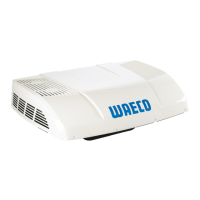
Waeco CoolAir CA-800-Universal-2 User Manual

Waeco CoolAir CA-800-Universal-2
144 pages
Go to English
To Next Page IconTo Next Page
Page #1 background imageLoading...
Page #1 background image
DE 7 CA-800 Montagesatz für Universaleinbau
(neue Öffnung)
Einbauanleitung
EN 21 CA-800 installation kit for Universal
assembly (new hatch)
Installation manual
FR 35 Kit de montage CA-800 pour Montage
universel (nouvelle ouverture)
Notice de montage
ES 49 Juego de montaje CA-800 para Montaje
universal (orificio nuevo)
Instrucciones de instalación
IT 63 Set di montaggio CA-800 per Montaggio
universale (nuova apertura)
Istruzioni di montaggio
NL 77 CA-800 montageset voor Universele
montage (nieuwe opening)
Montagehandleiding
DA 91 CA-800 monteringssæt til Universalmon-
tering (ny åbning)
Installationsvejledning
SV 104 CA-800 Monteringssats för universal-
montering (ny taklucka)
Monteringsanvisning
NO 117 CA-800 Montasjesett for Universalinstal-
lasjon (ny åpning)
Montasjeveiledning
FIN 130 CA-800 asennussarja malleihin yleisa-
sennus (uusi aukko)
Asennusohje
CA-800-Universal-2

Table of Contents

Question and Answer IconNeed help?

Do you have a question about the Waeco CoolAir CA-800-Universal-2 and is the answer not in the manual?

Waeco CoolAir CA-800-Universal-2 Specifications

General IconGeneral
BrandWaeco
ModelCoolAir CA-800-Universal-2
CategoryAir Conditioner
LanguageEnglish

Summary

Safety Instructions

Using the Device

Guidelines for the safe and correct operation of the roof air conditioner unit.

Handling Electrical Cables

Instructions for safely routing and connecting electrical cables to prevent damage or hazards.

Conventions in this Manual

General Information on the Installation Manual

Overview of the installation manual's purpose and intended use for technicians.

Target Group

Identifies the intended audience for the installation and configuration information.

Symbols and Formats

Explanation of symbols and text formats used throughout the documentation.

Intended Use

Scope of Delivery

Accessories

Installation

Installation Instructions

Read these instructions completely prior to installation of the roof air conditioner.

Installation Steps

Follow these steps for the installation of the roof air conditioner.

Create Opening

Create the necessary opening in the vehicle roof according to specified dimensions.

Prepare the System

Prepare the roof air conditioner unit on a clean and even work surface before installation.

Install the System in the Roof Hatch

Securely install the roof air conditioner unit into the prepared roof opening.

Lay the Supply Lines

Properly route and connect the power supply lines for the roof air conditioner.

Adjust the Cover Frame

Adjust the cover frame to ensure proper fit and clearance around the installed unit.

Attach the Cover Frame

Securely attach the cover frame to the roof air conditioner unit using provided screws.

Configuration of System Software

Configure the system software parameters on the control panel after installation.

Start and End Configuration Mode

Learn how to start and exit the system software configuration mode.

Menu Level 1: Set Temperature

Configure the room temperature setting for the air conditioner system.

Menu Level 2: Low-Voltage Cut-off

Set the low-voltage cut-off point to protect the vehicle battery.

Menu Level 3: Operating Mode

Select the desired operating mode for the air conditioner system.

Menu Level 4: Default Setting

Return system configuration parameters to their default factory settings.

Technical Data

Related product manuals