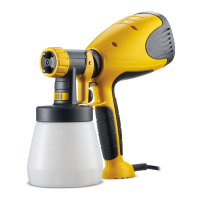
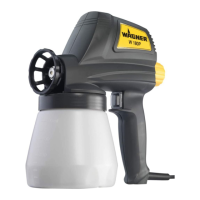
22
W 100
EN
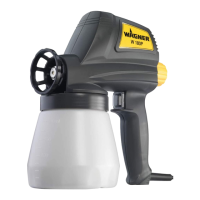
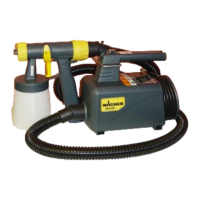
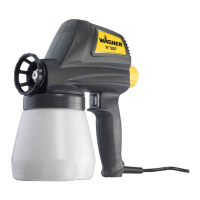
11. Spray Technique
•
The spray result depends heavily on the smoothness and cleanliness of the surface to be
sprayed. Therefore the surface should be carefully prepared and kept free of dust.
•
Cover all surfaces not to be sprayed.
•
Cover screw threads or similar parts of the target object.
•
It is advisable to test the spray gun on cardboard or a similar surface to nd the correct
setting.
Important: Begin spraying outside of the target area and avoid interruptions inside the
target area.
•
Correct (Fig. 7a) Be sure to hold the spray gun at an even distance of approx. 5 - 15 cm
to the target object.
•
Incorrect (Fig. 7b) Heavy spray fog build-up, uneven surface quality.
•
Move the spray gun evenly cross-wise or up-and-down, depending on the spray pattern
setting.
•
An even movement of the spray gun results in an even surface quality.
•
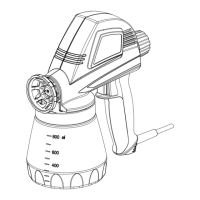
When coating material builds up on the nozzle (A) and air cap (B) (Fig. 8), clean both
parts with a solvent or water.
12. Interruption of Work
•
During longer breaks, vent the container by briey opening and then closing it again.
•
Clean nozzle openings after an interruption in operation.
13. Taking Out of Operation and Cleaning
Proper cleaning is the prerequisite for problem-free operation of the paint application
device. No warranty claims are accepted in case of improper or no cleaning.
1)
Unplug the power plug. Vent the container in case of longer breaks and after the work
has been terminated. This can be done by briey turning open and then closing the
container or by pulling the trigger guard and letting the paint into the original paint
container.
2)
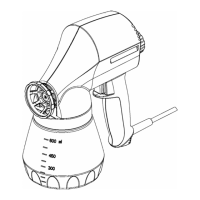
Divide the spray gun. Press the hook (Fig. 3 b "click") slightly downwards. Turn the gun
front part and gun rear part against each other and take them apart.
3) Unscrew the container. Empty any remaining coating material back into the material
tin.
4)
Preclean the container and suction tube with a brush. Clean the ventilating bore
(Fig. 10, C).
5)
Pour solvent or water into the container. Screw the container back on.
Do not use ammable materials for cleaning purposes.
6) Assemble the gun again (Fig. 3).
7)
Insert the power plug, turn on the machine and spray the solvent or water into a
container or a cloth.