4
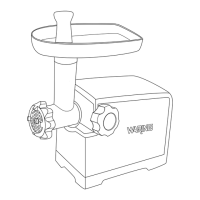
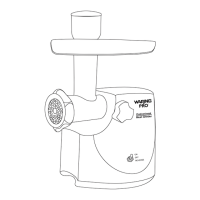
ASSEMBLING
Make sure unit is unplugged while assembling.
1. Insert grinder/feeder head tightly into attachment opening.
Holding head with one hand, place locking knob into the
hole on the side of the motor housing and tighten knob by
turning clockwise.
2. Insert feed screw into grinder/feeder head, long end spindle
rst; turn it slightly until it is set into motor housing.
3. Position cutting blade onto feed screw shaft with the at
cutting surface facing out from the feed screw. NOTE: If it is
not tted properly, meat will not be ground and the cutting
plate may be permanently damaged.
4. Position the desired cutting plate onto the at sides of the
cutting blade. Ensure that the notches of the cutting plate t
into the slots of the grinder/feeder head.
5. Secure screwing ring to the end of the grinder/feeder head
by turning clockwise.
6. Place die-cast hopper on the grinder/feeder head.
7. Use the food pusher to gently feed food, one piece at
a time. Do not force the food into the grinder/feeder head.
CUTTING PLATES
Fine Cutting Plate – Great for spreads, pâtés, baby food and
hamburgers
Medium Cutting Plate – Great for ground meat used in
soups, or for relishes
Coarse Cutting Plate – Great for ground meat used in chili
and sausages, or for vegetables
THESE PLATES ARE NOT DISHWASHER SAFE.
PLEASE HAND-WASH ONLY!