1. Press the to turn the heater OFF and unplug the heater before moving or cleaning.
2. Interior dust can often be removed by using a vacuum cleaner with a crevice tool attachment.
3. To clean the enclosure, use a clean, soft and lightly damp cloth to gently wipe off the dirt from the surface
of the unit. Be sure not to wet the Heating Element and the switches. Allow the unit to dry completely before
use.
4. Do not use cleaning liquid or other chemicals to spray on the unit.
WARNING: Any other servicing should be performed by an authorized service representative.
CLEANING AND MAINTENANCE
NOTE: It is normal for the heater "fan" to run for approximately 30 seconds when the heater shuts off after
reaching the set temperature.
Remote Control
1. The remote control uses two (2) "AAA" batteries (not included) for operation.
2. All the functions performed using the remote control work identically to the buttons on the control panel,
TIP-OVER SWITCH
This heater is equipped with a safety tip-over switch, which is located on the bottom of the heater. This feature
cuts the main power to the heater if it gets knocked over. If the heater does tip over, simply stand it upright in
order to resume operation.
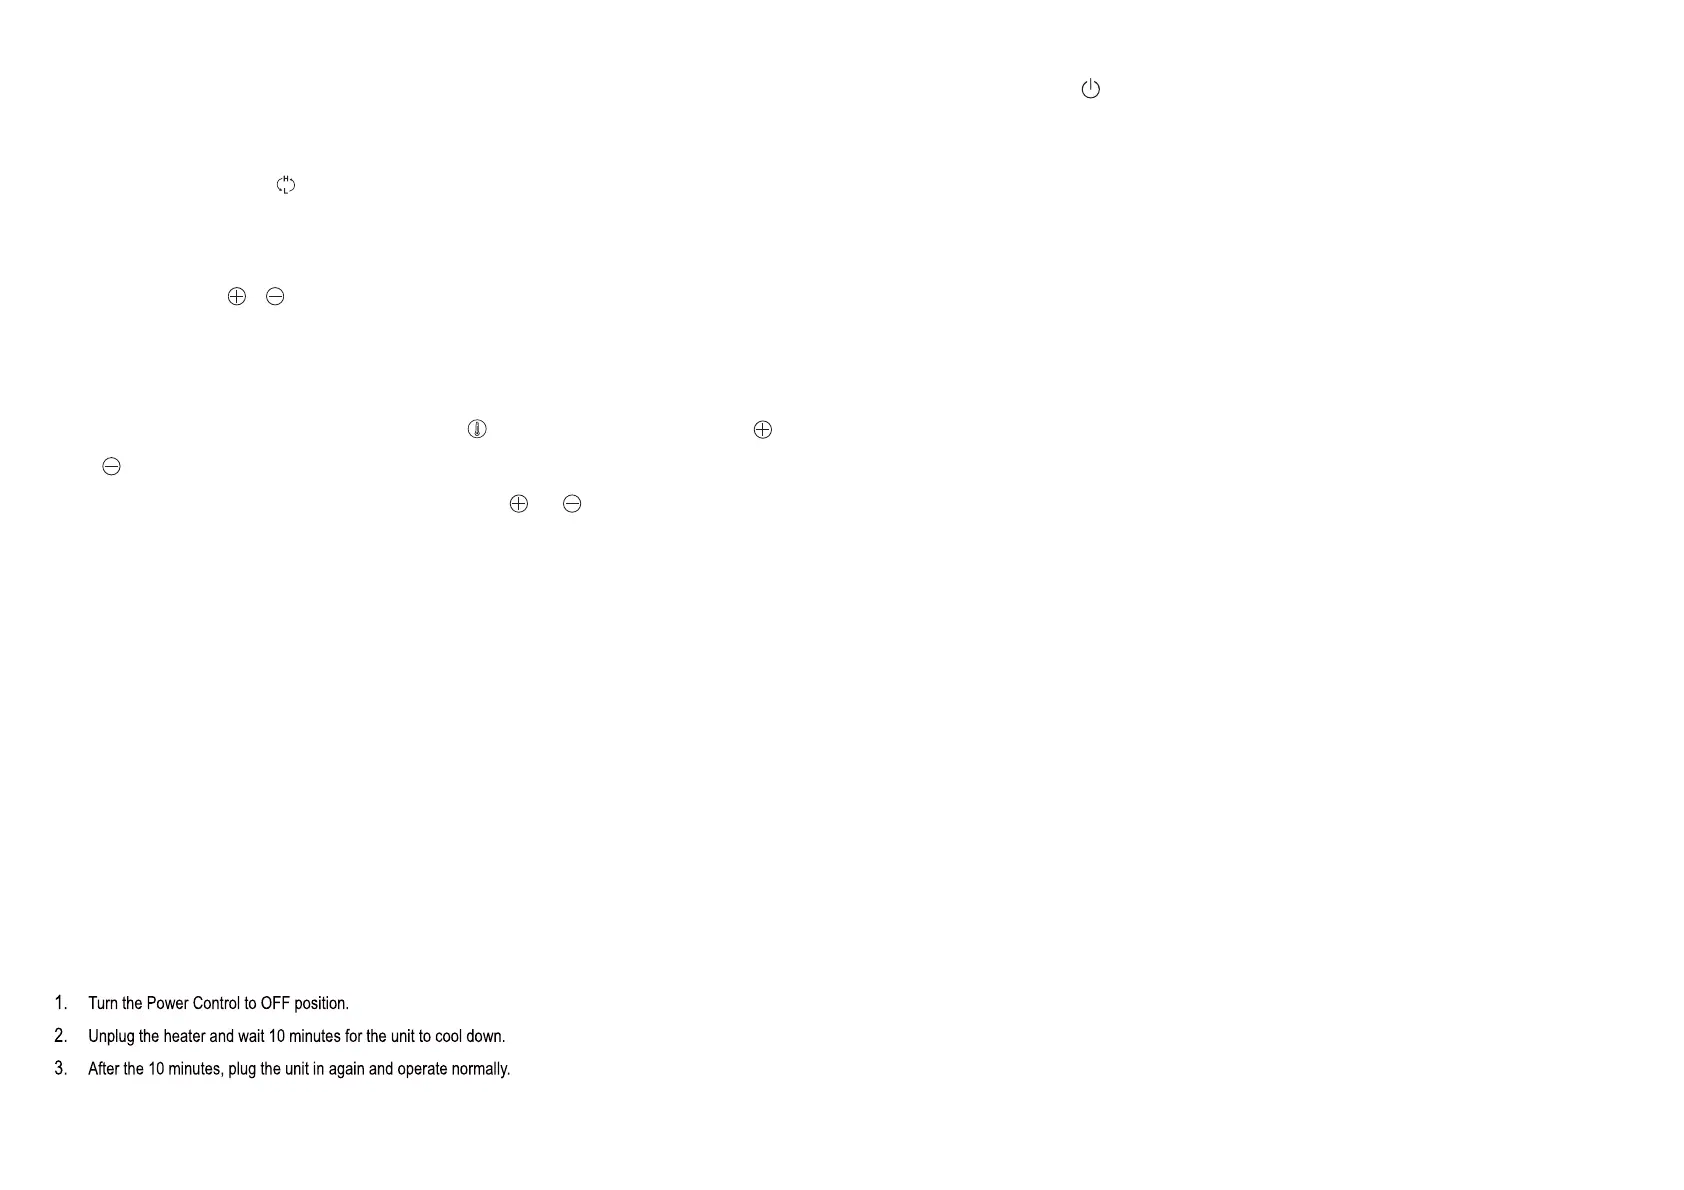
THERMAL CUT-OFF PROTECTION SYSTEM
This heater includes an Overheat Protection System that shuts the unit off permanently when a potential
overheat temperature is reached. If this occurs, the heater can only resume its normal operation after resetting it.
To reset the heater:
Note: Change the batteries with new ones if the remote control does not operate well. Otherwise your remote
control may not operate properly. Remove the batteries out of the remote control if you won't use the remote
control for a long time. Remaining batteries may damage your remote control.
Note: Do not mix old and new batteries. Do not mix alkaline, standard (carbon-zinc), or rechargeable
(nickel-cadmium) batteries.
Battery Disposal - Please dispose of the used battery per municipal or provincial law.
STORAGE
1. Perform the cleaning procedures as described above.
2.
1.
2.
Wipe all parts dry.
3. Pack the heater in a plastic bag and store it in a cool, dry place. We recommend that you store the heater
in its original carton.
FCC WARNING
Changes or modifications to this unit not expressly approved by the party responsible for compliance could void
the user's authority to operate the equipment.
NOTE: This equipment has been tested and found to comply with the limits for a Class B digital device, pursuant
to Part 15 of the FCC Rules. These limits are designed to provide reasonable protection against harmful
interference in a residential installation. This equipment generates, uses and can radiate radio frequency energy
and, if not installed and used in accordance with the instructions, may cause harmful interference to radio
communications. However, there is no guarantee that interference will not occur in a particular installation. If this
equipment does cause harmful interference to radio or television reception, which can be determined by turning
the equipment off and on, the user is encouraged to try to correct the interference by one or more of the following
measures:
TROUBLE SHOOTING
If your heater fails to operate:
Make sure the electrical outlet or circuit breaker is working.
Check for obstructions. If you find an obstruction, turn the heater OFF, and UNPLUG THE UNIT. Carefully
remove the obstruction and follow the reset instructions.
NOTE: The temperature display does not indicate the temperature of the heated air being emitted by the heater.
4. Once the room temperature reaches 2 degrees above the set temperature, the heater will shut off. Once the
room temperature reaches 2 degrees below the set temperature, the heater will turn back on and continue to
cycle off and on to maintain the se
t temperature.
5. T
You also can press the or buttons on the remote control to set the room at desired temperature.
his function will cancel if the button is pressed and the heater will run continuously.
except that there is no Temperature Setting Button on remote control; you only can use the
and buttons to switch the desired temperature you want. You cannot change the display to show the
temperature reading between Celsius and Fahrenheit by pressing and buttons.
Power Button
 Loading...