TI 420 v5 0515 Page 5
1. Thermostatic water mixing valves are control devices
which must be cleaned and maintained on a regular
basis. Powers specifies periodic maintenance at least
once a year or immediately after any changes are made
to the plumbing system. Annual cleaning is recom-
mended, however, frequency of cleaning depends on
quality of local water conditions. Refer to the Preventive
Maintenance section for recommended cleaning proce-
dure.
2.
Warning: To prevent injury to the user, it is important
to periodically check the maximum temperature
adjustment on the valve for (1) any sign of motor wear
or (2) motor failure (refer to the Thermostatic Motor
Testing section). The above conditions in the thermo-
static motor can cause the valve to pass full hot water.
3. Note: The handle rotation setting must be adjusted to
limit the distance the user can rotate the handle
towards the full hot water position.
4. Quick closing valves may cause damage to the mixing
valve by creating shock waves. When the HydroGuard
supplies tempered water to self-closing and/or solenoid
valves, Powers recommends installing a shock
absorber (Powers Part #460-353) on the discharge line,
which will protect the HydroGuard thermostatic motor
from damage.
5. Position the 420 valve as close as possible to outlet fix-
ture to avoid waste of energy and water (except in
applications where the valve is used as a primary mix-
ing valve).
Adherence to these guidelines and recommenda-
tions promotes safe product use and ensures proper
valve performance.
To Disassemble:
1. Turn off hot & cold water supply-stops (required for this retrofit)
2. Remove the handle and trim plate
3. Remove 4 bonnet screws and bonnet assembly
4. Remove all internal components from valve body
5. At this point you should have an empty valve body.
IMPORTANT: After completing any maintenance/repairs,
reset the maximum discharge temperature by resetting the
handle rotation stop as necessary (refer to Maximum
Temperature Setting section).
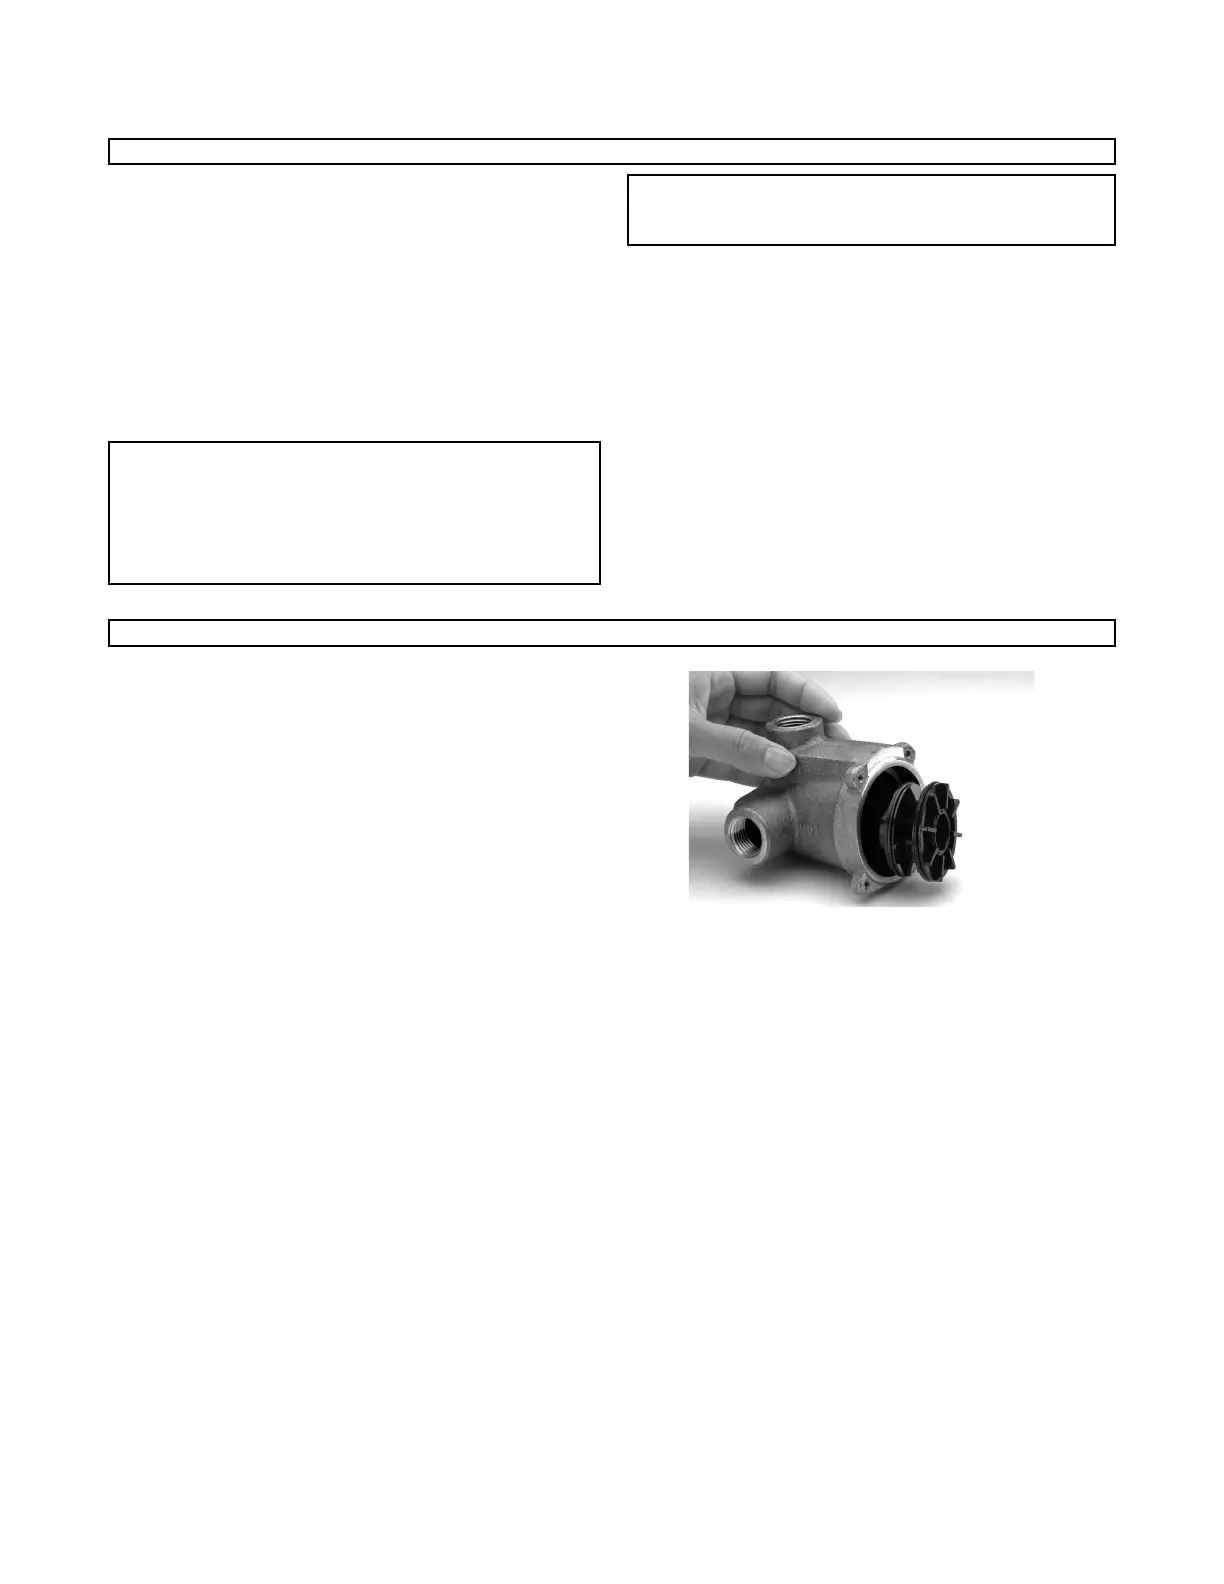
To Reassemble:
1. Ensure the inside of the valve body is free of deposits
and debris. Clean as necessary.
2. Push the cartridge into the body without the “O” rings
installed. The cartridge should slide in easily, and
bottom out with its large fins just inside the front
surface of the casting. If the cartridge is difficult to
install, or does not go in all the way, remove the
cartridge and clean the the body or remove any
obstructions. Repeat this step until the cartridge
installs easily.
3. Remove the cartridge and install the 2 “O” rings. One is
slightly larger than the other. The larger one goes closest
to the front (fins). Lubricate the “O” rings with silicon
lubricant.
4. Install the cartridge back into the body. The cartridge
should go in until the large fins are just inside the
front surface of the casting (same position as in step 2).
If you cannot push it in all the way due to O-rings, use
bonnet and two (2) screws to force in.
5. Place the wax element into the stem assembly, stem
side first, and place this bonnet-stem-motor assembly
into/onto the valve body. Rotate the bonnet assembly to
line up the bonnet screw holes and reinstall and tighten
the four bonnet screws.
6. With handle, rotate the stem assembly clock-wise, until it
bottoms out on the cartridge. At this point your valve is
in the off position.
7. Turn the hot and cold water supplies back on and verify
there is no leakage.
8. Your valve should now be set properly. Verify proper
operation by rotating the stem from the off position,
counter-clockwise, to the high temperature position.
Verify the temperature does not exceed your desired
maximum temperature. Rotate stem back to the off
position.
9. Replace trim plate and handle.
SAFETY GUIDELINES - ALL MODELS
SERVICING
 Loading...