Do you have a question about the Weco WF-107 and is the answer not in the manual?
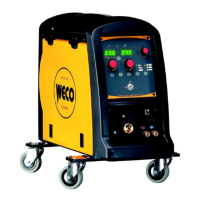
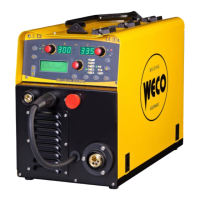
Identifies and describes the controls and connectors on the front of the unit.
Details the connectors and ports located on the rear of the welding unit.
Instructions for correctly placing and securing the welding wire spool within the feeder unit.
Steps to thread the welding wire through the wire feeder mechanism and into the torch.
Explains the function of various LEDs, displays, and controls on the welding machine's front panel.
Outlines the procedure for safely switching on the welding power source and its initial state.
Discusses potential issues and solutions regarding software versions between the power source and wire feeder.
Restores all parameters, settings, and memory to the factory defaults, erasing user configurations.
Restores most parameters and settings to factory defaults, excluding SETUP menu settings and saved JOBS.
Provides initial configuration steps for the welding power source, including cooler and remote controller settings.
Explains how to enable or disable user adjustments and prevent accidental changes to settings.
Instructions for correctly connecting and preparing the welding torch for operation.
Lists potential alarms, their meanings, events, and recommended checks for troubleshooting.
Describes key welding parameters and their effects, such as inductance, time settings, and start/end procedures.
Shows which welding parameters are available based on the selected welding mode and procedure.
Covers the configuration of MIG/MAG welding parameters, including main settings and programmed curves.
Provides access to advanced MIG/MAG welding parameters for fine-tuning the welding process.
Configures gas-related parameters for MIG/MAG welding, such as pre-gas and post-gas times.
Guides the user on how to store current welding parameters as a custom JOB.
Describes how to retrieve previously saved custom JOBs or factory presets.
Provides instructions for removing saved custom JOBs from the machine's memory.
Explains the two-step trigger mode for simple start and stop of the welding arc.
Describes the four-step trigger mode for controlled arc initiation and completion.
Outlines the three-level trigger mode for graduated control of welding current and wire feed.
Provides an exploded view diagram and part numbers for the WF-107 model.
Details the components and assembly of the wire feeder motor unit.
Lists different types of wire feeder rolls, their groove types, and compatible wire diameters.
Shows the main electrical schematic for the WF-107 model.
Illustrates the wiring and connection details for the cable linking the 320 MSR to the WF-107.
Details the electrical diagrams and pinouts for various remote controller models.
Details the electrical connections and pin assignments for the optional push-pull torch system.
| Brand | Weco |
|---|---|
| Model | WF-107 |
| Category | Welding System |
| Language | English |