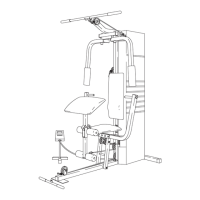
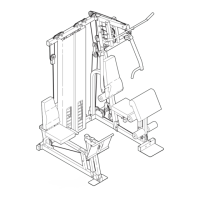
1.
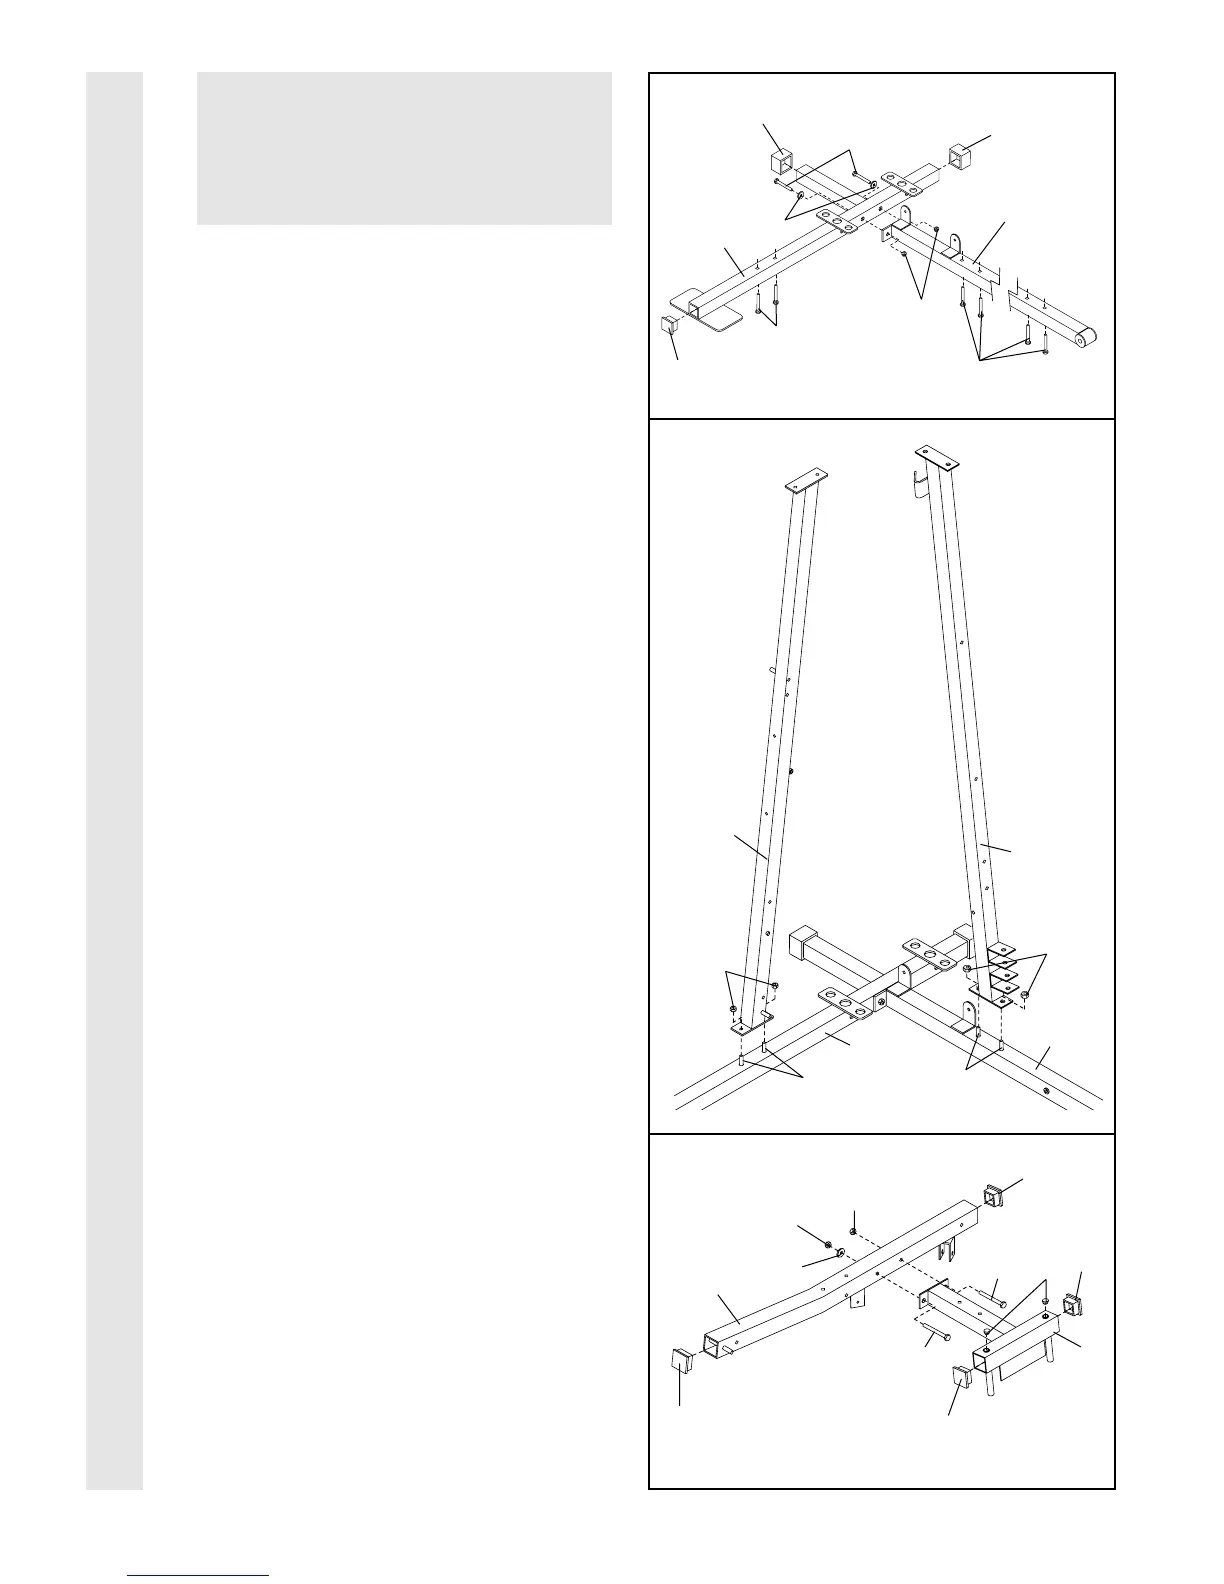
Locate and open the parts bags labeled
“FRAME ASSEMBLY BAG ONE” and
“FRAME ASSEMBLY BAG TWO.”
Press two 2” Square Outer Caps (58) onto the
Weight Base (14) in the indicated locations.
Press a 2” Square Inner Cap (56) into the end
of the Weight Base.
Insert four 5/16” x 2 1/2” Carriage Bolts (49)
up through the Press Base (13). Insert two
5/16” x 2 1/2” Carriage Bolts up through the
Weight Base (14).
Attach the Press Base (13) to the Weight
Base (14) with two 5/16” x 2 3/4” Bolts (55),
two 5/16” Washers (20), and two 5/16” Nylon
Locknuts (40). Do not tighten the Nylon
Locknuts yet.
2. Slide the Ab Upright (1) onto the indicated
5/16” x 2 1/2” Carriage Bolts (49) in the
Weight Base (14). Hand tighten two 5/16”
Nylon Locknuts (40) onto the Carriage Bolts.
Do not tighten the Nylon Locknuts yet.
Slide the Leg Press Upright (4) onto the indi-
cated 5/16” x 2 1/2” Carriage Bolts (49) in the
Weight Base (14). Hand tighten two 5/16”
Nylon Locknuts (40) onto the Carriage Bolts.
Do not tighten the Nylon Locknuts yet.
3. Press a 2” Square Inner Cap (56) into each
end of the Top Frame (2). Press a 2” Square
Inner Cap (56) into each side of the Butterfly
Frame (3). Press two 1” Inner Caps (98) into
the top of the Butterfly Frame.
Attach the Butterfly Frame (3) to the Top
Frame (2) with a 5/16” x 3” Bolt (92). Be sure
that the Bolt is on the side shown.
Finish attaching the Butterfly Frame (3) to the
Top Frame (2) with a 5/16” Nylon Jam Nut
(91), a 5/16” x 2 3/4” Bolt (55), a 5/16”
Washer (20), and a 5/16” Nylon Locknut (40).
2
3
FRAME ASSEMBLY
6
1
4
40
40
49
49
13
2
3
14
55
40
20
56
56
56
56
92
98
91
1
56
58
58
55
20
49
40
49
13
14
Before you begin this step, make sure
that you have read all of the information
on page 5. This brief introduction will
save you much more time than it takes
to read it!



 To Next Page