Do you have a question about the weintek MT8050iE series and is the answer not in the manual?
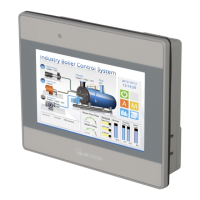
MT8050iE Series HMI is NEMA 4 rated for indoor use only.
HMI conforms to CE requirements and is designed to resist electrical noise. Proper wire routing and grounding ensure operation.
Avoid areas with vibration, explosion hazards, acid gas. Mount vertically on flat surfaces and conform to Pollution Degree 2.
Unpack and check delivery. Handle the operator panel on a stable surface to prevent damage. Verify included components.
Secure the operator panel in position using provided brackets and screws, referencing cutout dimensions (A) and (B).
Connect positive DC line to '+' terminal and ground to '-' terminal. Do not connect HMI with PLC/PC simultaneously.
Configure network settings via RJ-45 cable, choosing DHCP or static IP address. Default password is 111111.
| Display Type | TFT LCD |
|---|---|
| Enclosure | Plastic |
| Software | EasyBuilder Pro |
| Brightness | 350 cd/m² |
| Contrast Ratio | 500:1 |
| Backlight | LED |
| Touch Technology | Resistive |
| Processor | 32-bit RISC |
| Memory | 128 MB Flash |
| Communication Ports | USB |
| Serial Ports | RS-485 |
| Power Supply | 24 VDC |
| Storage Temperature | -20°C to 60°C |
| Humidity | 10% ~ 90% RH, non-condensing |
| Protection Rating | IP65 |