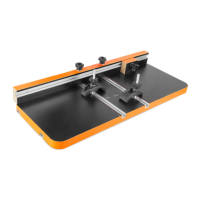
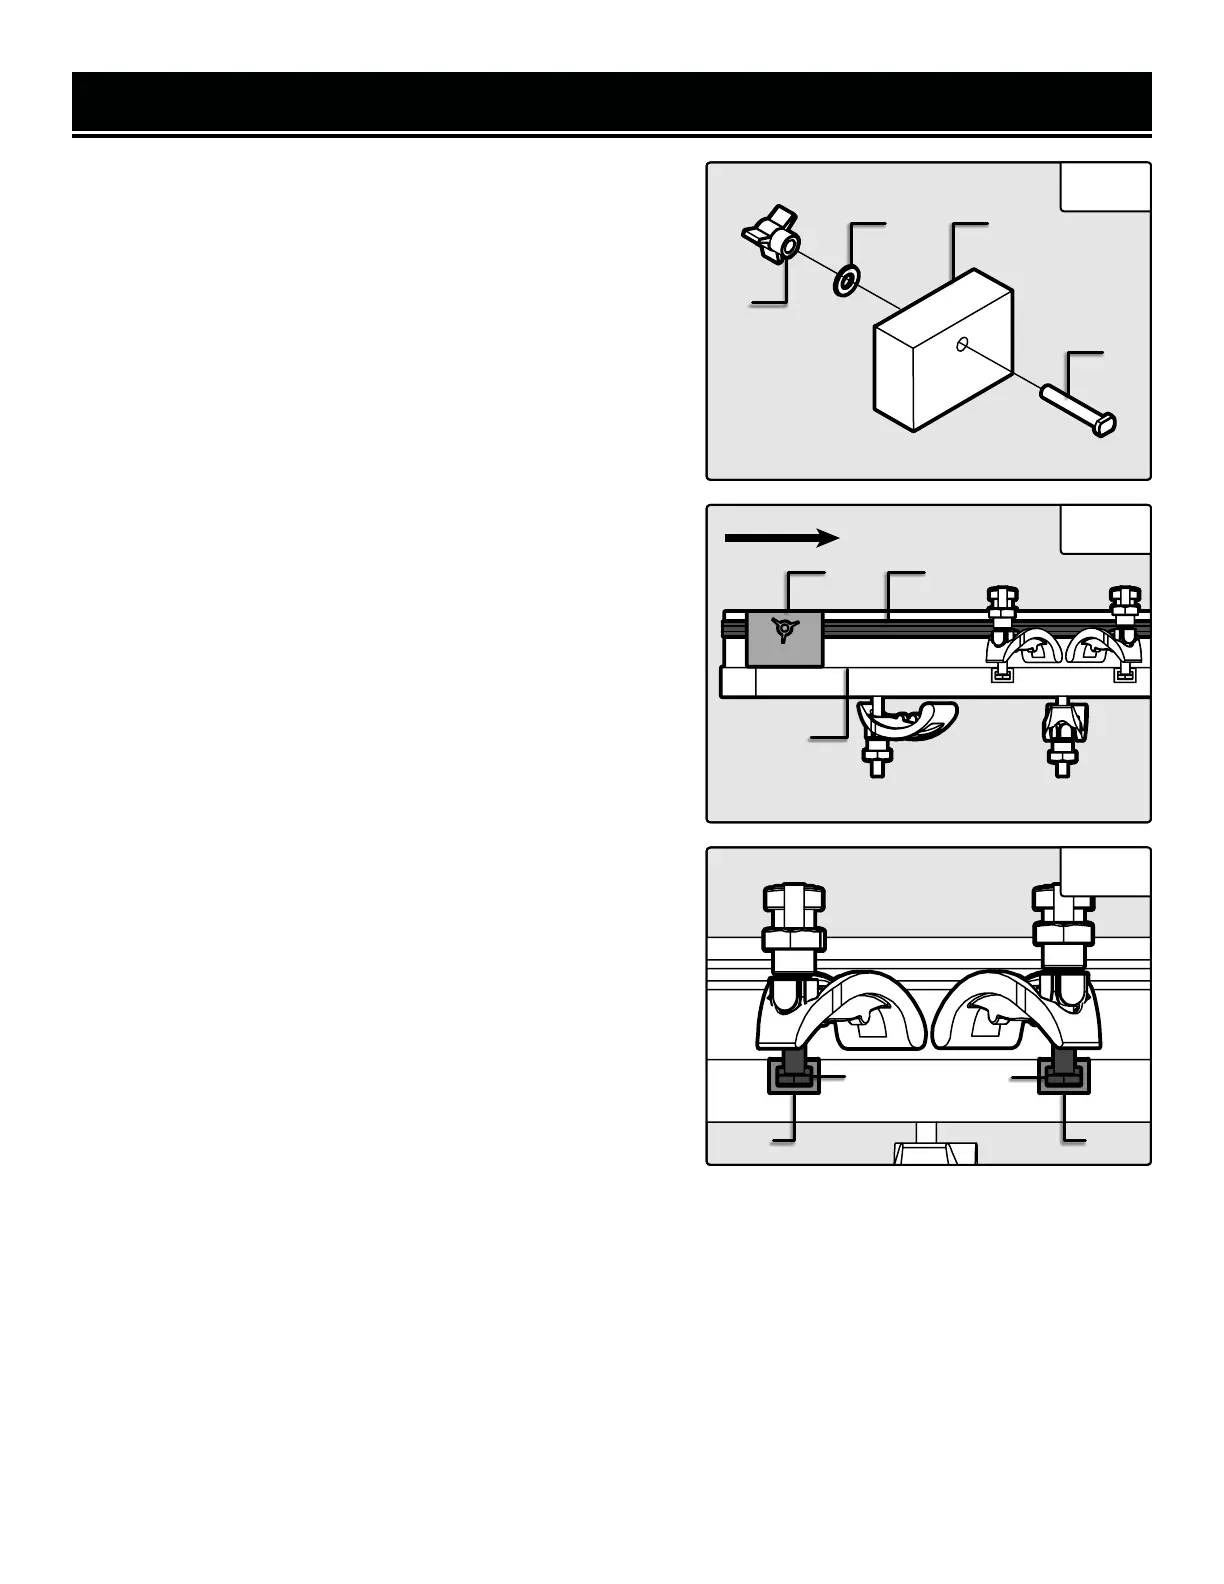
ASSEMBLING THE STOP BLOCK
1. Place the M6x40 bolt (Fig. 7 - 1) though the stop block (Fig.
7 - 2) and washer (Fig. 7 - 3). Loosely thread the stop block knob
(Fig. 7 - 4) onto the bolt.
2. Slide the bolt through the T track on the fence (Fig. 8 - 1) such
that the bottom of the stop block (Fig. 8 - 2) lies against the top
of the table (Fig. 8 - 3).
3. Slide the stop block to the desired position and lock it in place
by fully tightening the knob.
ASSEMBLING THE HOLD DOWN CLAMPS
Your drill press table comes with two hold down clamps, which
can be used to clamp down a workpiece to the drill press table.
1. Assemble the hold down clamps in the same order as the
clamp assemblies under the table, as seen in Fig. 2.
2. Slide the bolts of the hold down clamps (Fig. 9 - 1) into the
top T-slots on top of the table (Fig. 9 - 2).
3. Place the workpiece on the drill press table and clamp it down
by tightening the knobs. Make sure the clamp bushings are
seated properly in the clamps.
ASSEMBLY & ADJUSTMENTS
Fig. 7
Fig. 8
3
1
1
23
4
2
Fig. 9
1
1
2 2
8