6
6. Remove the two Alignment Cogs from the top extrusion
of the old Middle Panel and attach them to the new
Middle Panel using the new #10-16 x 0.75
Self Drilling Screws that are provided.
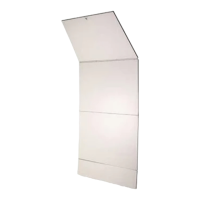
7. Lay the Filler Panel and Hinge Assembly
flat on the ground with the front of the panels
facing down.
Note: Be sure to protect the front surfaces
of the panels to prevent scratching.
Align the Middle Panel to be centered with the Hinge
Assembly. Be sure that the Hinge Assembly is flush with
the Filler Panel. Attach the Filler Panel and Hinge Assembly
to the new Middle Panel with two ¼-14 x ¾” Tapping Screws
in the outer set of holes on each side.
8. Lift the new Middle Panel Assembly
into place.
Be sure that the top of the Middle Panel
is flush with the top of the Upright Tubes
and centered with the other panels.
Secure or have someone hold the Middle Panel
Assembly so that it does not drop to the ground.
Allowing the Middle Panel Assembly to drop
could result in damage.
The Middle Panel can be clamped to the
Upright Tubes to hold it in place while it is
being attached to the Frame.
Note: Do not overtighten the clamps as
this could damage the panel.
9. Attach the Middle Panel to the Frame with
six ¼-14 x ¾ Tapping Screws using the existing
holes in the Frame.
2%/
+)'-,%-2
.'
2%/
+)'-,%-2
.'
2%/
32%0%21
.&.+%1
%5
)$$+%!-%+
22!#(
)$$+%!-%+
Allowing the Middle Panel
Assembly to drop could
result in damage.
+!,/.#!2).-
!-$
./.&!-%++31(
5)2(/0)'(23"%1
 Loading...