P3
E
N
G
L
I
S
H
Models 1JYT9A, 1JYU1A, 1JYU2A and 1JYU3A
3
Westward Operating Instructions and Parts Manual
Important Safety Instructions
(Continued)
5. Study all battery manufacturer’s spe-
cic precautions such as removing or
not removing cell caps while charging
and recommended rates of charge.
6. Determine voltage of battery by
referring to car owner’s manual and
make sure that output voltage
selector switch is set at correct
voltage.
LOCATING THE CHARGER
1. Locate charger as far away from
battery as DC cables permit.
2. Never place charger directly above
battery being charged; gases from
battery will corrode and damage
charger.
3. Never allow battery acid to drip on
charger when reading gravity or
lling battery.
4. Do not operate charger in a closed
area or restrict ventilation in any way.
5. Do not set a battery on top of
charger.
GROUNDING AND AC POWER CORD
CONNECTIONS
Charger should be grounded to reduce
risk of electric shock. Charger is
equipped with an electric cord having
an equipment-grounding conductor
and grounding plug. The plug must be
plugged into an outlet that is properly
installed and grounded in accordance
with all local codes and ordinances.
Never alter AC cord
or plug provided. If it
will not t outlet, have proper outlet
installed by a qualied electrician.
Improper connection can result in risk
of an electric shock.
Connect and
disconnect DC
output clips only after setting any
switches with an OFF position to OFF
and removing AC cord from electric
outlet. Never allow clips to touch each
other.
BATTERY CHARGER CONNECTION
PRECAUTIONS
1. When hooking up charger, attach
one clip to battery and the other to a
point away from battery (see
“Charging a Battery Installed in
Vehicle”, and “Charging a Battery
Outside the Vehicle”). Do not hook
up charger until reading the entire
manual. To reduce explosion risk,
never connect both clips directly to
the battery. When making each
connection, twist or rock clip back
and forth several times to make a
good connection and to reduce the
risk of a clip slipping o and creating
a spark. Do not twist or rock clip on
the battery after the second clip
connection is made.
CHARGING A BATTERY INSTALLED IN
VEHICLE
A marine (boat)
battery must be
removed and charged on shore. To
charge it on board requires equipment
specially designed for marine use.
A spark near
battery may cause
battery explosion. To reduce risk of a
spark near battery:
1. Position AC and DC cords to reduce
risk of damage by hood, door, or
moving engine part.
2. Stay clear of fan blades, belts, pulleys,
and other parts that can cause injury
to persons.
3. Check polarity of battery posts.
POSITIVE (POS, P, +) battery post
usually has larger diameter than
NEGATIVE (NEG, N, -) post.
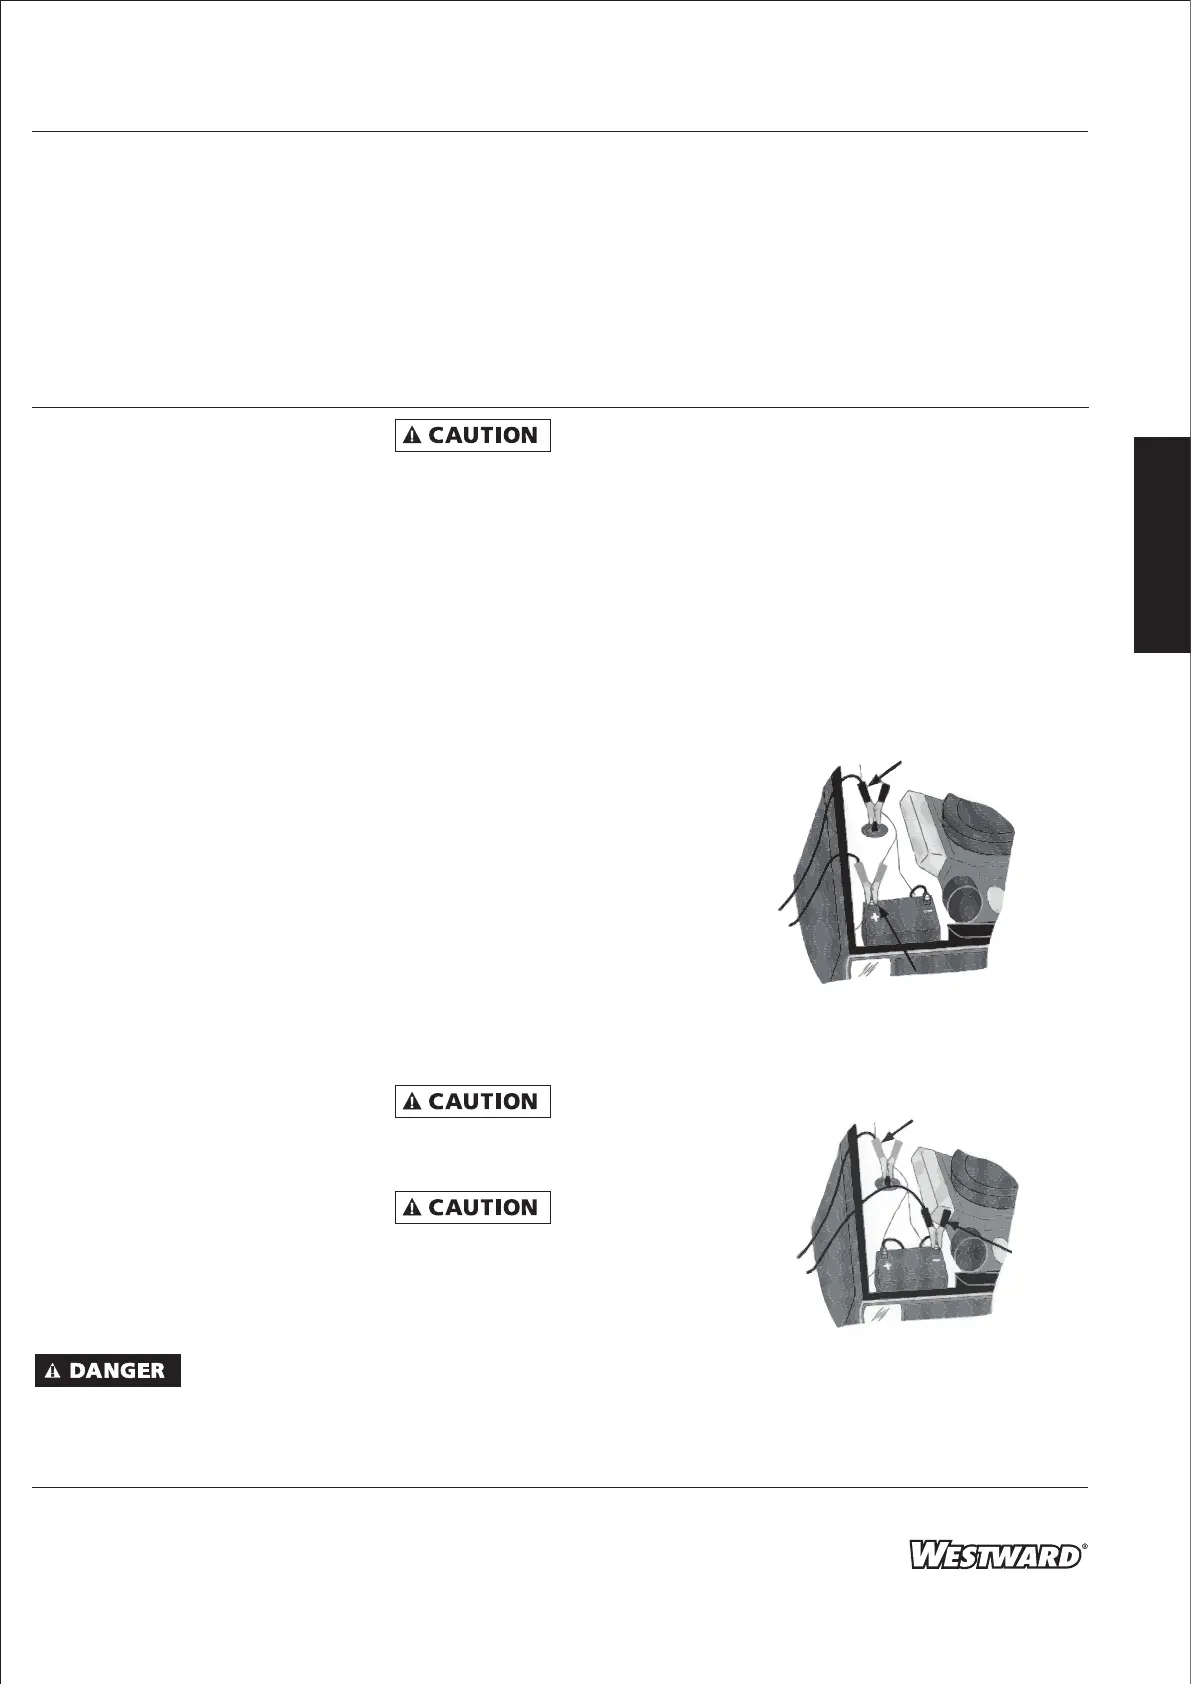
4. Determine which post of battery is
grounded (connected) to the chassis.
If the negative post is grounded to
the chassis (as in most vehicles), see
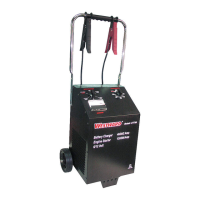
Figure 2 and instruction “5a”. If the
positive post is grounded to the chas-
sis, see Figure 3 and instruction “5b”.
Negative to
Chassis Ground
Positive to Chassis
Ground
Positive
Negative
Figure 2
Figure 3