1
Flrsl.
turn
the
spar
track
down
.
2. Install square
port1on
of
spreader
mto
spreader brackets
and
Install
spreader-p1n
do
wnwards Install
co11er
pin in spreader pivot
pin
l11s
only necessary
to
open
the
co11er
pin
slighlly
When
you
v1sually
Inspect the
spreader
bracket,
ma
ke
sure
there is a
1tm1ting
p1n
1n
the
spreader bracket
Th1s
p1n
ltmlts the ltp
movement
of the
spreader Save the
se1z1ng
wire
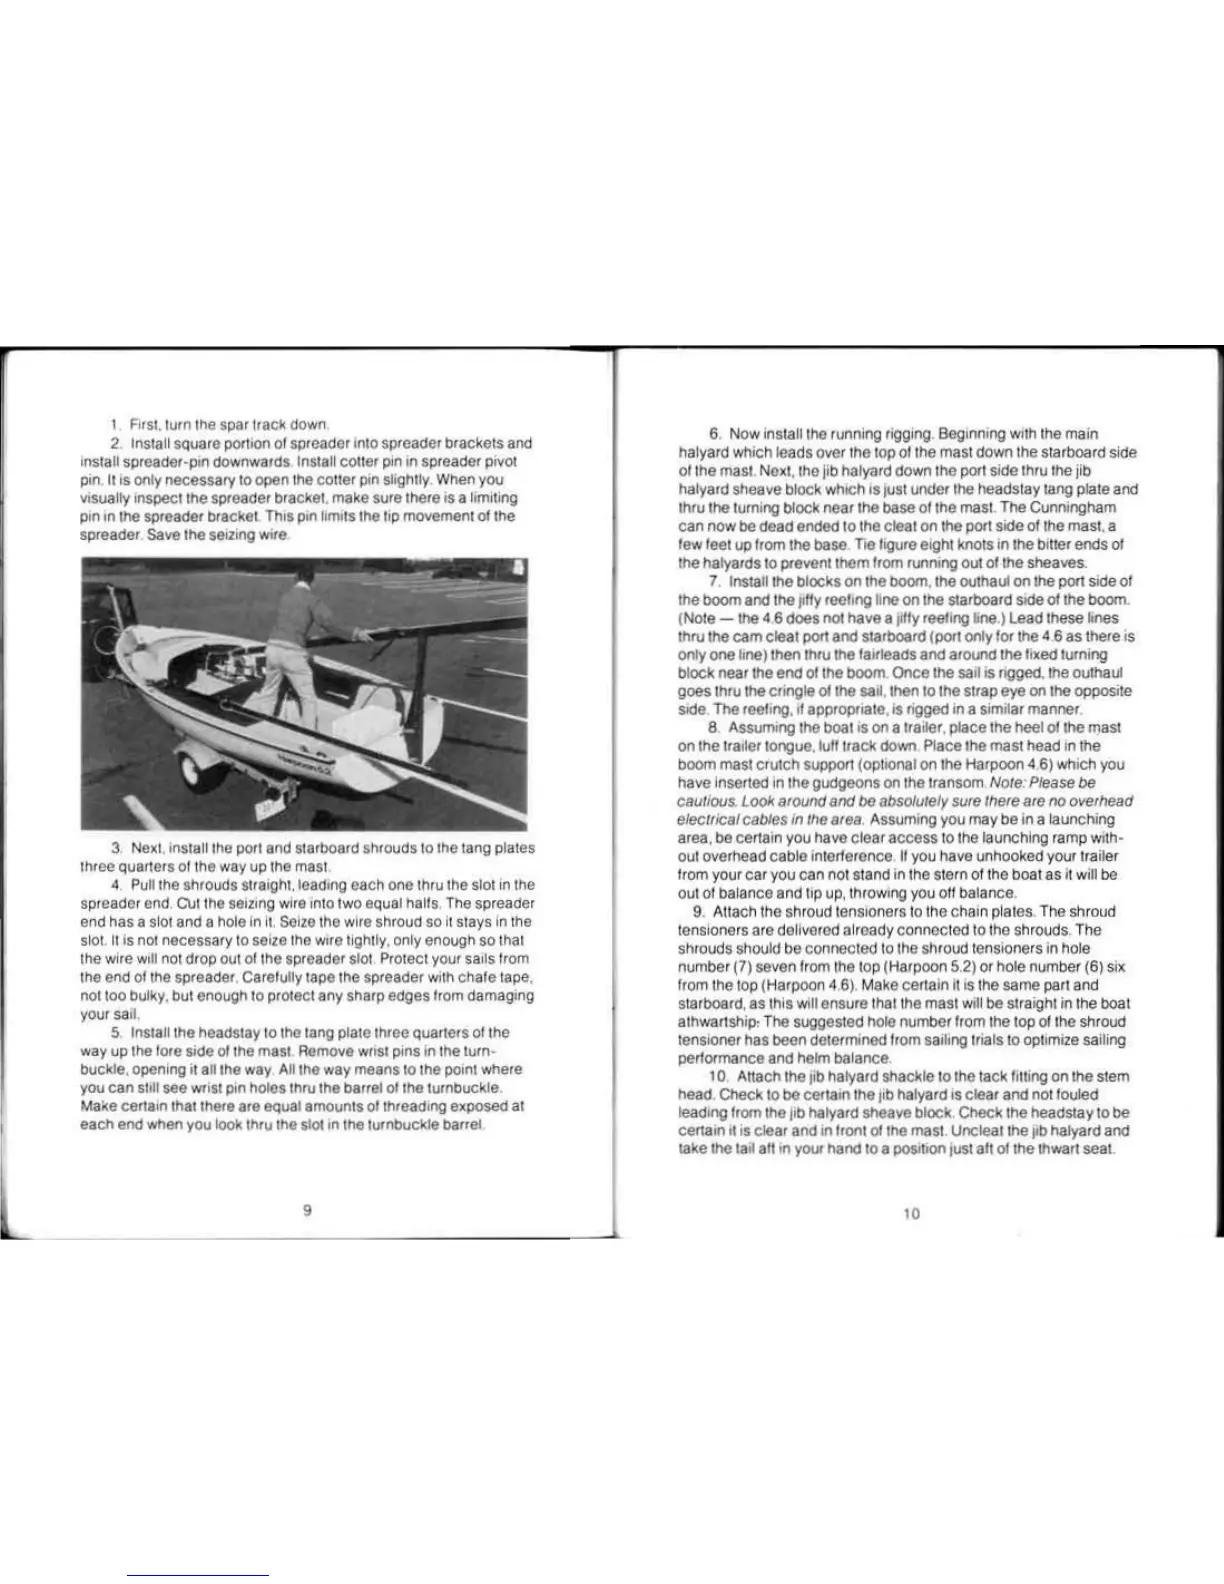
3
Next
, install
the
port
and
starboard
shrouds
to
the
tang
plat
es
three quarters of
the
way
up t
he
mast
.
4.
Pull
the shrouds
stra1ght,
leading each one t
hru
the slot
in
the
spreader end. C\Jtthe
setz.ng
wire
1nto
two equal halls
The
spreader
end
has a
slot
and a hole
In
11.
Seize
the
wire
shroud
so
II
stays
In
the
sl
ot
Il ls
not
necessary 10
seize
the
w11e
tightly, only enough so that
the wire
w1ll
no
t drop
ou
t
olthe
spreader slot. Protect your sails
from
the
encl
of
the
spreader
Ca
refully
tape
the spreader
with
chafe
tape
,
not
too bulky, but
enough
to
protect any sharp edges
from
damaging
your
sail
5
Install the headstay
to
the
tang
plate three quarters olthe
way
up
the
fore
s1de
of
the
mast
Remove
wrtst
pins
1n
the
turn-
buckle, opening it all the way
All
the way means
to
the point
where
you
can
st1ll
see
wnst
pin holes
thru
the barrel olthe turnbuckle
Make
certain
that
there
are
equal amounts olthreading exposed
at
eaCh
end
when
you
too
k
thru
the
stot1n
the turnbuckle barrel
9
6. N
ow
insta
ll
the
running
rigging
.
Beginmng
with
the main
halyard
wh
ich leads
over
the top
of
the
mas
t down the starboa
rd
side
of the
mast
Next,
the
jib halyard
down
the port side
th
ru the jib
halyard sheave block which
Is
rust
under
the headstay
tang
plate
and
thru
the turning block near the
base
of
the
mast
The
Cunning
ham
can
now
be
dead
ended to
the
cleat
on
the port side of the mast. a
lew
feet
up
from
the
base
Tie figure eight
knots
In the bitter ends
of
the halyards to prevent them
from
runn1ng
out of the sheaves.
1 Install the blocks
on
the
boom
, the
outhaut
on
the port s
1d
e ot
the boom and
the
11tly
reeling line
on
the
starbOard
side of the
boom.
(
Note-
the
4 6 does not have a lilly reefing line.) Lead
these
tines
thru
the
cam
cleat pon and starboard (port only for
the
4.6 as there is
onty one line) then thru
the fauleads and around the
fixed
turning
block near the end of the boom. Once the
sall1s
rigged. the outhaut
goes
thru
the
cnngte
of
the
sa1l
then
to
the
s11ap
eye
on
the opposite
side The reefing, If appropuate,
ls
rigged in a similar manner
a. Assuming
the
boat
1s
on
a trailer. place the heel
of
the
mast
on the tratler tongue,lutltrack down Place the mast
head
in
the
boom
mast
crutch support (opt
iOnal
on
the
Harpoon 4
6)
which
you
have
inserted
In
the gudgeons
on
the
transom
,Nore:
Please
be
cautious.
Look
around
and
be
absolutely
sure
I
here
are no
overhead
elecrrlcalcables
In
rile a tea. Assuming you may
be
In a
la
unching
area
. be certain
you
have clear access to
the
launching
ramp
with
-
out
overhead cable interference
II
you
have
unhooked your t
ra
iler
from
your car you can not stand in
th
e stern
of
the
boat
as it wilt be
ou
t ol
ba
lance and
hp
up.
throw1ng
you
o
ff
balance.
9. Attach
th
e
sh
roud tens1
oners
to
th
e cha
1n
plates. The
sh
r
oud
t
ens1one
rs are delivered already connect
ed
to the
sh
rouds. The
shrouds
should
be
connect
ed
to
the
shro
ud
tensioners in hole
number
(7)
seven
from
th
e top (Harpoon 5.
2)
or
hole number
(6)
slx
from
the t
op
(Ha
r
poon
4.6). Make certain
it
is the same part
and
starboa
rd
, as
thi
s will ensure
that
the mast will
be
st
ra
ig
ht in the
boat
athwart
ship:
T
he
suggested
hole
number
from
the top
of
the
sh
roud
tensioner has
been
determined
from
sailing trials
to
optimize
sai
ling
performance
and
helm
balance.
1
o Attach the
tib
halyard shackle to the tack filling
on
the st
em
head
. Check
to
be
certa.n the jib halyard
IS
clear and
not
fouled
tead1ng
from
the
l1b
halyard sheave block Check
the
headslay
to
be
certa1n
It is clear
and
1n
front
of
the
mast
Uncteat
the
Jib
halyard and
take
the
ta1l
all In your
hand
to
a
pos1110n
just aft
of
the thwart seat.
10
 Loading...