11
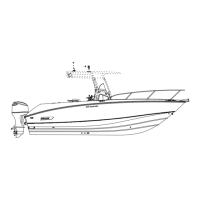
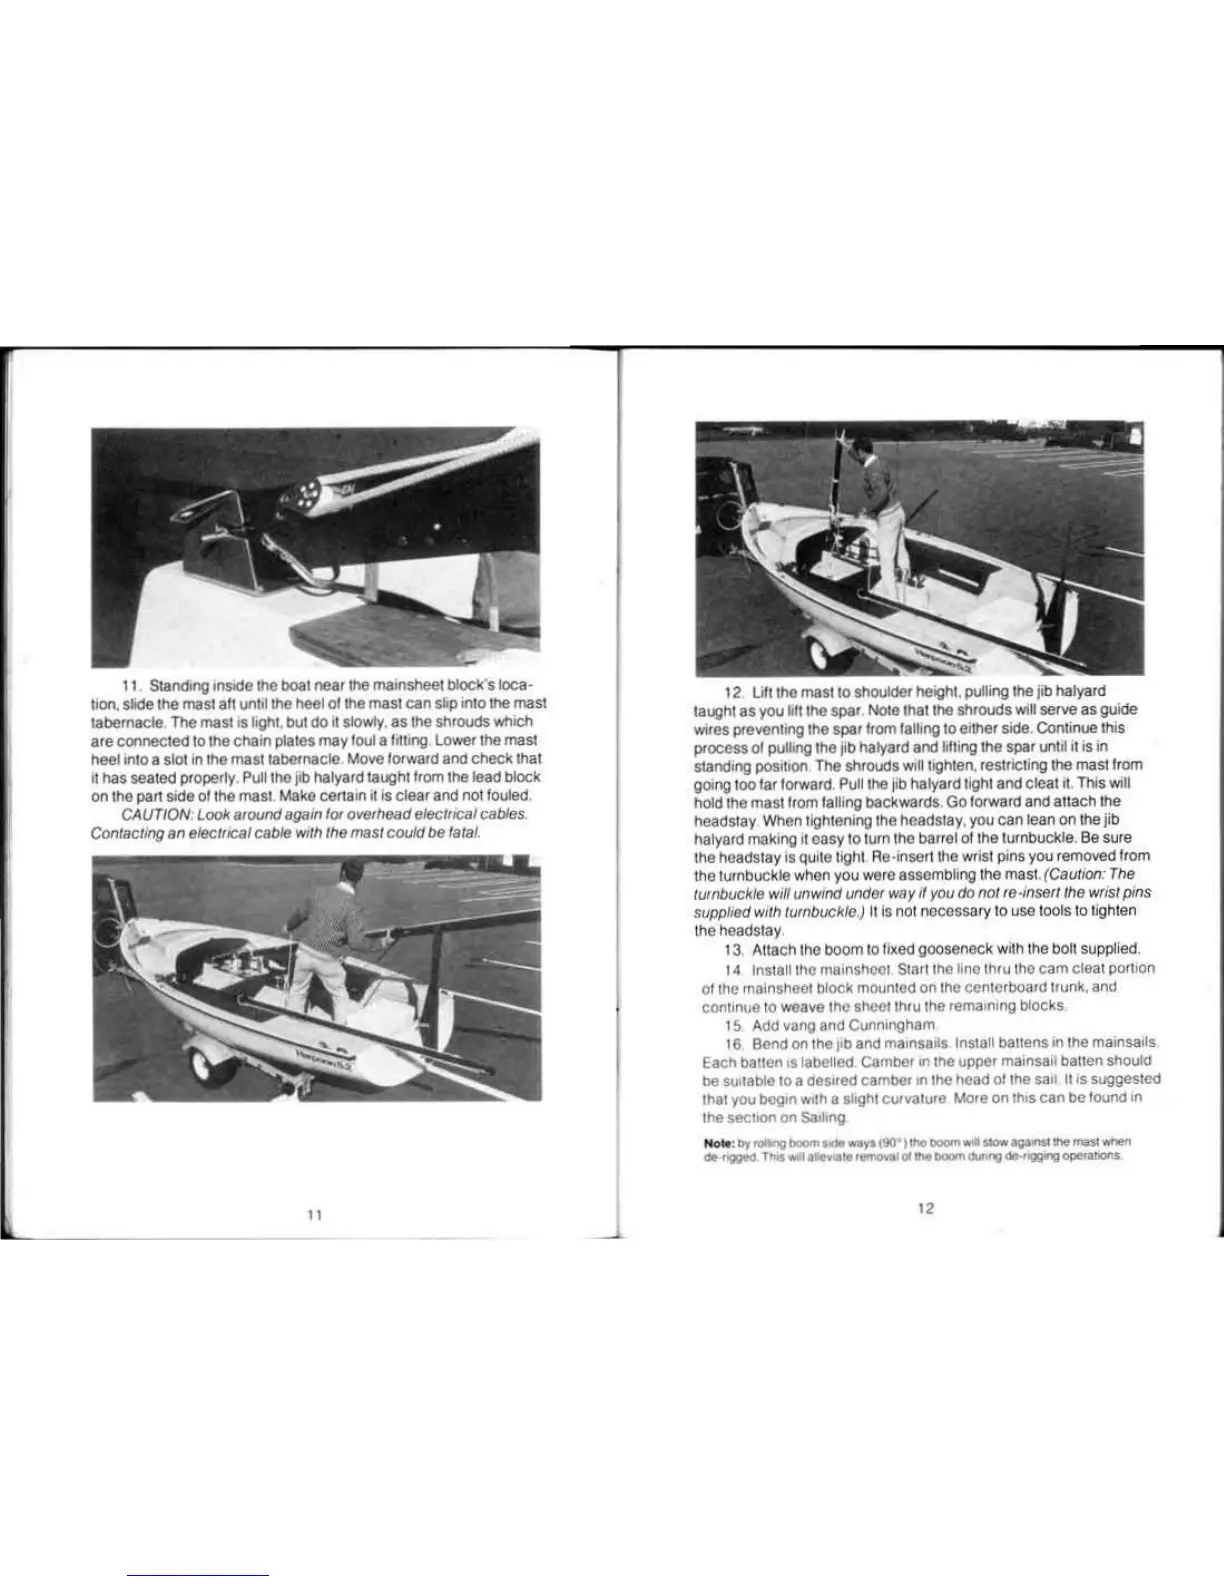
Standong
onslde
the
boat
near the
maonshee1
block's loca-
tion.
slide the
mast
aft
untol
the heel
ot
the mast can
slop
onto
the
mast
tabernacle The
mast
Is light. bul do
ot
slowly, as the shrouds which
are connected
to
the chain plates may foul a filling Lower the
mast
heel
onto
a slot
In
the mast tabernacle
Move
forward and check
that
ot
has seated properly.
Pull
the
job
halyard taught
from
the lead block
on
the
part
sode
ol
the mast.
Make
certaon
ot is clear
and
not fouled.
CAUTION
:
Look
around again lor overhead electrical
cables.
Contactmg
an electrteal cable
woth
the
mast
could be
fatal
.
11
12
Uftthe
mast
to shoulder height. pulling the jib halyard
!aught as you
loft
I he spar.
Note
that
the
shrouds will serve as
gu
ide
wores
preventong
the
spar
from
falling to either side. Continue this
process
ot
pulling the jib halyard and lifting the spar
untol
it is in
standing
posltoon
.
The
shrouds
willtoghten, restricting the
mast
from
going too far forward.
Pull
the
jib halyard t
igh
t and cl
eatot.
Thos
will
hold the mast
from
falling backwards.
Go
torward and attach the
headstay
When
lightening
th
e headstay,
you
can
lean
on
the
jib
ha
lya
rd
mak
in
g
It
easy to
turn
lhe barrel
of
the turnbuckle.
Be
sure
the
headstay
os
quite
tight.
Ae
·
onsert
the
wrist
pins
you
removed from
the turnbuckle
when
you
were
assembling lhe mast. (Caution:
The
turnbuckle
wt/1
unwind
under
way
if
you
do
not
re
-insert
the
wnst
pins
supplted
with
turnbuckle
.)
It is not necessary
to
use
tools
to
t
igh
ten
l
he
headstay.
t
3 Allach the boom
to
fixed
gooseneck
with
the
bo
lt supplied.
14
Insta
ll
th
e
rnaonshcoa.
Start
the
lo
ne
lh
ru
the
cam cleat
poruon
o
tt
he
rnainsheet
block
mounted
on
the center
board
trunk,
and
continue
to
weave
th
e shcotthru the
remaonong
blocks
t
5
Add
vang
and
Cunnongham
t 6
Bend
on
the l'b
and
maonsaots
Install battens
on
the
mainsails.
Each
batten
os
labelled
Camber
on
the
upper
mainsail batten should
be
suo
table
to a
des11ed
camber
on
thO
head
of
the
sao
I It os suggested
that
you
begon
woth
a slight curvature
More
on
thos
can be
tound
on
the
sectoon
on
Sao
ling
N
oM
:
by
ro1
oog
boo<n
"""'ways
t90')
ono
ooomwtU
stow
agalflSIIIle masl when
d•HOQOeO
TII.S
WiJIOIIev
OIO
removal
oC
file
bOom
Clurll>!)
drHigQ~
OpetaDOn$
~
12
 Loading...